Thanks for all the comments and questions everyone
@marianas_gamer: I thought I had some more pictures but they seem to have gone AWOL. I'm converting another similar engine so I can post pictures of that if you think they'd be useful.
@Andym: Yep, coal wagon is a 'troublesome truck'. Face has been ground off and the moulded coal has been covered with ballast and painted. I've also taken one truck apart and removed the moulded in coal to make it an empty version that I can stand figures/mg in.
@Mr.Marx: It is indeed 'Duncan' - I've sawn off the cab and added a plasticard version. The roof is a piece of 40mm pipe cut down and fitted in place with 4 brass rods that slot into plasticard tubes. The roof is removable so that I can add the driver and/or use it as an open-topped engine if needed.
@Malamute and Bullshot: Bring it on!

I'll be adding a few boiler-plated wagons with gatlings soon
(TM)Very nice  . What are yo going to use for tracks?
I'm using standard peco and hornby 00 guage tracks with alternate sleepers removed. The ertl diecasts can be made to fit the track nicely by 'packing' the axles out with milliput; there's enough play in the wheels to move them out slightly so the engines and wagons fit snugly on the track. Some of the flanges on the wheels are a bit small so I'm going to add small lugs to keep them on the track more easily.
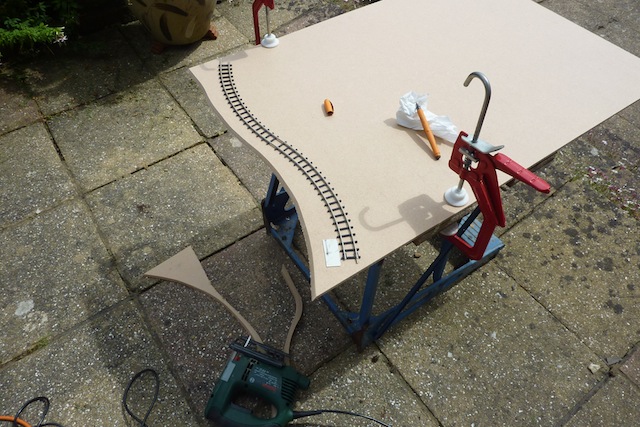
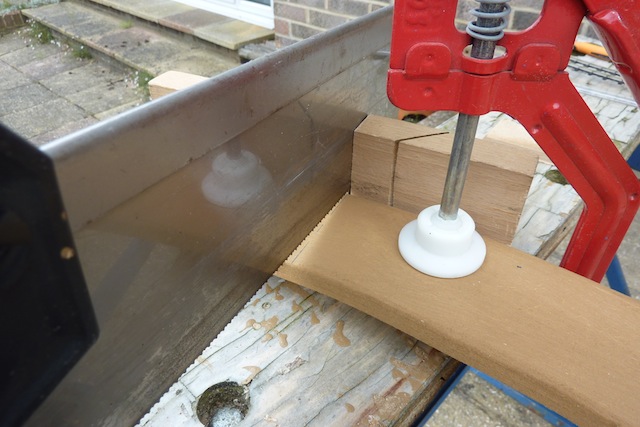
The track is being mounted on 6mm MDF cut with a 45 degree chamfer; progress so far in the pictures below;
I placed the track on the 6mm MDF and cut one strip at a time to minimise wastage.
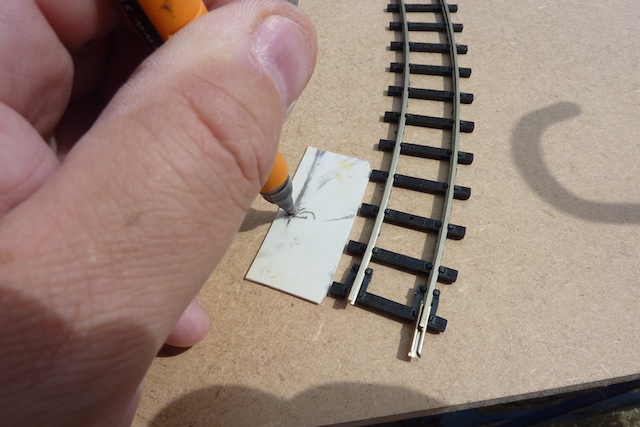
Simple jig to keep the pen the same distance from the sleepers on each strip. It's a piece of plasticard with a hole in it.
After cutting each strip was painted with my standard 'Whitby Brown' emulsion base colour. They are going to be textured and ballasted but I wanted to paint them just in case the MDF shows through in places.
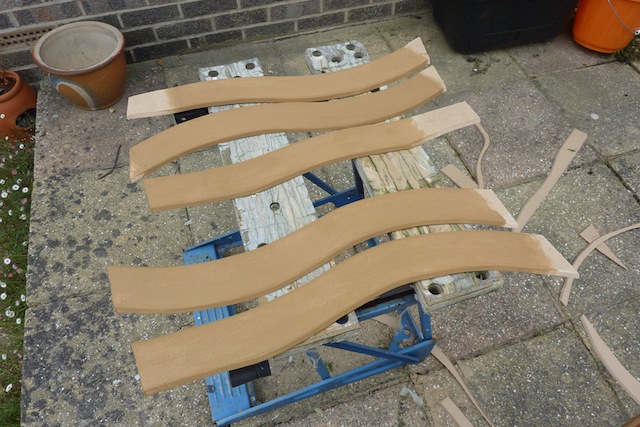
More strips for the straight track sections. The two T shapes in the foreground are for the station buildings.
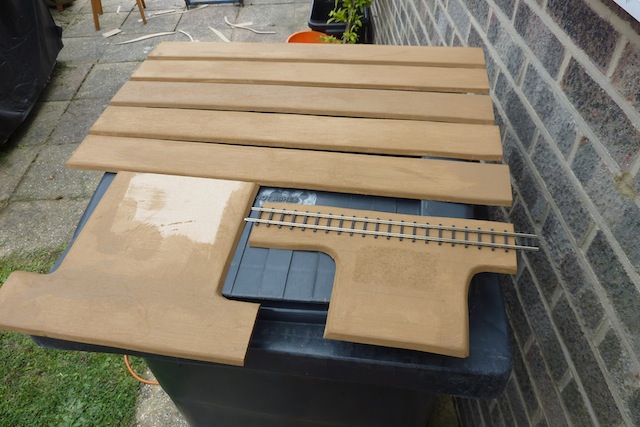
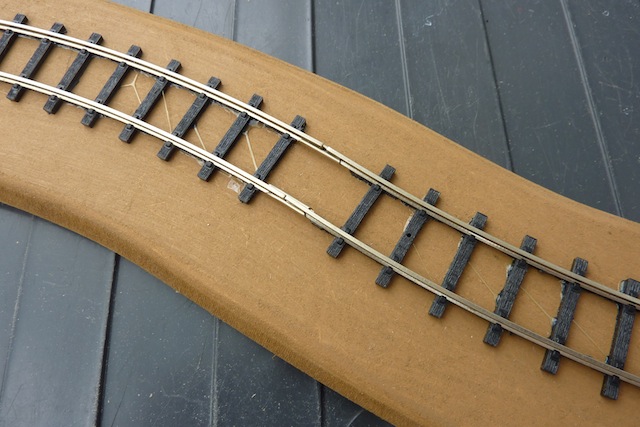
When the paint was dry the strips were cut to length; the track was placed on loosely to work out the exact length.
The track is stuck down with evostick impact adhesive (evil smelly stuff best used outdoors). I made a small jig that was used on each end of each strip to ensure the correct placement of the track so that each piece will align with the others.
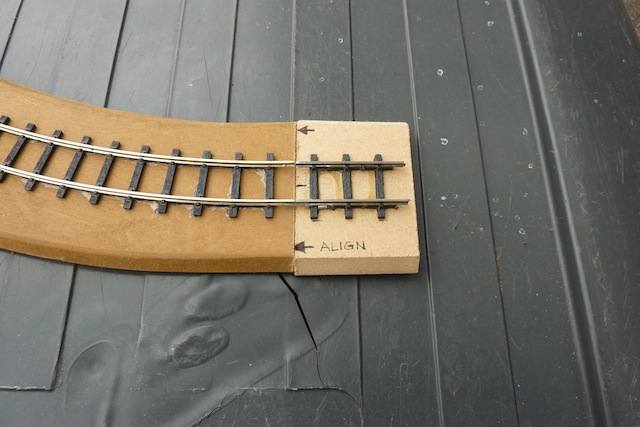
There are a few missing sleepers where the tracks join, these will be replaced with spares from a donor piece before ballasting takes place. As far as possible each of the ends has been finished so that when they are joined to another the sleeper spacing is maintained.
That's it so far, I'll post a few more pics of the finished track pieces when they're done.


