After getting new shiny toys recently I did a bit of research through the net to find some good advice for preparing and priming this kind of soft plastic miniatures. The Blood Rage miniatures are injection moulded plastic minis from a harder kind of soft plastic like the Zombicide ones. Not real hard plastic like the Perry miniatures, still bendable. Here's a first picture showing their height compared to a Perry (left) and a Fondry one (right). Significantly higher, around 32 mm. I put a washer under the painted minis to get them on the same base level.

Due to the soft injection moulded plastic we get the usual problems here as well: almost all spears, banner shafts, longer weapons, even swords and some of the bases are distorted and bent. Could be solved with the boiling/ice water method, but might be demanding in some cases. Can't understand why those companies are not able to bring out a decent resin range of their gaming miniatures for collectors and painters, I don't think I'll put paint on those bendy figures.

The good thing is, the Blood Rage miniatures are incredibly detailed. You could not see that on the plastic figure just out of the box even in large magnification:

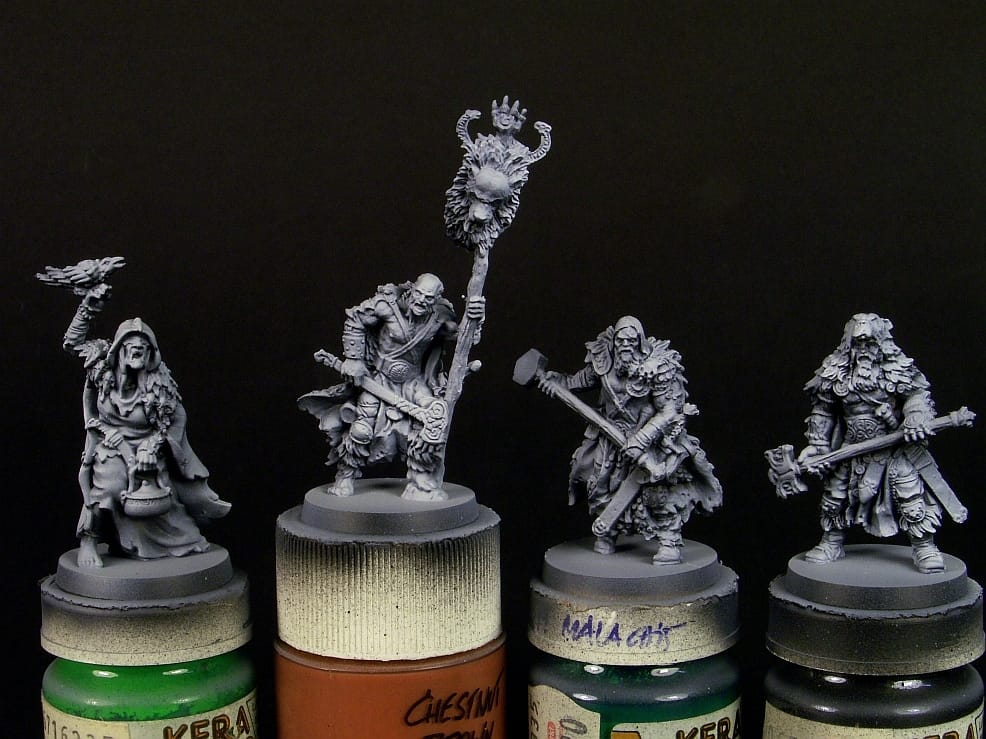
But once they are prepared and primed, they look quite magnificent:

So what did I do for preparation? First of all, I wanted to get rid of all mould lines. With this harder material you could not only use a sharp scalpel or knife, but needle files too and even sandpaper. Very nice! Next the figures need a warm bath in soapy water to clean them from the mould release agent which could prevent a good contact between plastic and paint. I rinsed the miniatures in clean water and let them dry overnight. Next they were mounted on painting stands with double sided tape.
As primer I used surface primers from Vallejo. They consist of acrylic-polyurethane and will build up a slightly flexible but firm film around the miniature, will dry very smoothly and flat and are much safer to that plastic material than solvent based spray cans or similar primers. I choose to try three differnt colours and used Vallejo model air paints for highlighting. Both surface primers and model air colours were airbrushed unthinned in light coats with my trusty Badger 150 with 2,4 atm. The surface primers dry quite quickly, and priming 3 larger and 4 normal sized miniatures at once, I could overspray with the highlight tones once I finished the last figure with the basecoat. All highlights only from above and very small angles to simulate the highlighted surfaces.

For the normal figures and the frostgiant I used black surface primer with two highlights in light grey and white:

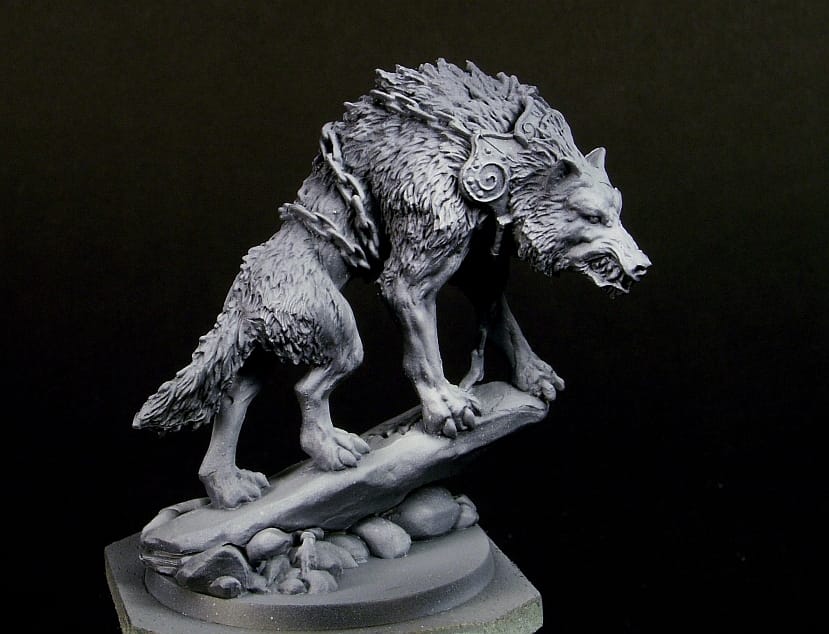
The giant Fenrir wolf (gorgeous miniatures ...) got Panzer Grey with light grey and white highlights as I want to work with some dark and black washes later.
For the troll I tried something else. He was primed in German Green Brown and got highlights with a greenish light tone called Duck Egg White. After two hours he was washed with an ink mix from Army Painter Strong Tone (75%) and Vallejo Game Ink Skin Wash (25%), unthinned.

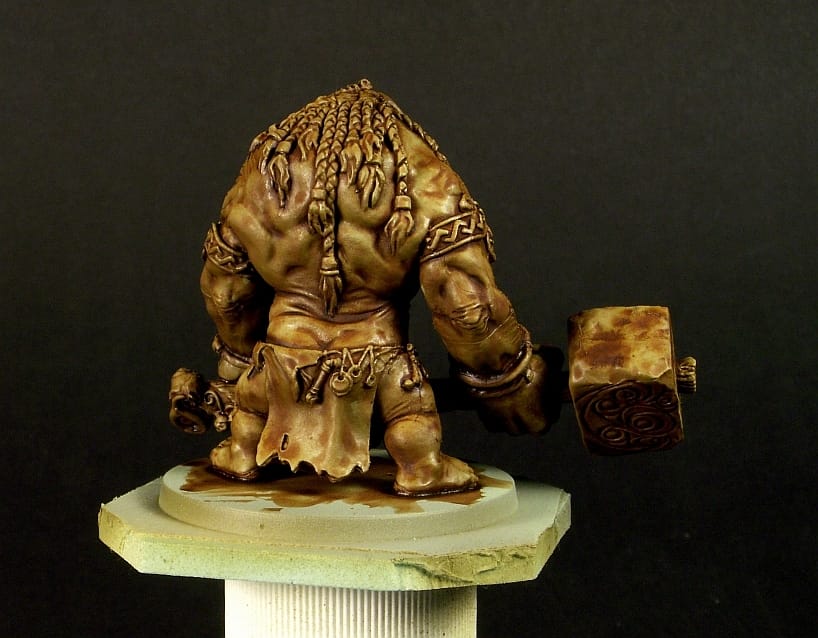
If you don't want to really paint your gaming miniatures this could be a quick way to enhance them significantly. In my eyes this one looks ten times better than the plastic original. Time amount? Cleaning and mounting the 7 miniatures needed around 1,5 hours, priming including the wash another 1,5 hours. If you don't have an airbrush, those surface primers could also be painted on with a brush quite easily, and to simulate the highlighting you could use some fine drybrushing to selected parts with a soft brush.
I hope you could find these infos useful and give the acrylic primers a try. I really like them and are now looking forward to really paint the Blood Rage plastics.


