My last game of 2016. Played at Wessex Wargaming Society, Southampton, with myself, eight year old son Jack, and mate Paul.
The scenario came from the back of the Guns at Gettysburg rule set, but tweaked for PC.
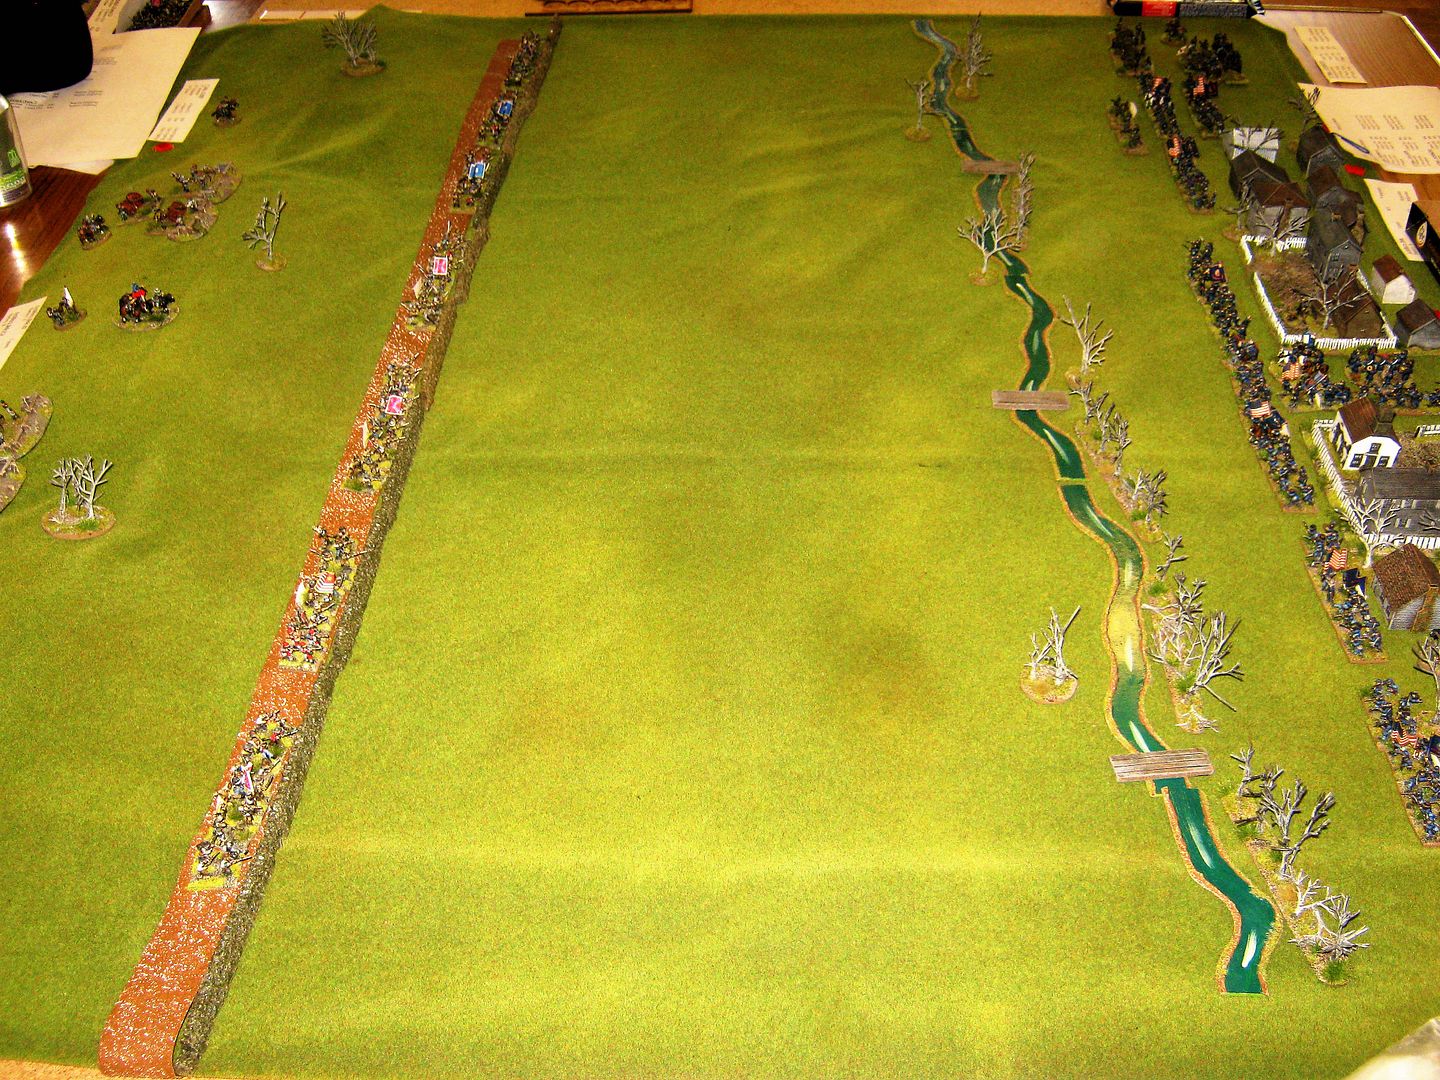
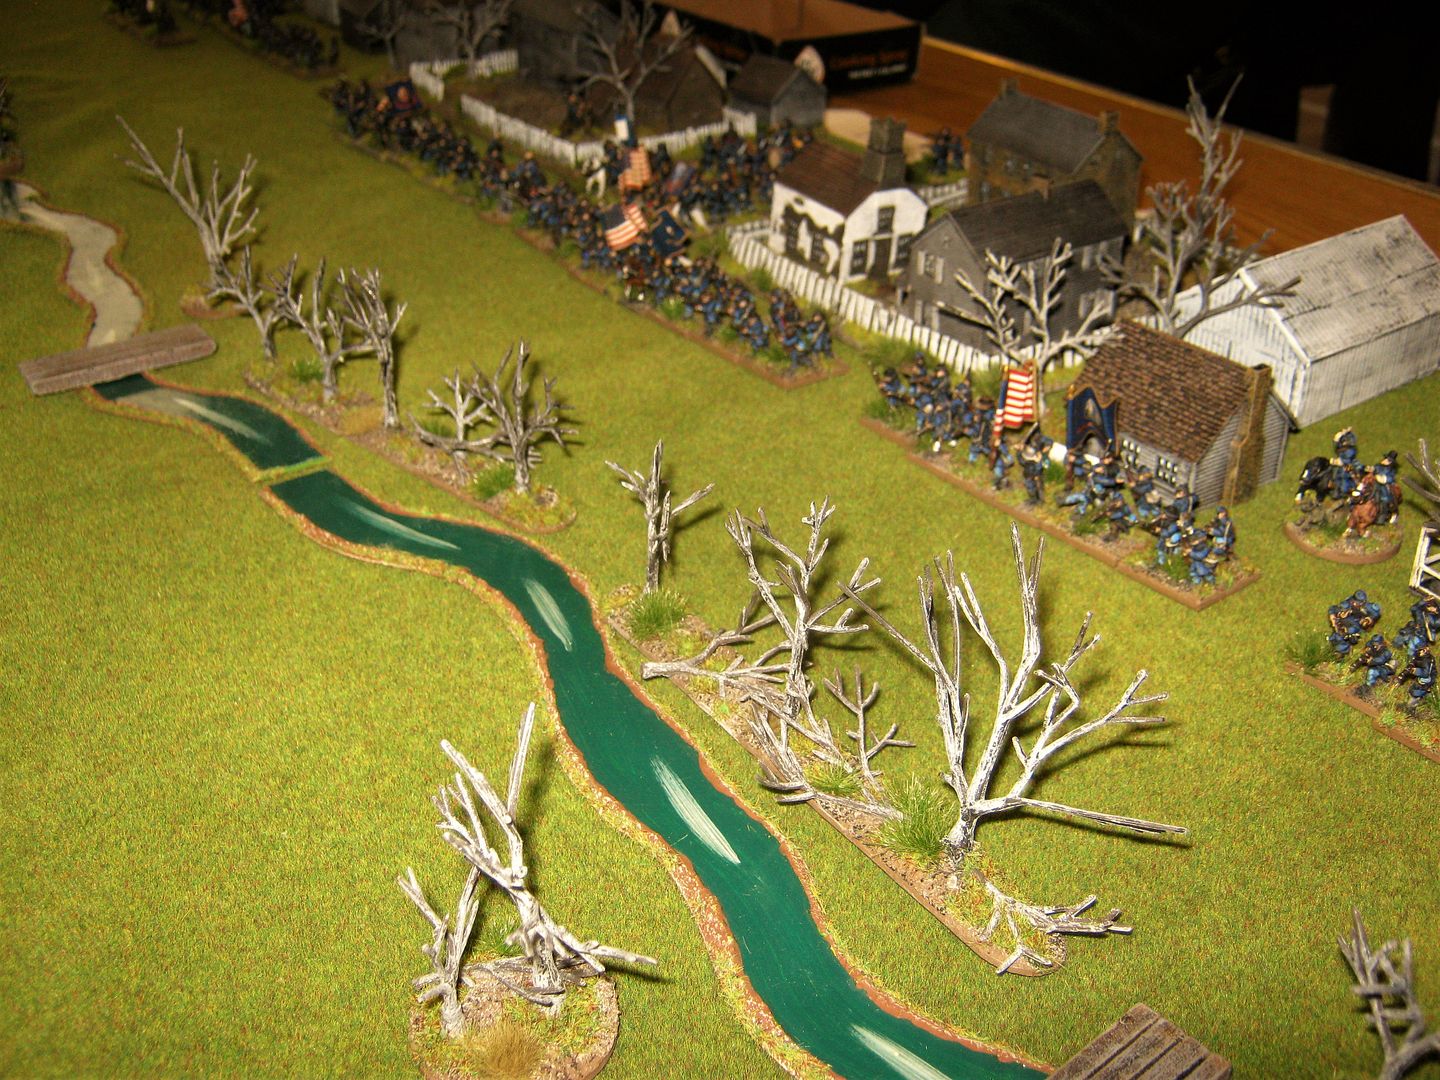
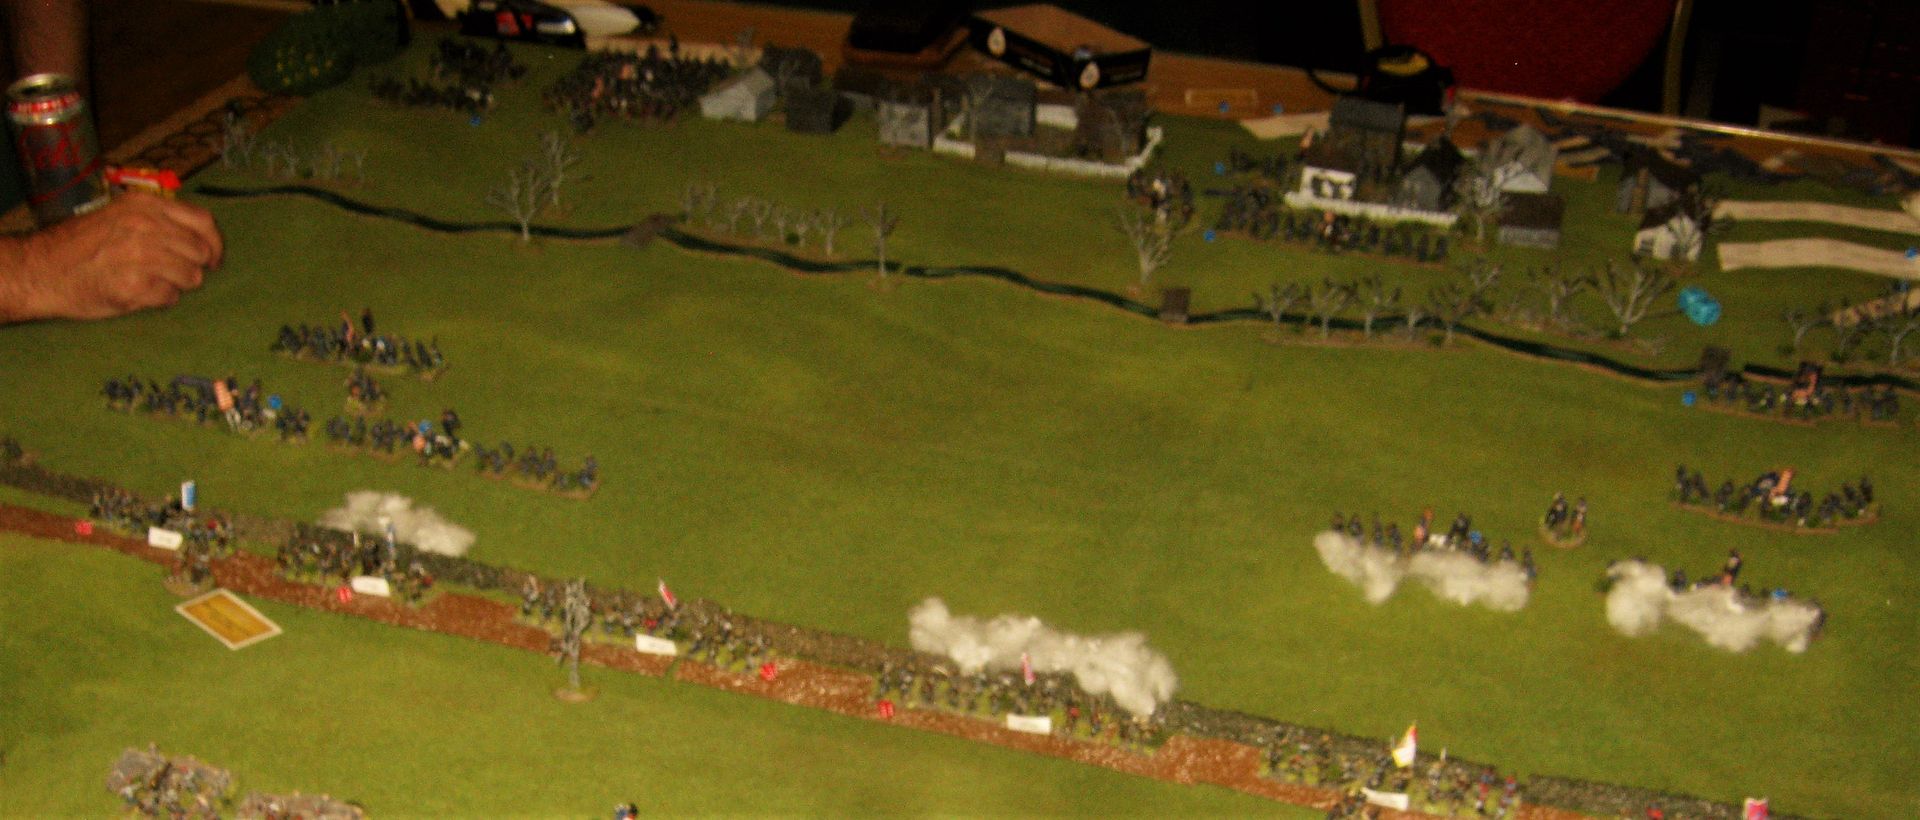
1. Fredericksburg, 13th December 1862. Two Confederate brigades sit in a sunken road lined with a wall at the base Maryes Heights. Two further birgades are off table to their rear with two entrenched batteries deployed on the heights themselves. Three Union brigades, and a battery of artillery deploy outside Fredericksburg. Two further brigades are making their way through the town. Further support is provided by two Union batteries firing from the heghts behind Fredericksburg. The Union forces are tasked with taking the sunken road and wall. However a drainage ditch, counting as Severe Terrain must be crossed together with a large expanse of open ground. A very stiff ask indeed.
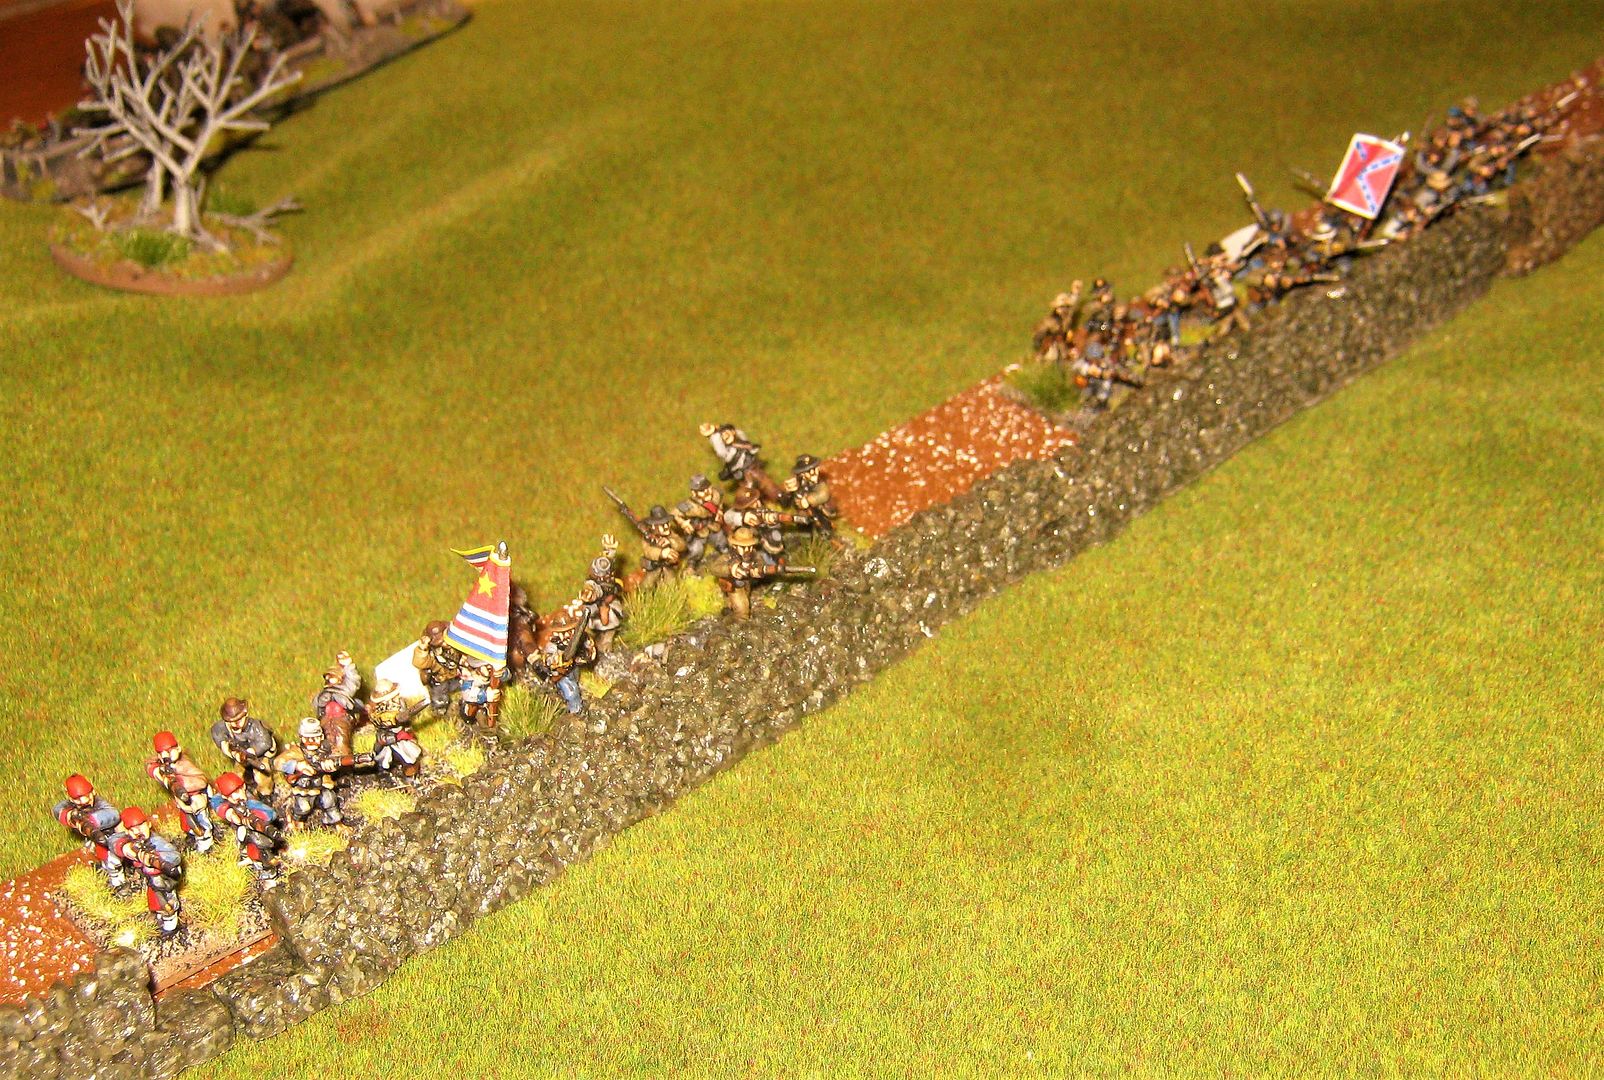
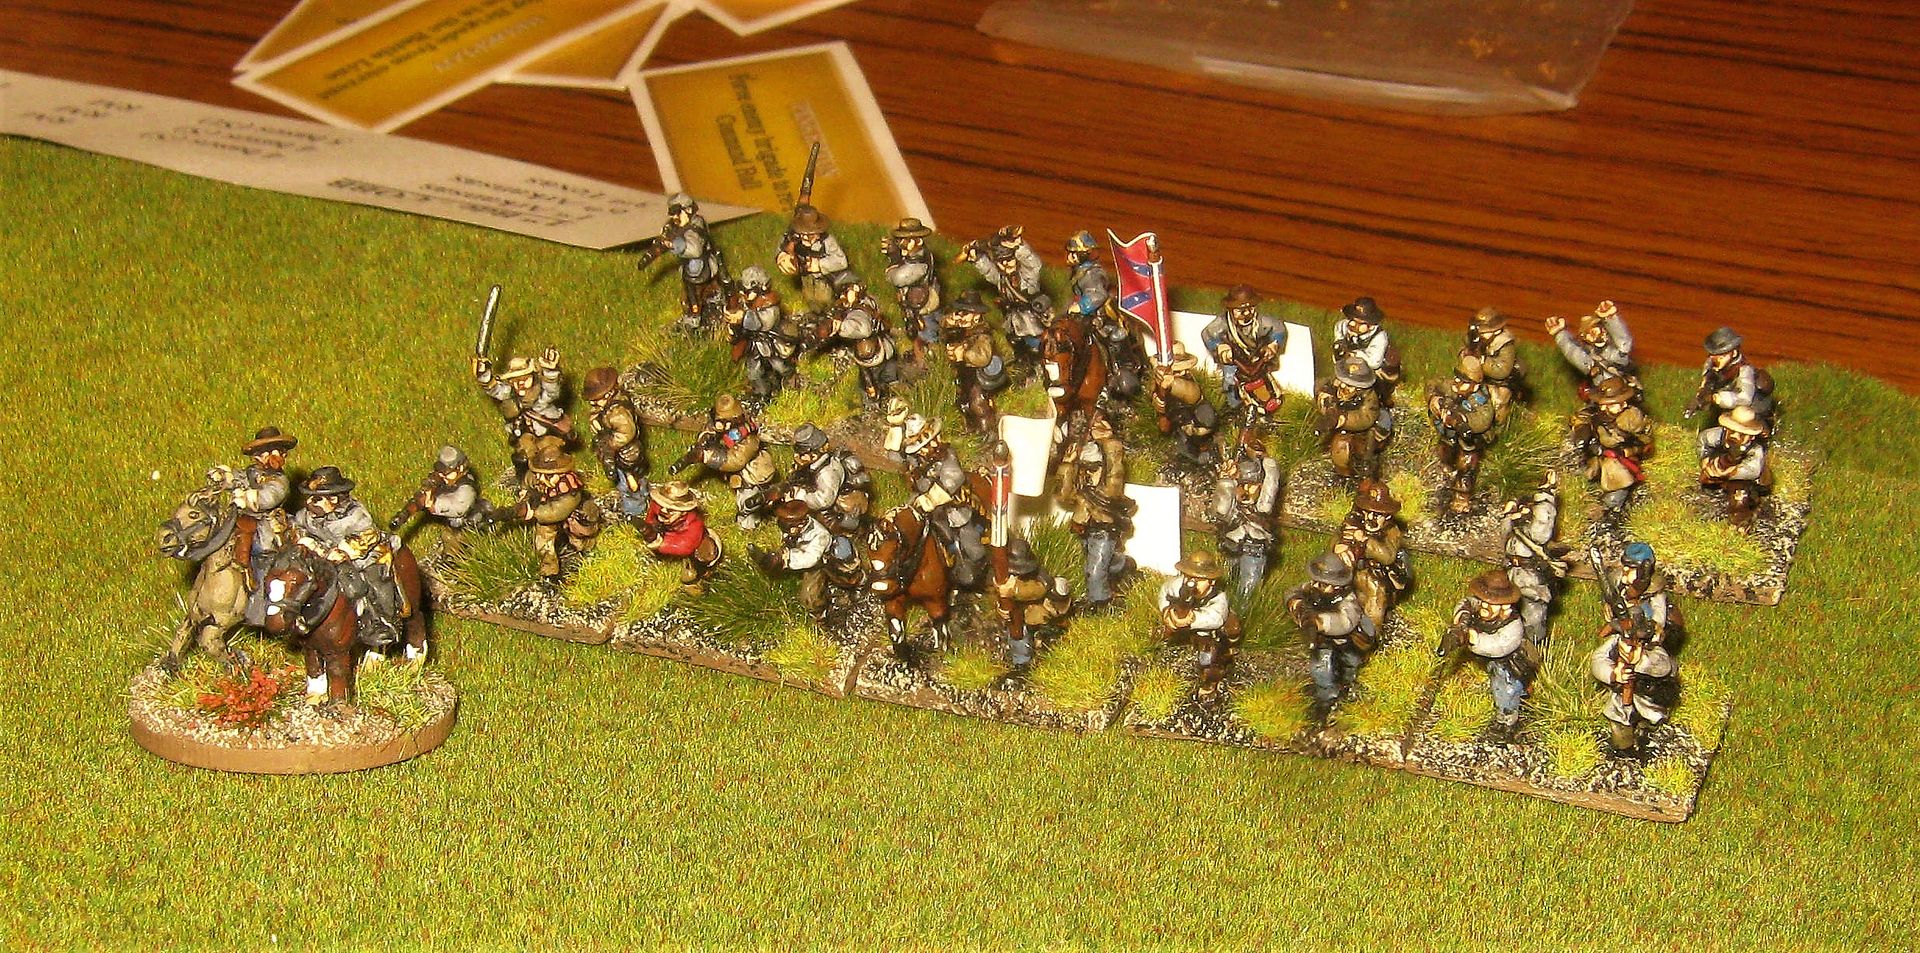
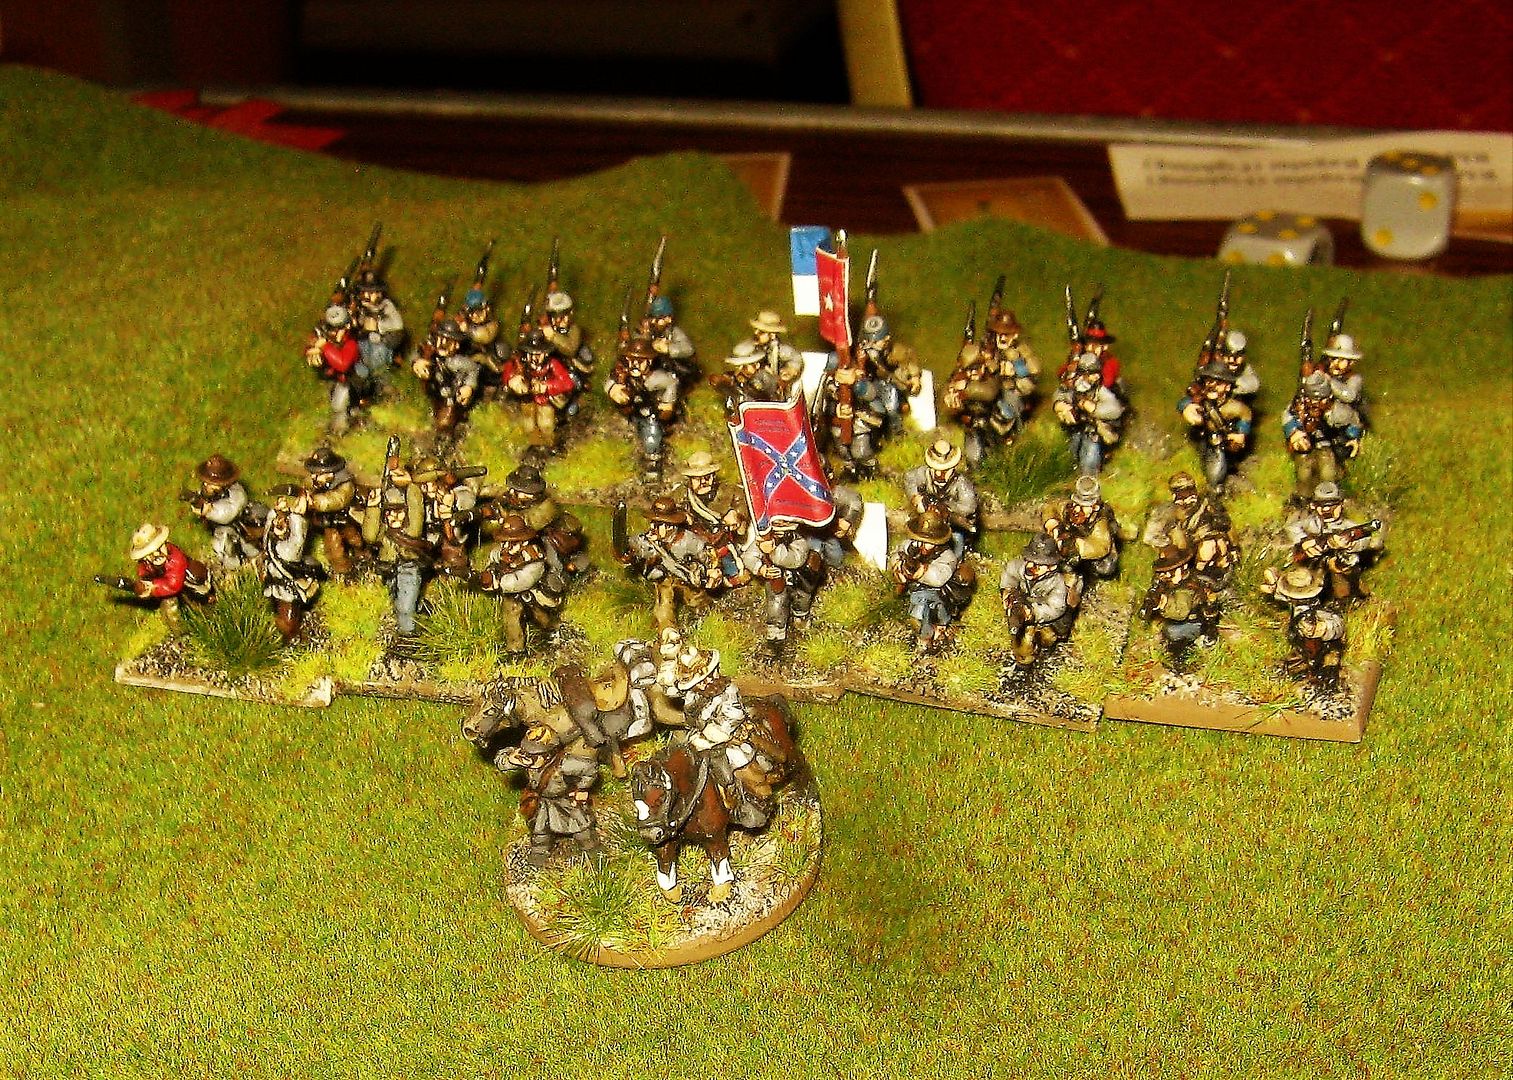
2. Rebs lining the wall. They gain the advantage of terrain with the wall providing both cover and a wonderful place to rest a musket when firing.
3. Confederate entrenched rifled artillery on Maryes Heights

4. Smoothbore artillery too.

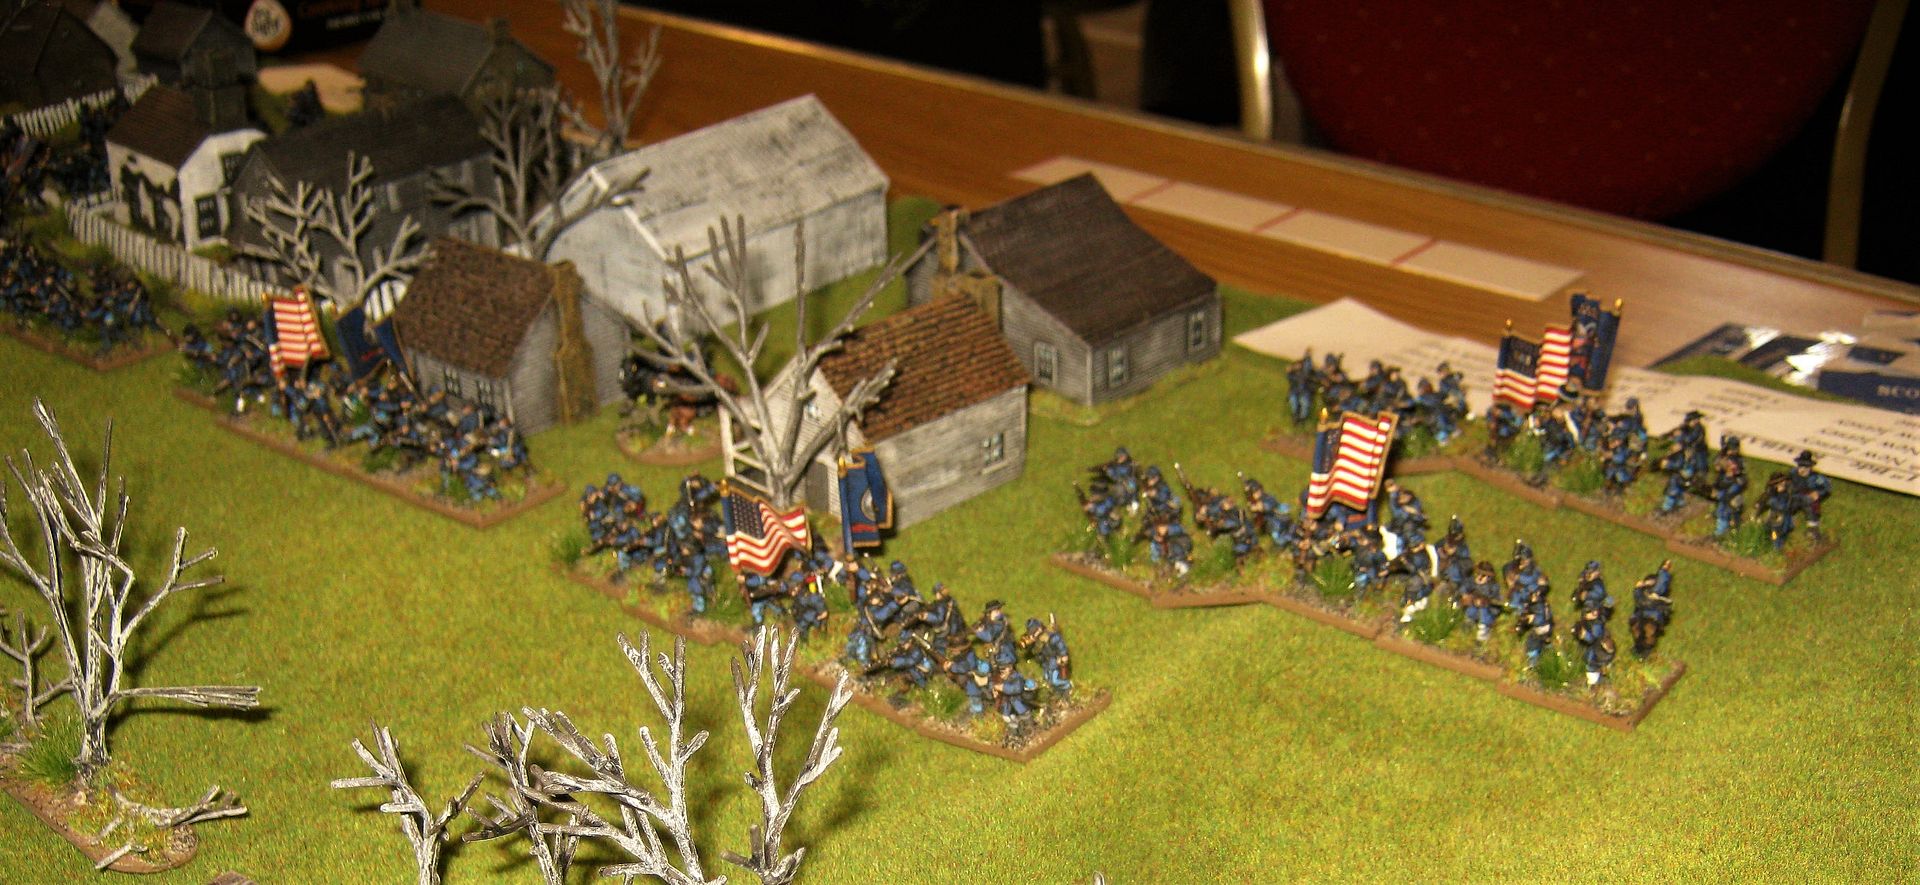
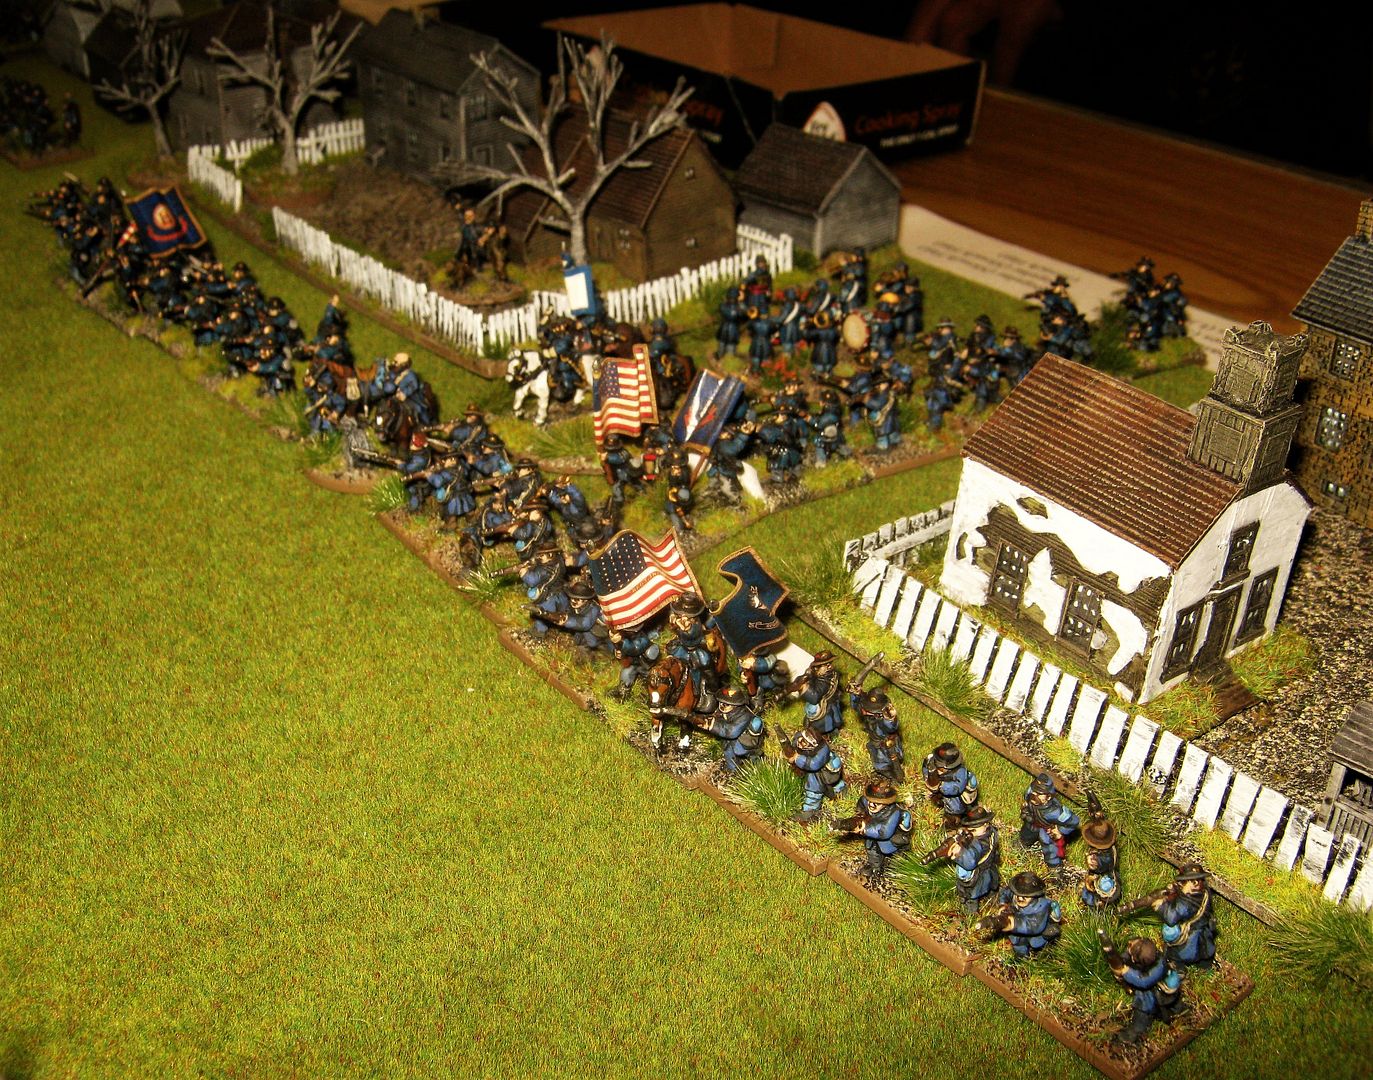
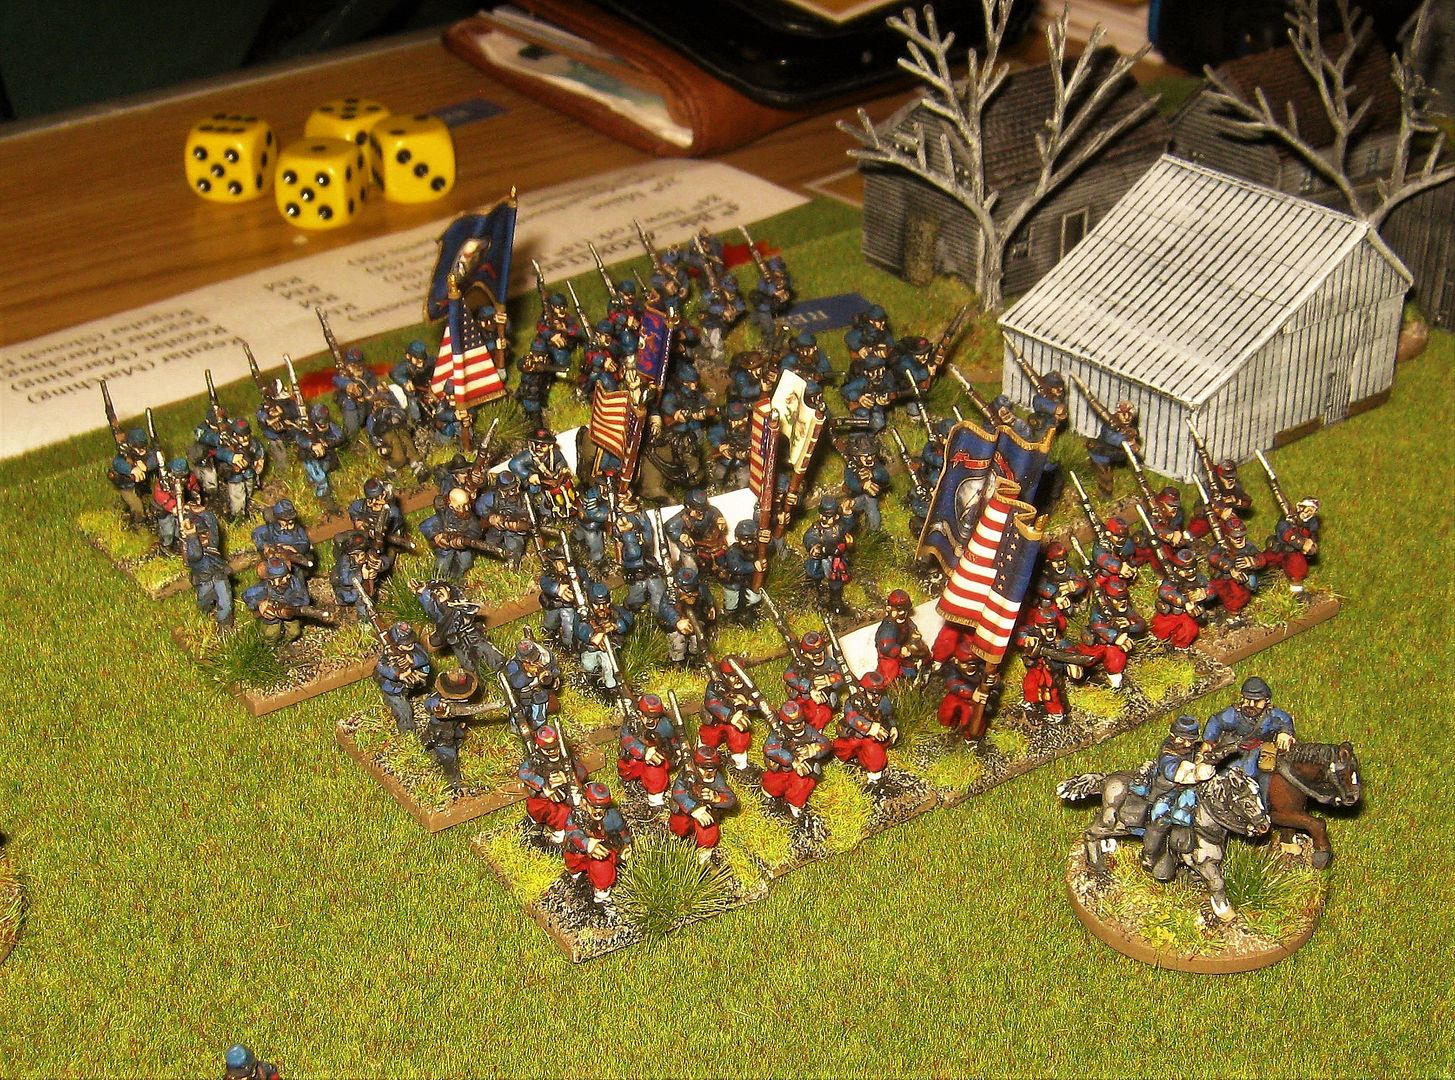
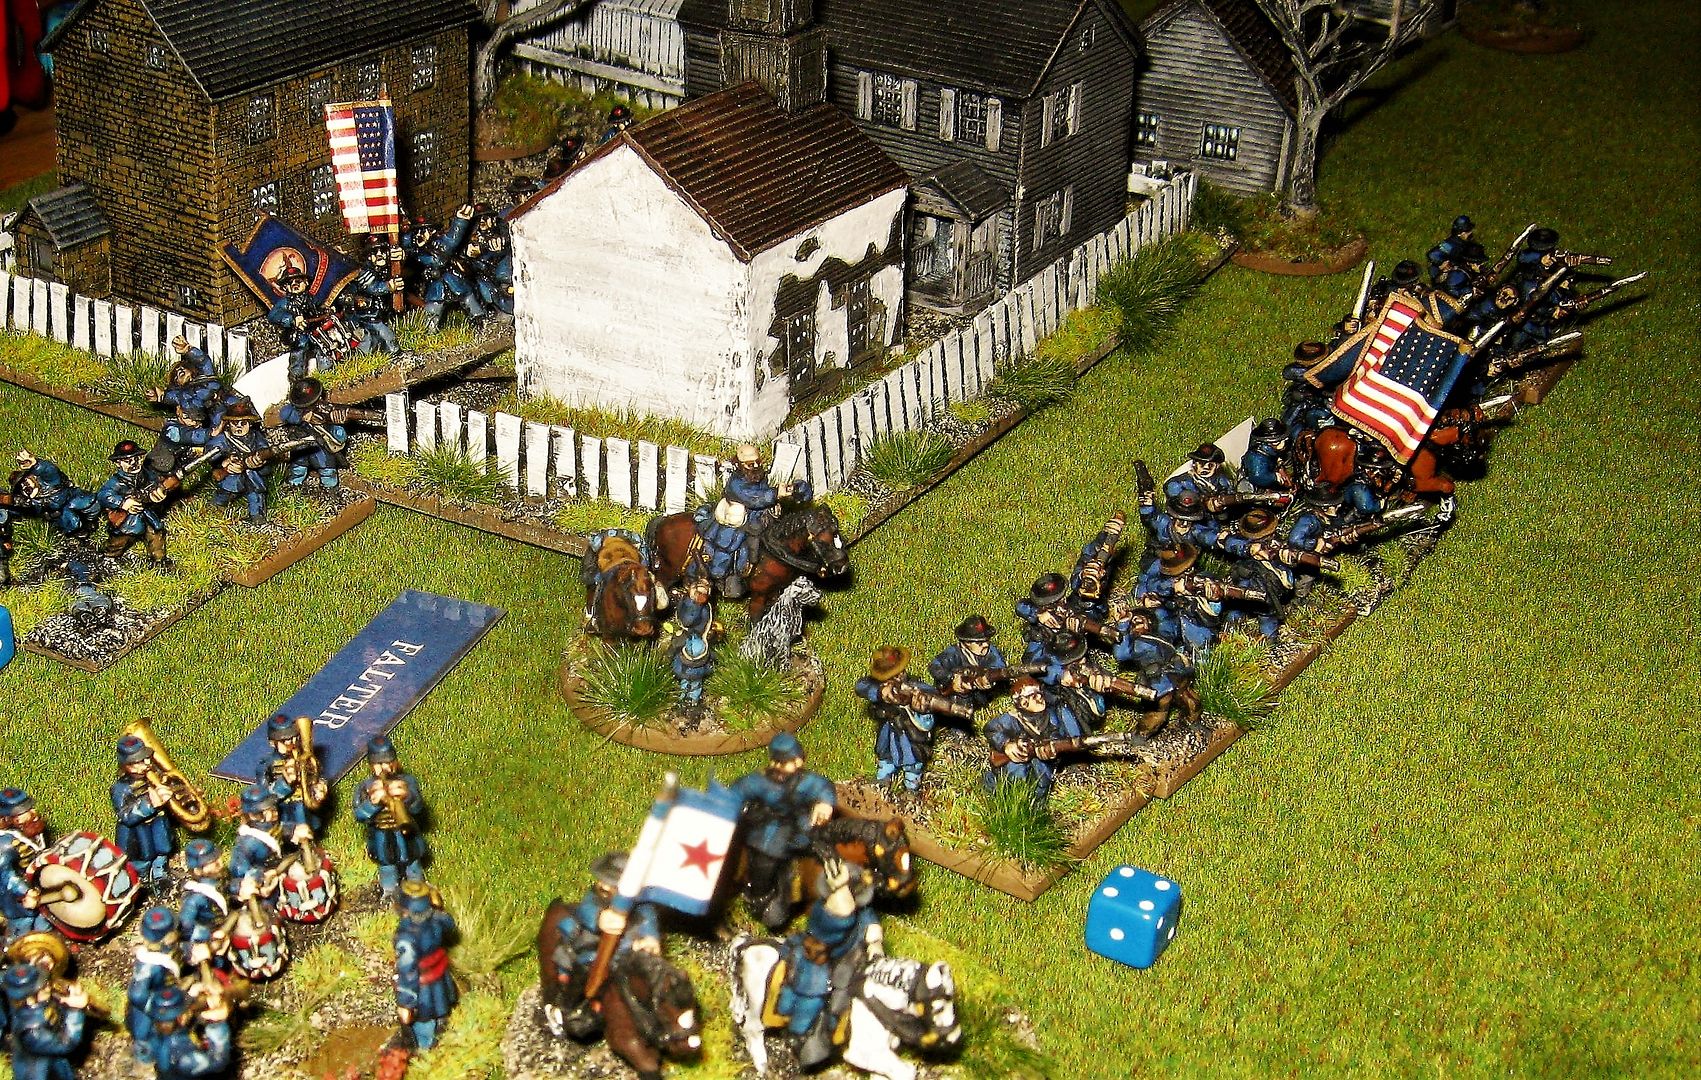
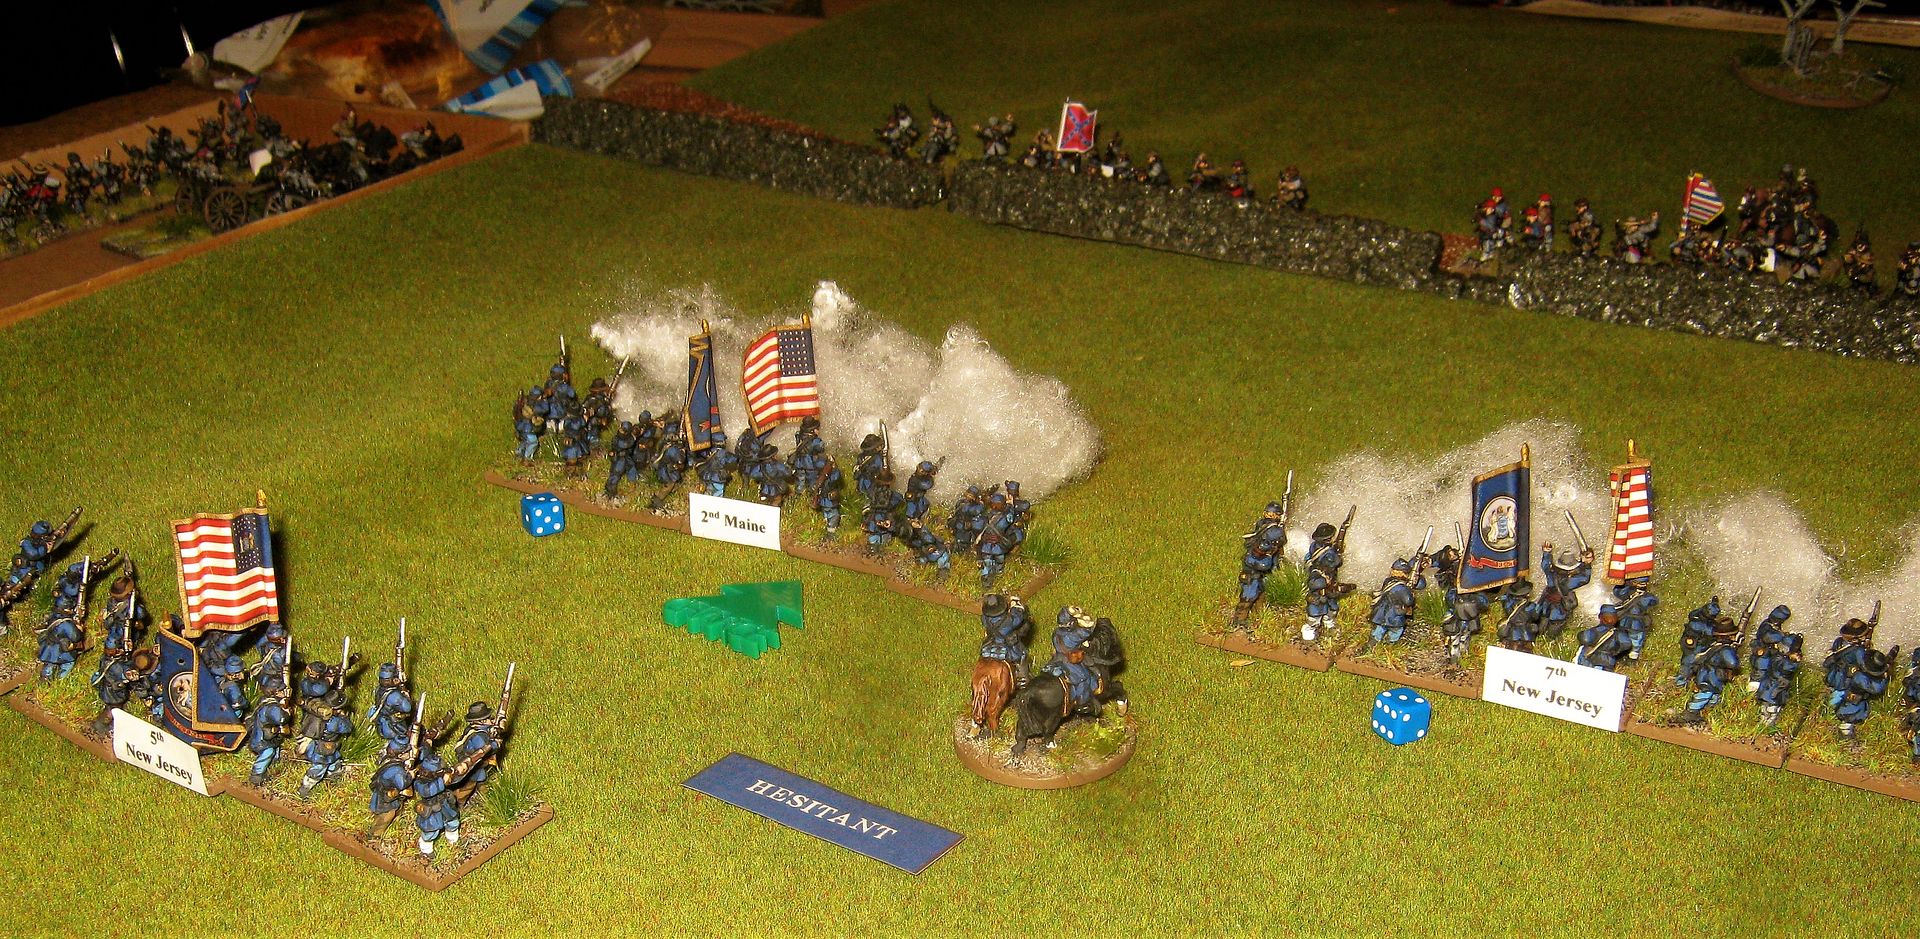
5. The Union forces of the centre prepare to advance. "We who are about to die salute you"
6. The Union left under Kimball in place.
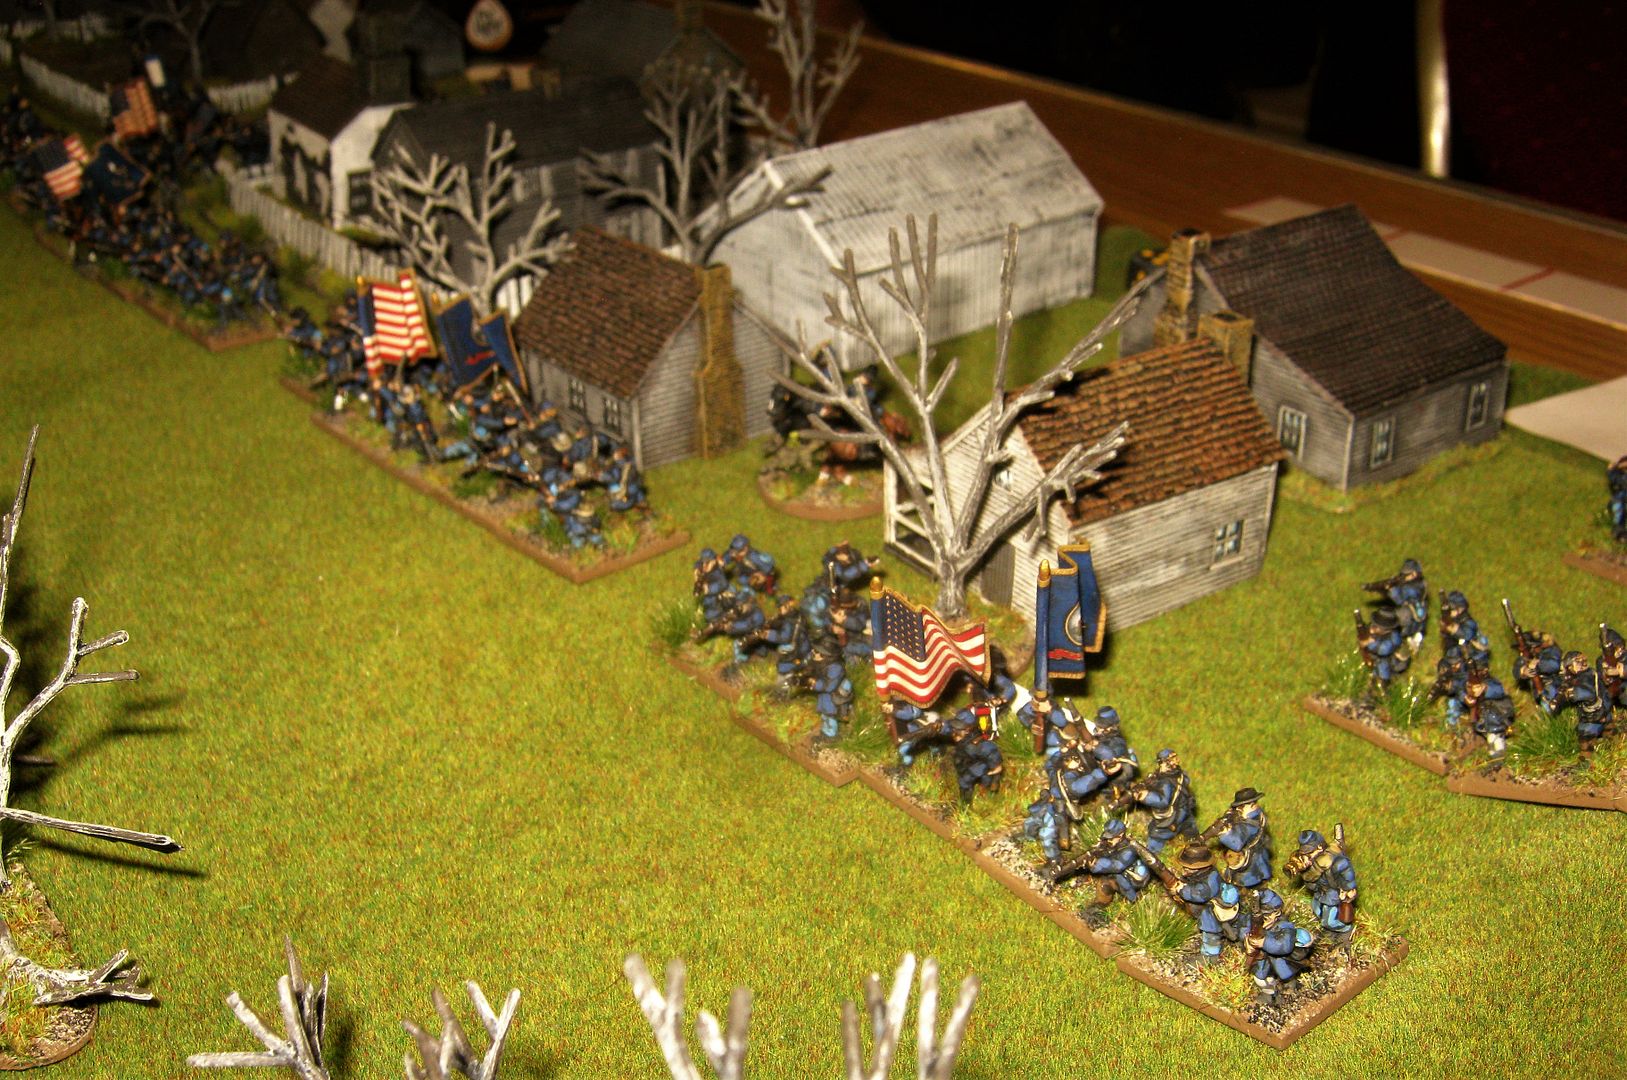
7. Palmer's Brigade
--------------------------------------------------------------------------------------------------------------------------------------------
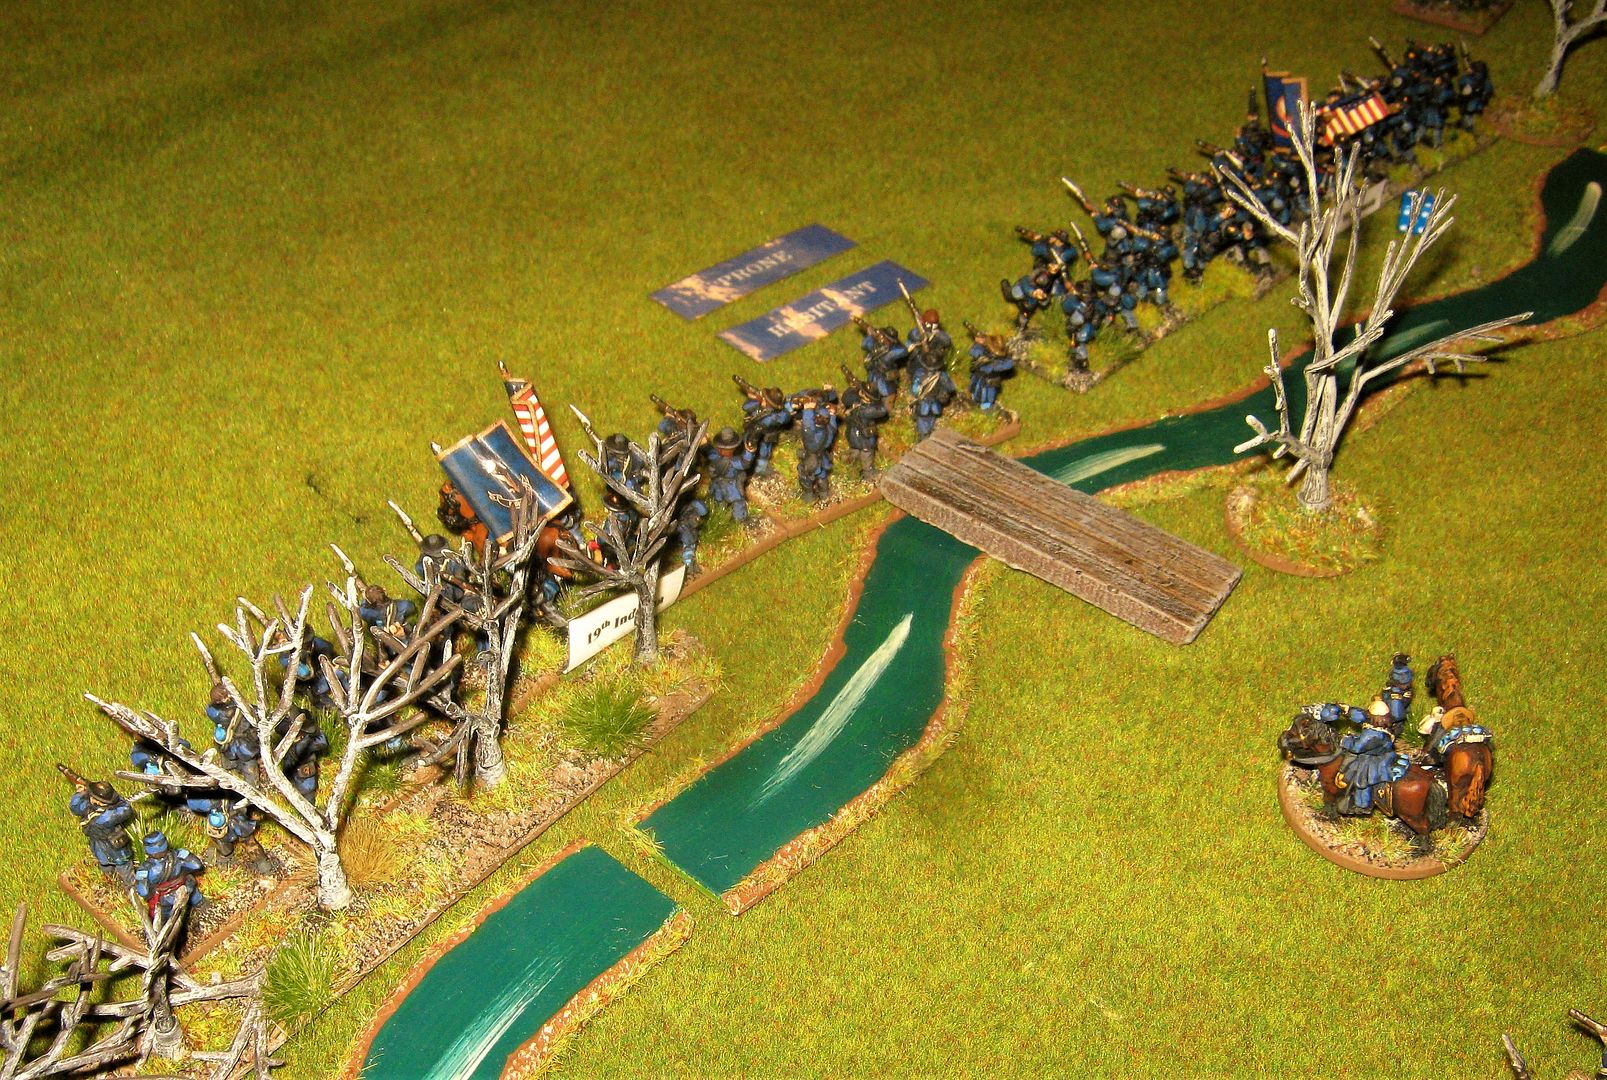
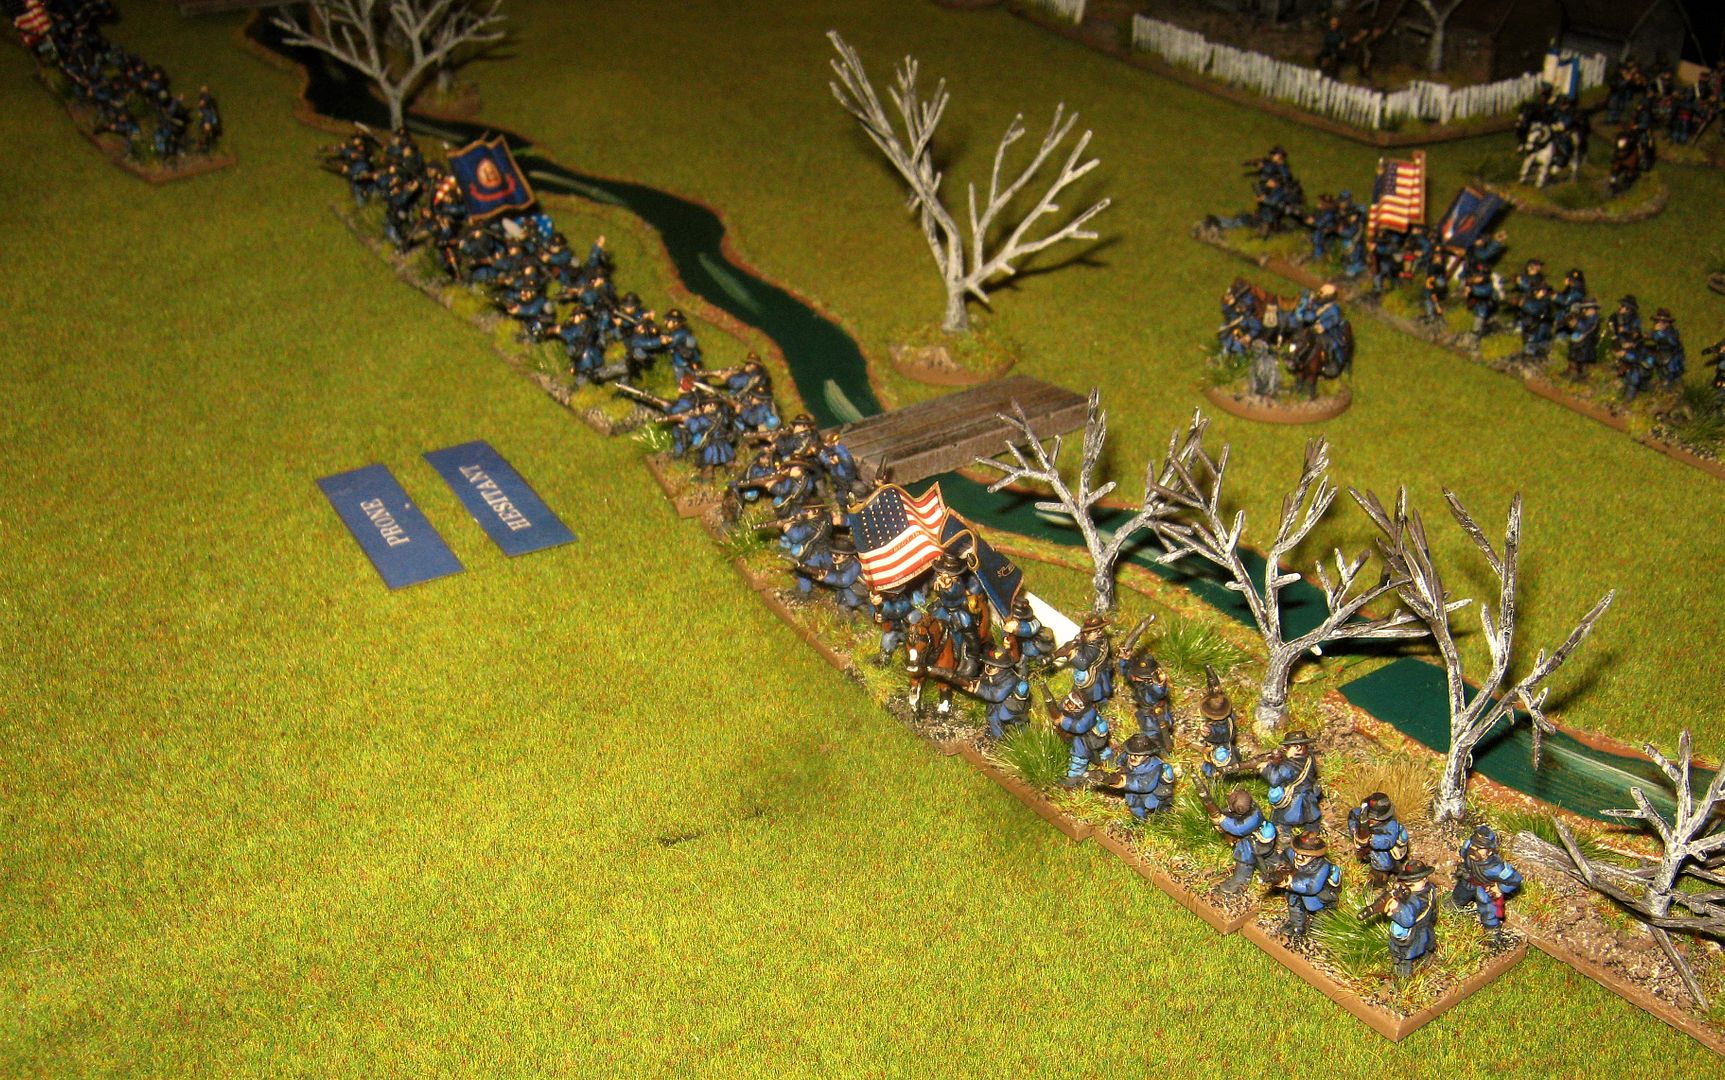
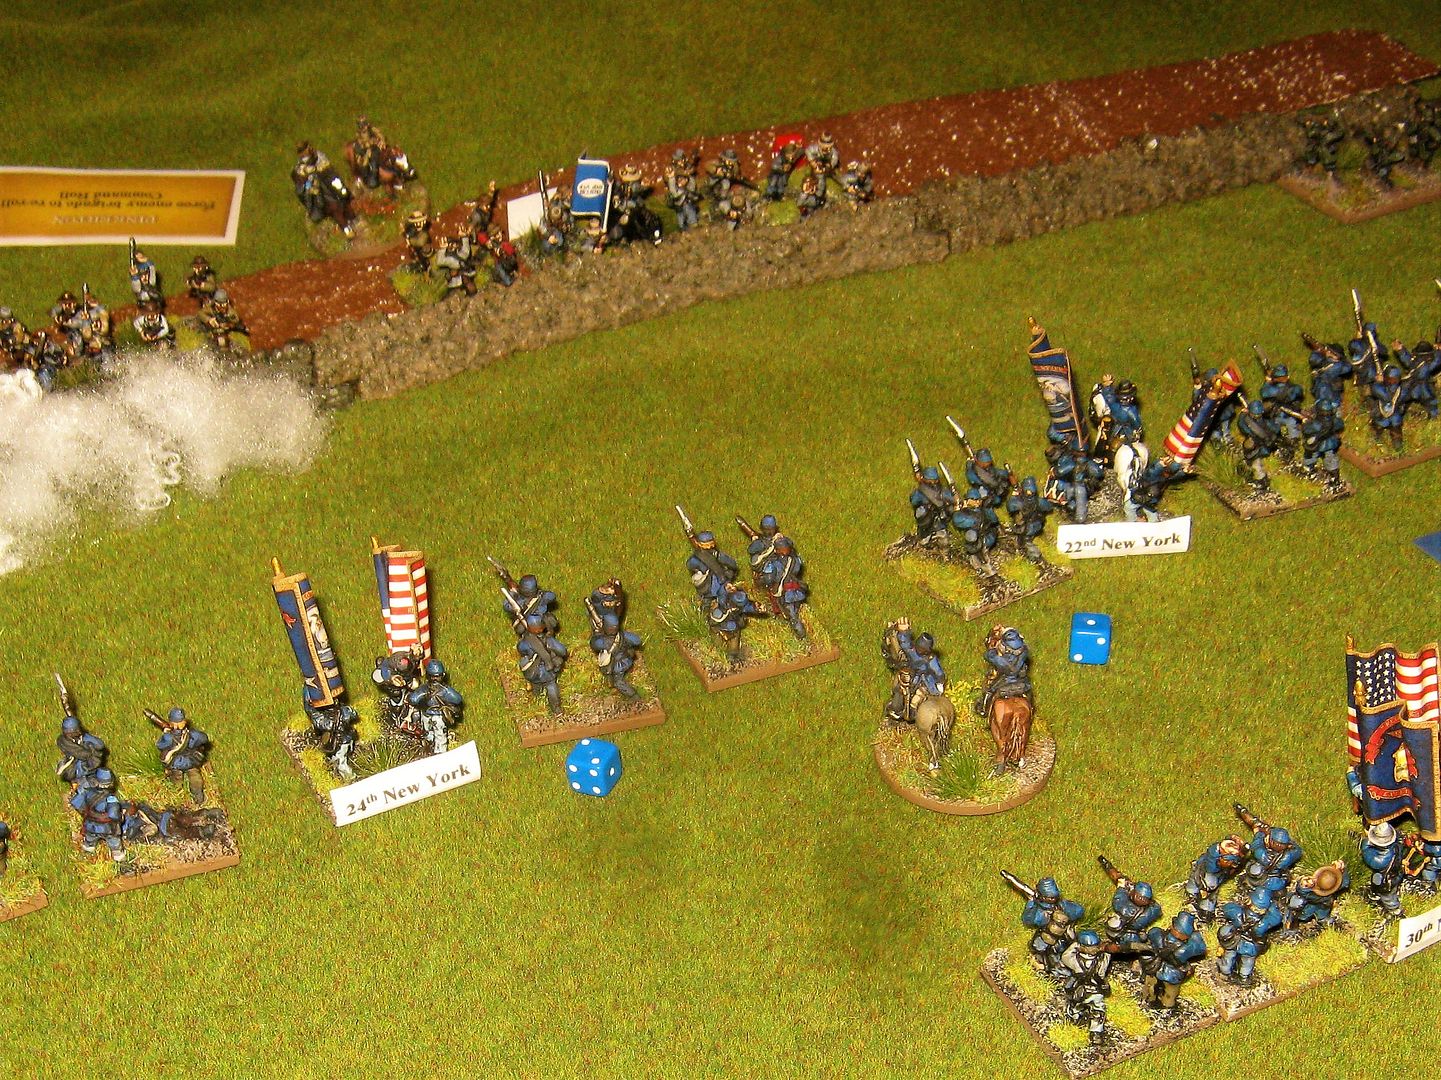
8. Union forces under Kimball cross the ditch at half speed, and pass the required formation test, but then the next turn the command becomes Hesitant and the men go prone
9. Sitting ducks. To quote Confederate General Porter Alexander, “A chicken could not live on that field when we open on it.”...and so it would prove...
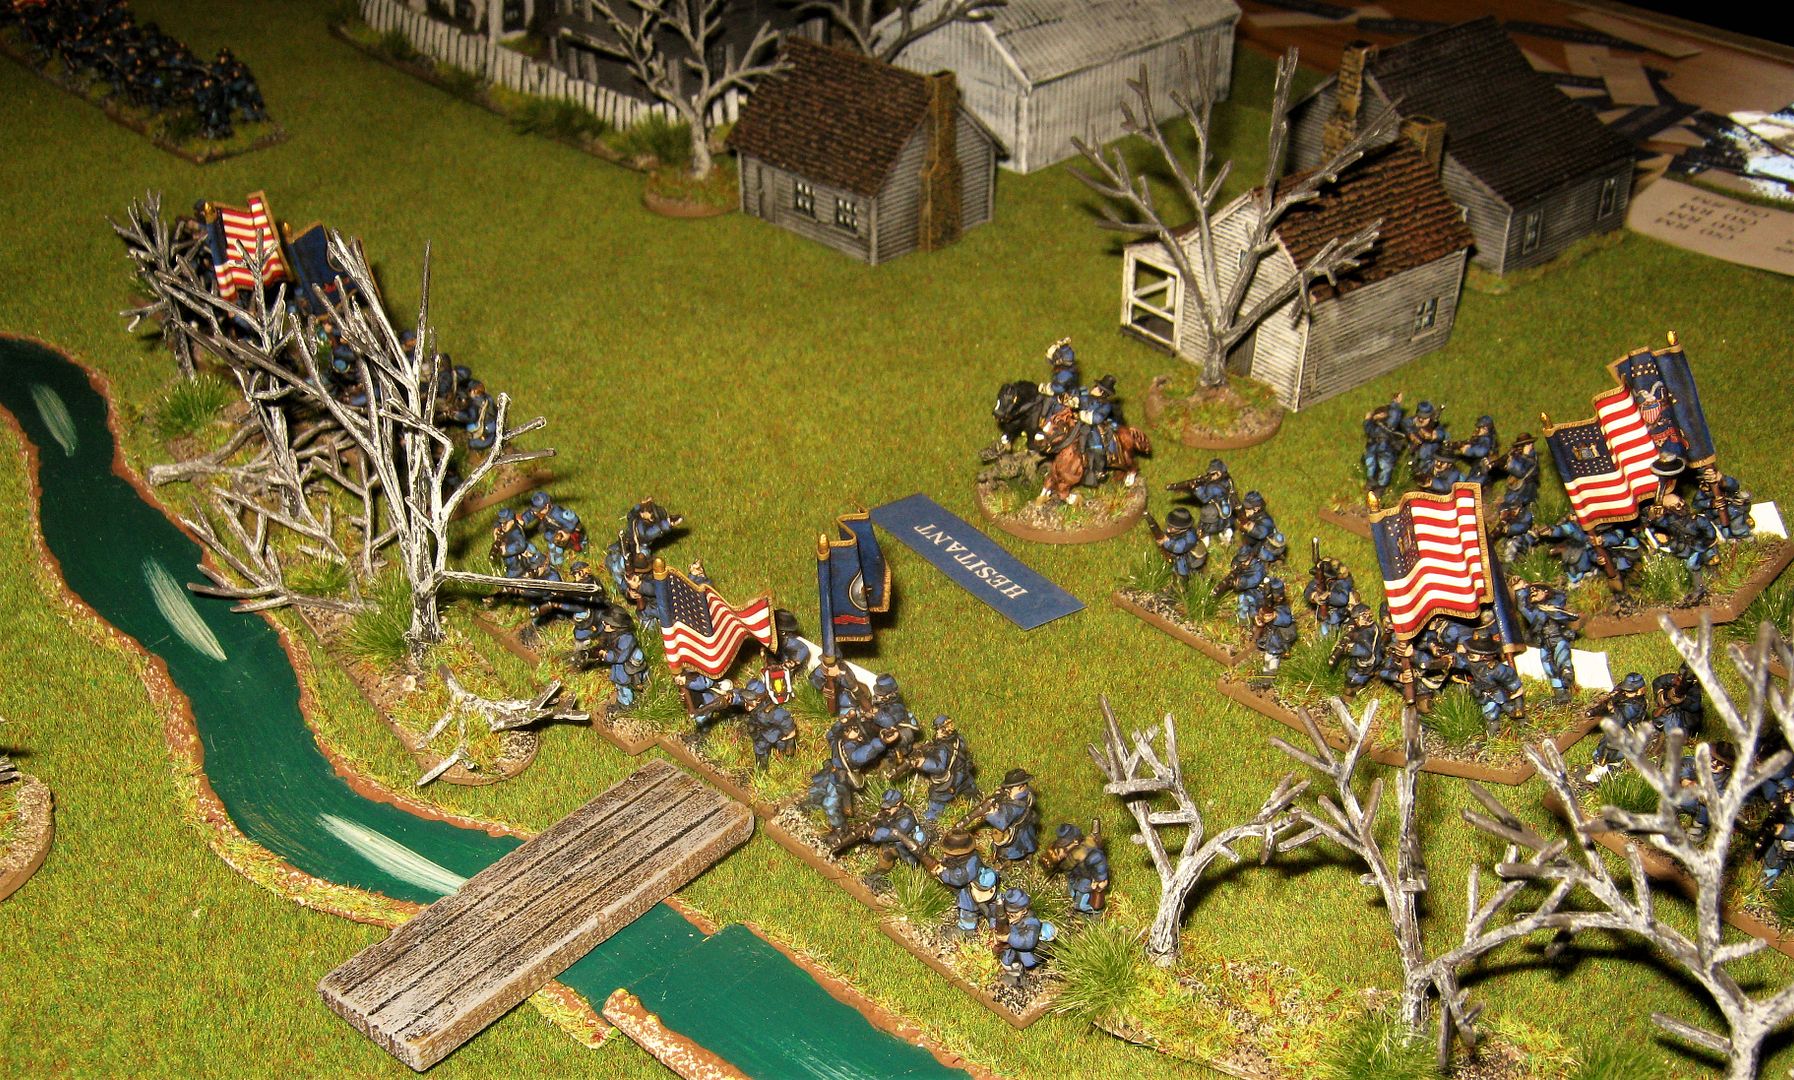
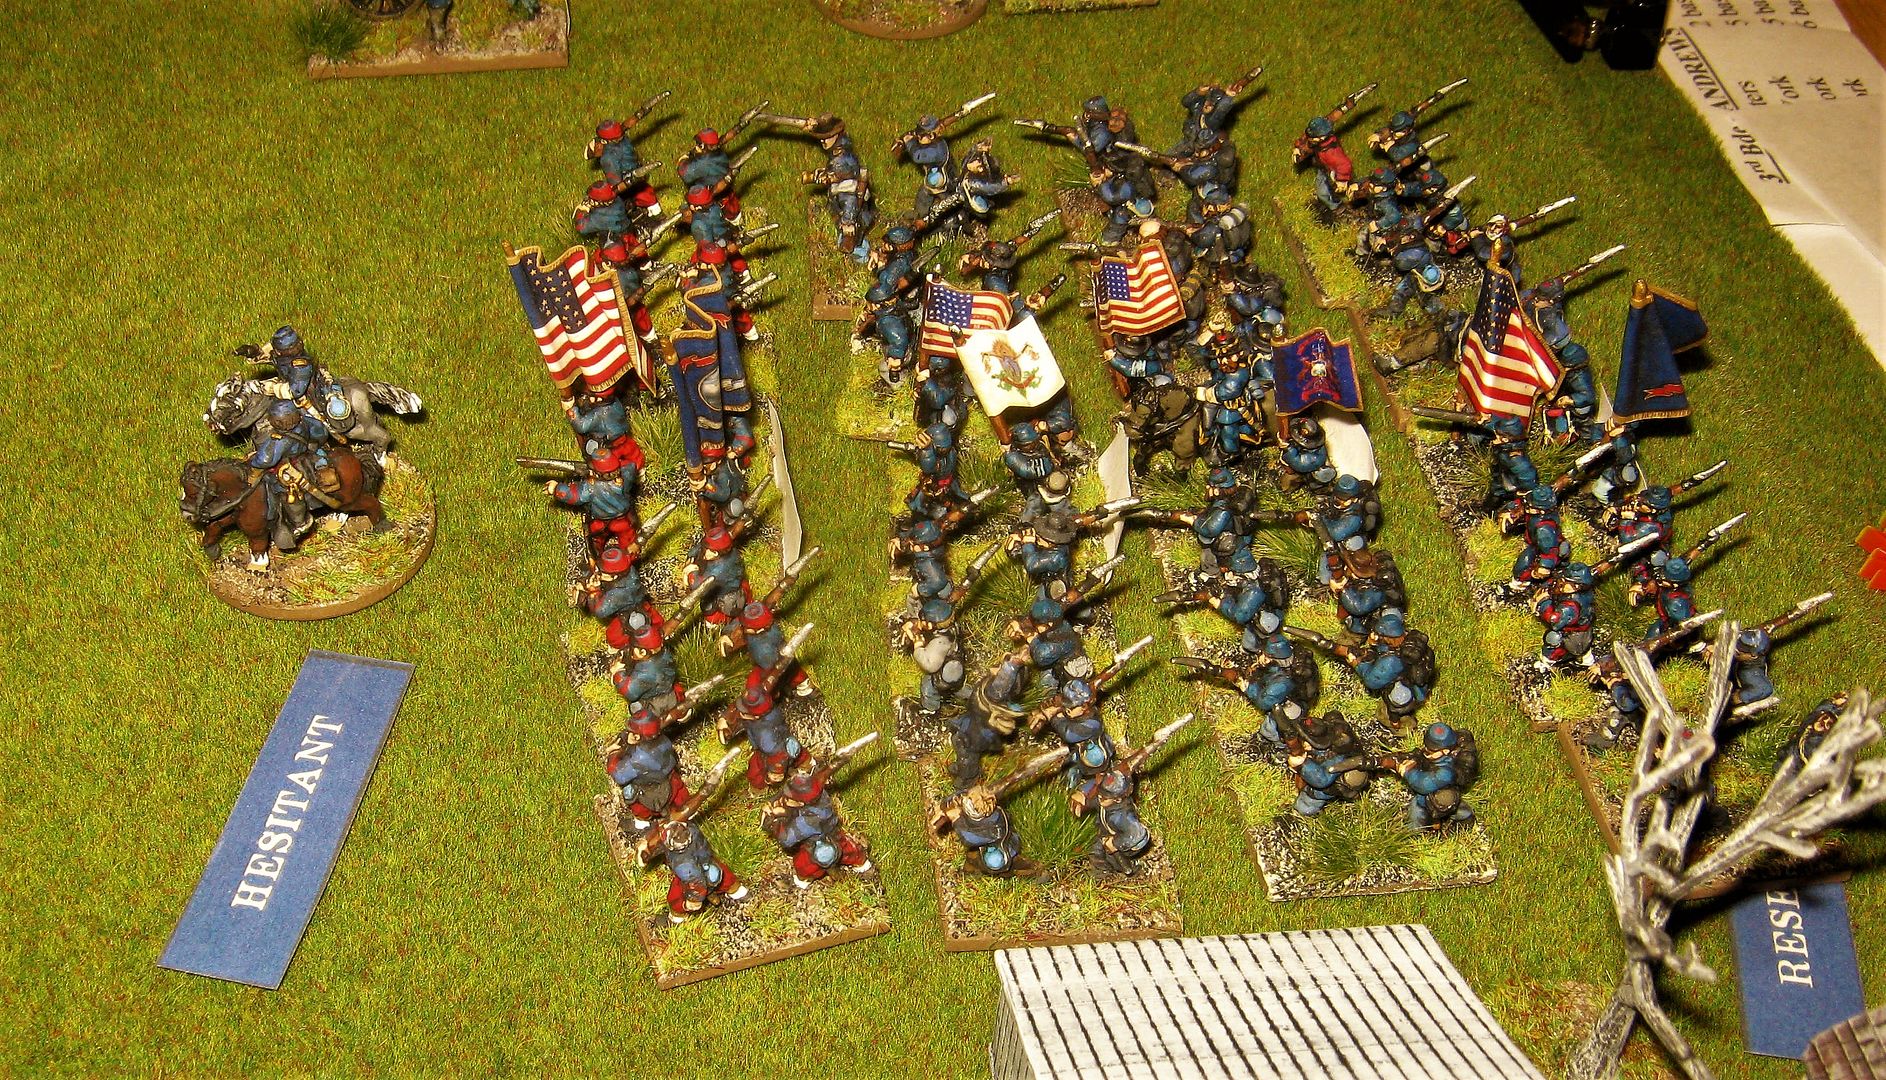
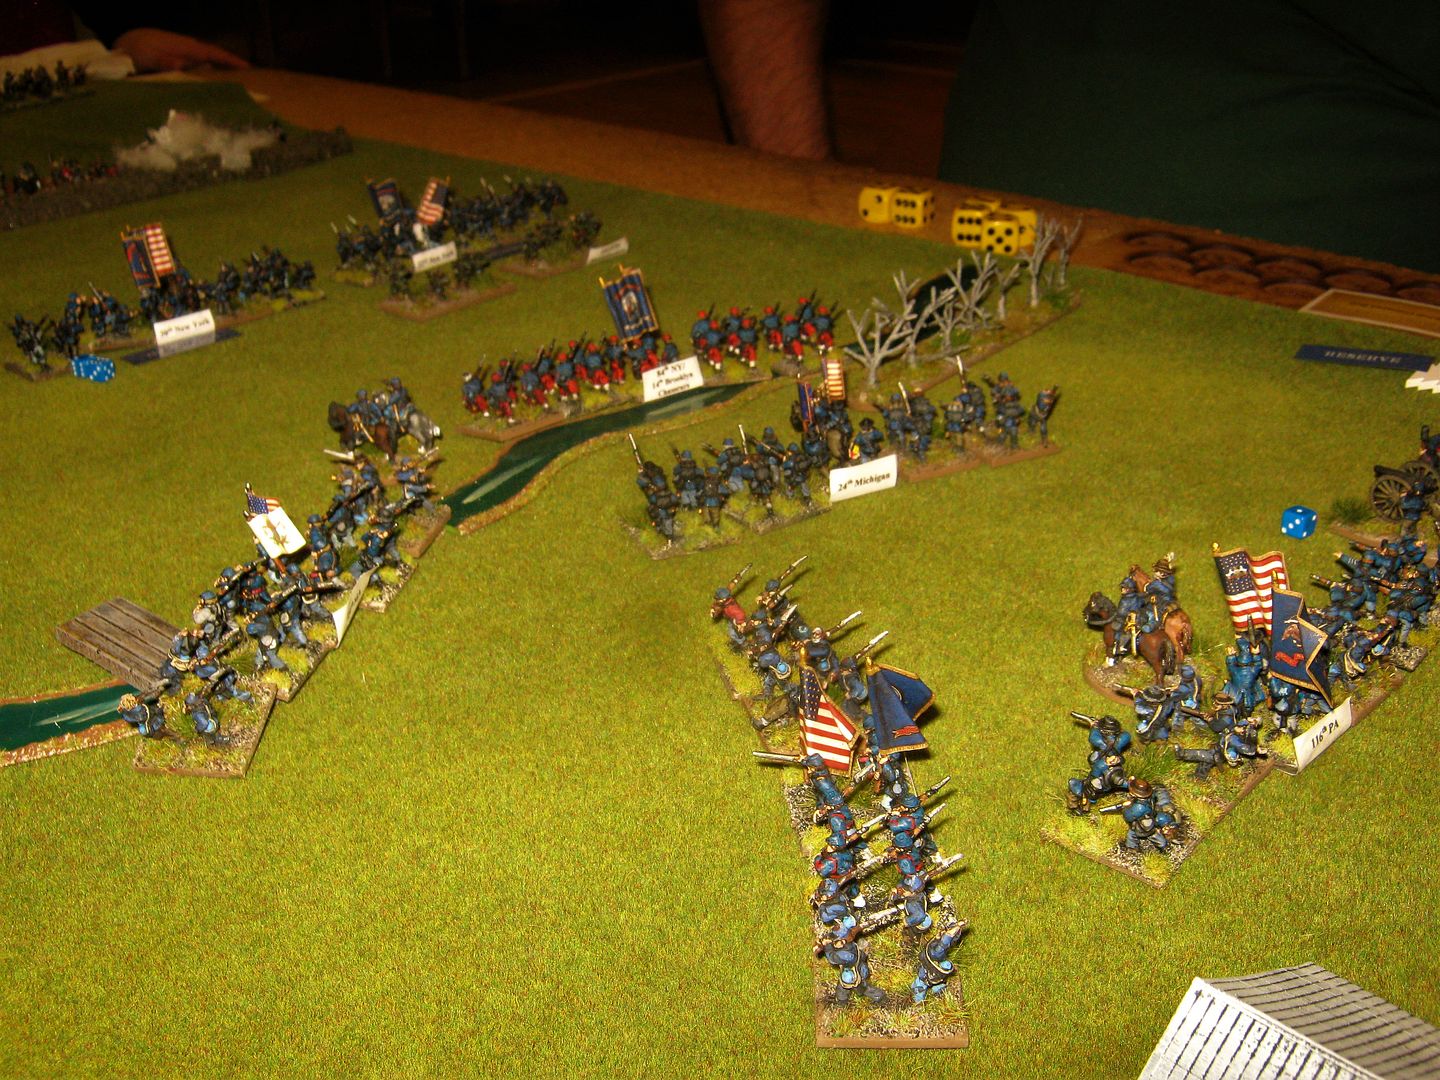
10. Union centre under General Palmer prepares to cross. However, they're Hesitant. Also Andrews Brigade to their right have advanced mid way to the stone wall but then also become Hesitant. Even Brigade Staff Officer attachments can't get the men moving.
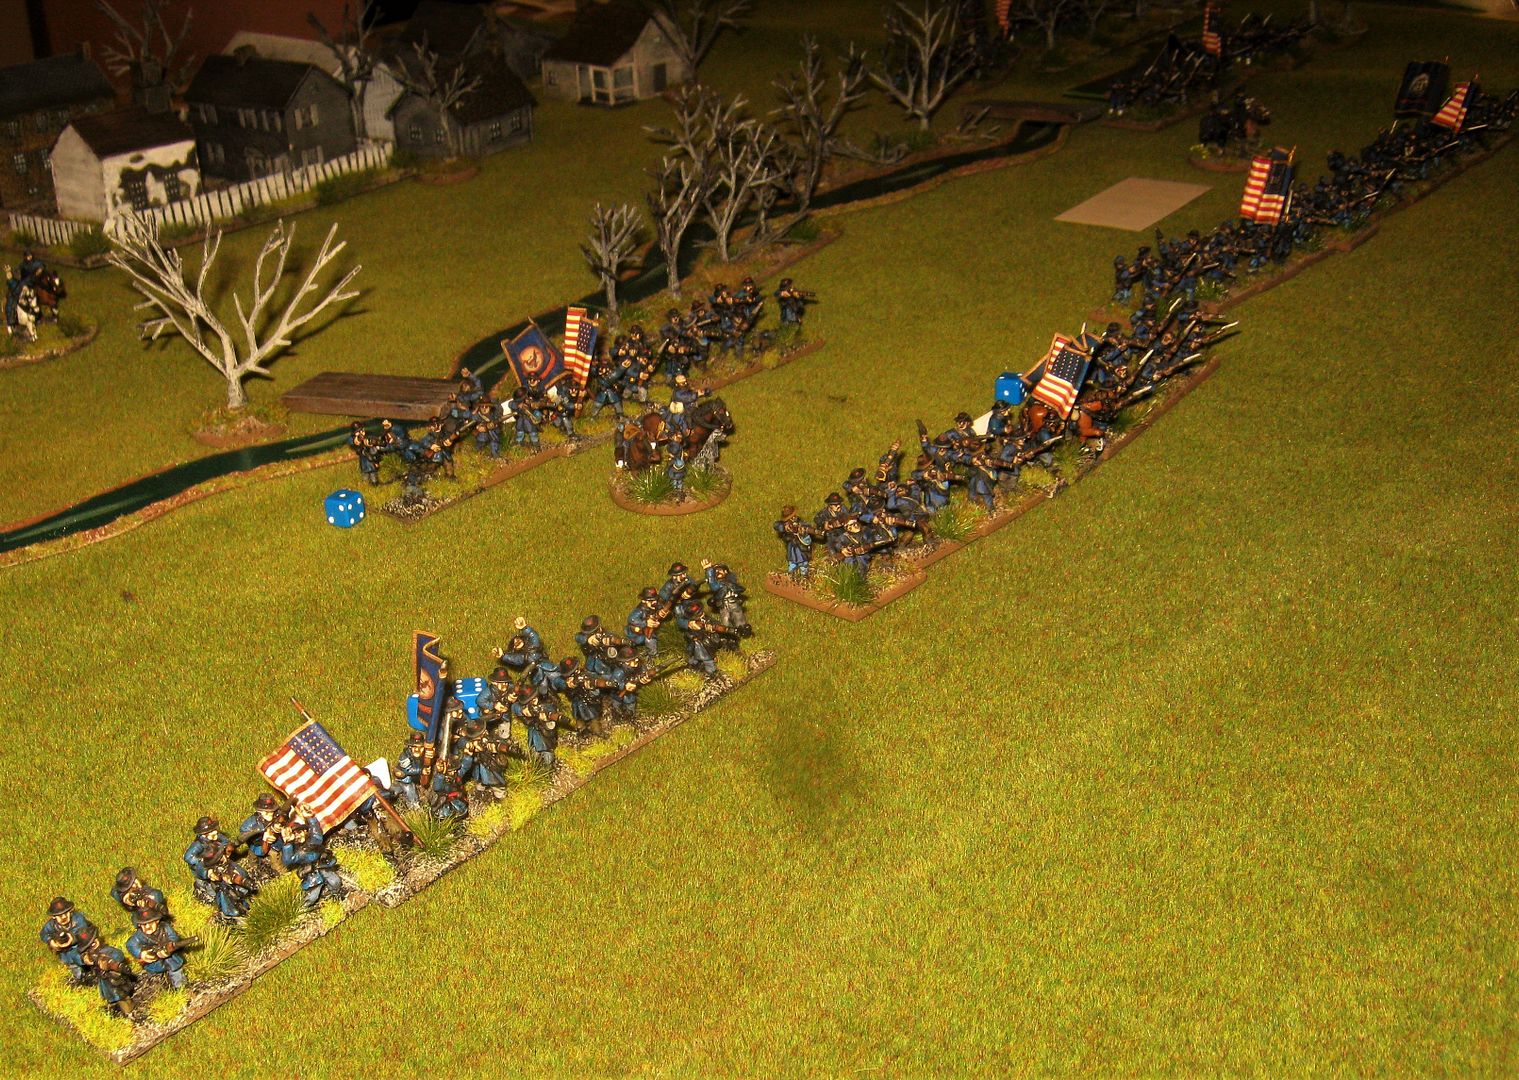
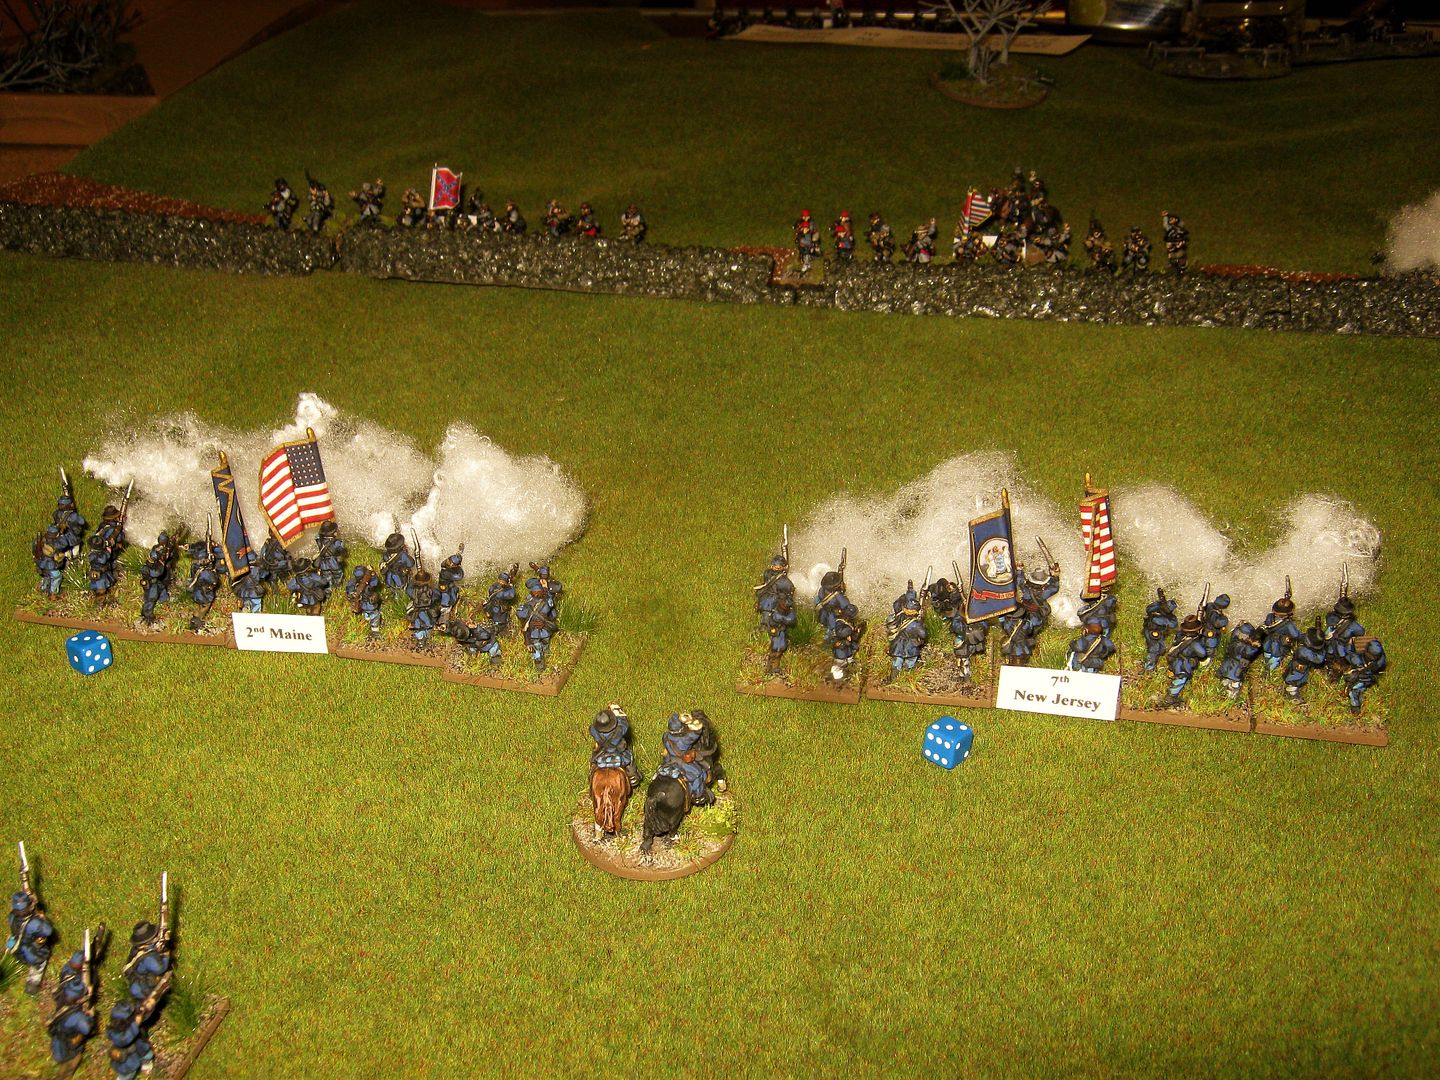
11. Kimball's men advance but the artillery fire is hot
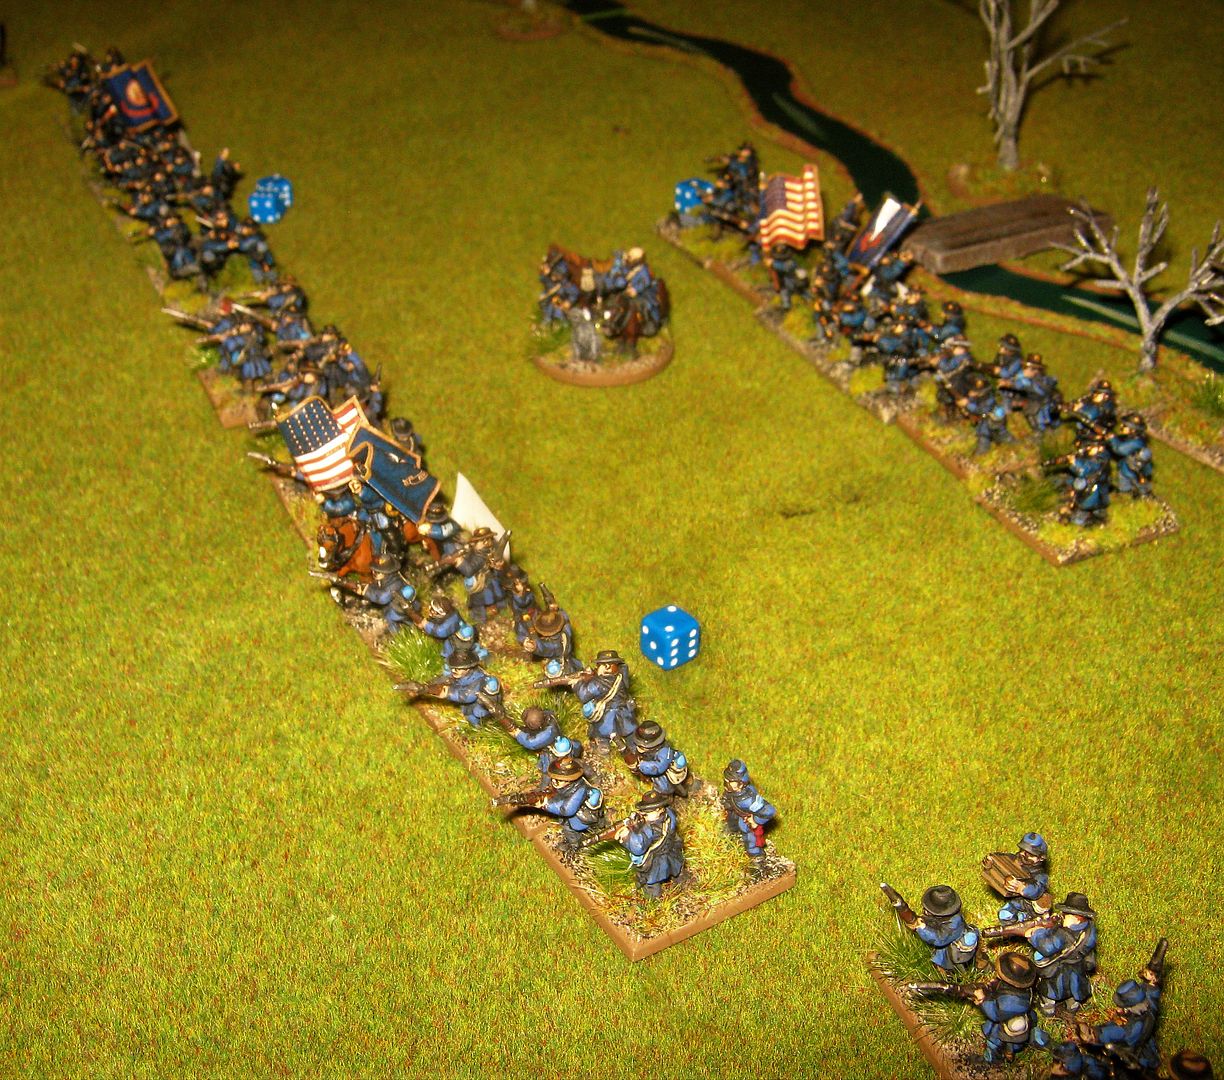
12. Palmer's Brigade advances but take heavy casualties
13. Zook's Brigade arrives
14. Ransom's brigade arrives
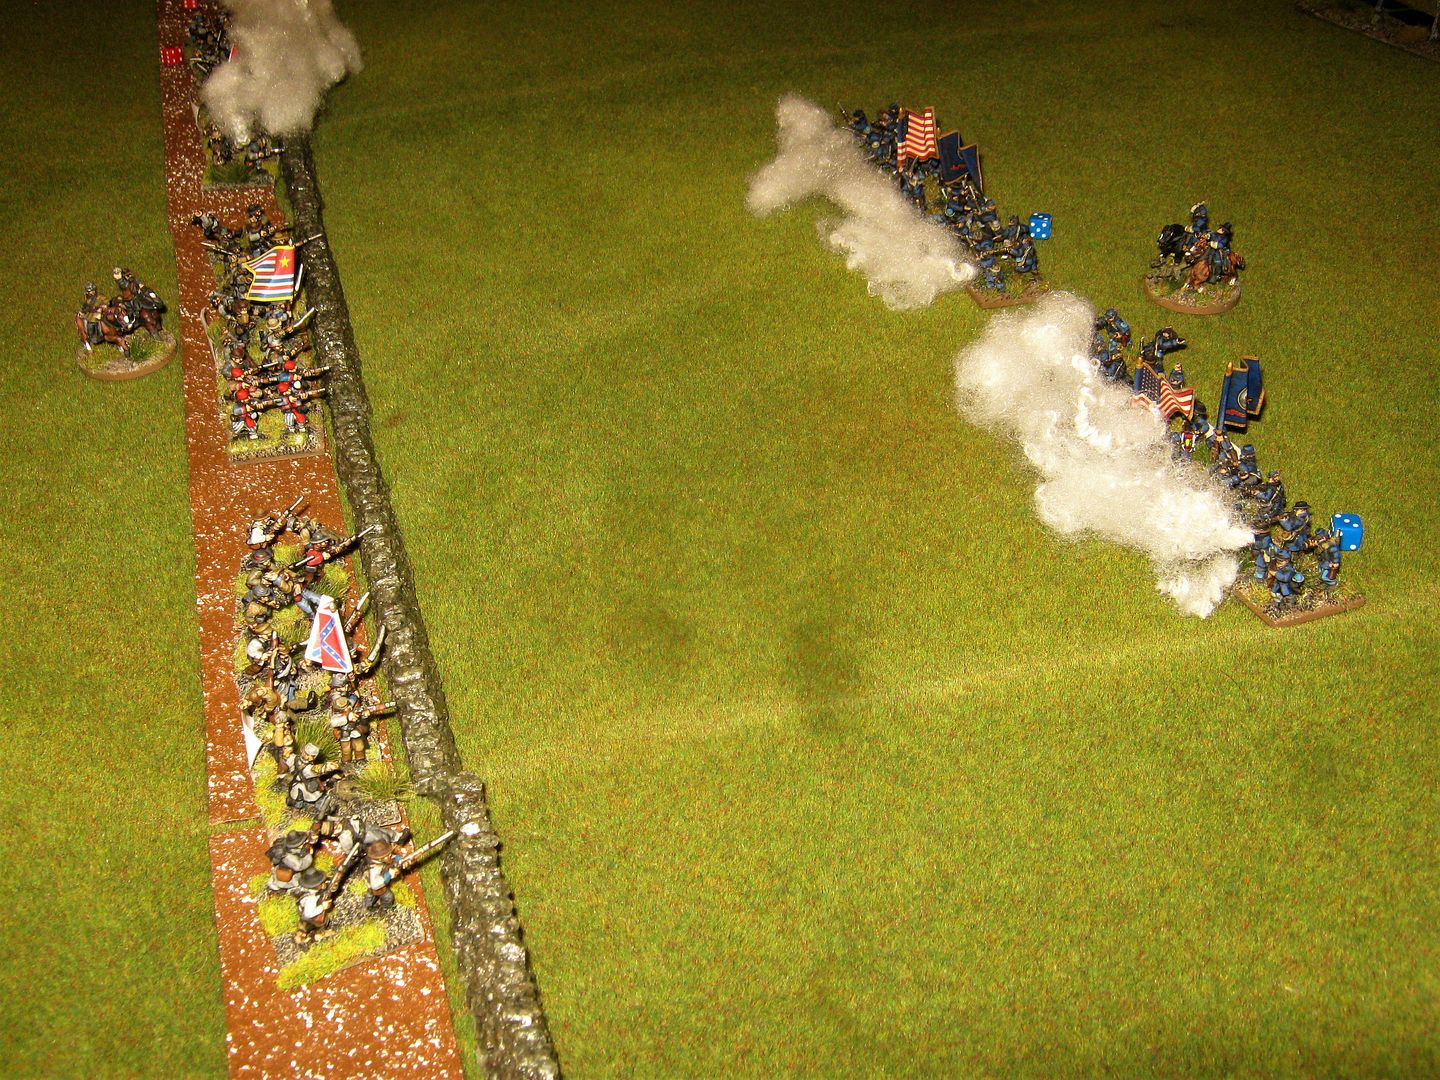
15. Andrew's Brigade engages the enemy at the wall. Unfortunately the combination of Elite troops, plus the advantages of the wall outweigh the Union benefits of being in skirmish order.
16. Andrew's Brigade engages the enemy at the wall. Unfortunately the combination of Elite troops, plus the advantages of the wall outweigh the Union benefits of being in skirmish order.
17. Zook's Brigade takes one look at the carnage playing out infront of them and become predictably [sigh] Hesitant.
-------------------------------------------------------------------------------------------------------------------------------------------
18. One of Palmer's regiments reaches its 12 limit dispersal point. His Brigade Falters then fails it's Brigade Falter test spectacularly with a 1 and are Catawamptiously Chewed Up! They are forced back across the drainage ditch and into Fredericksburg

19. The Union battery on table has a Double Canister benefit but can't actually move into effective range due to not being able to cross the drainage ditch.

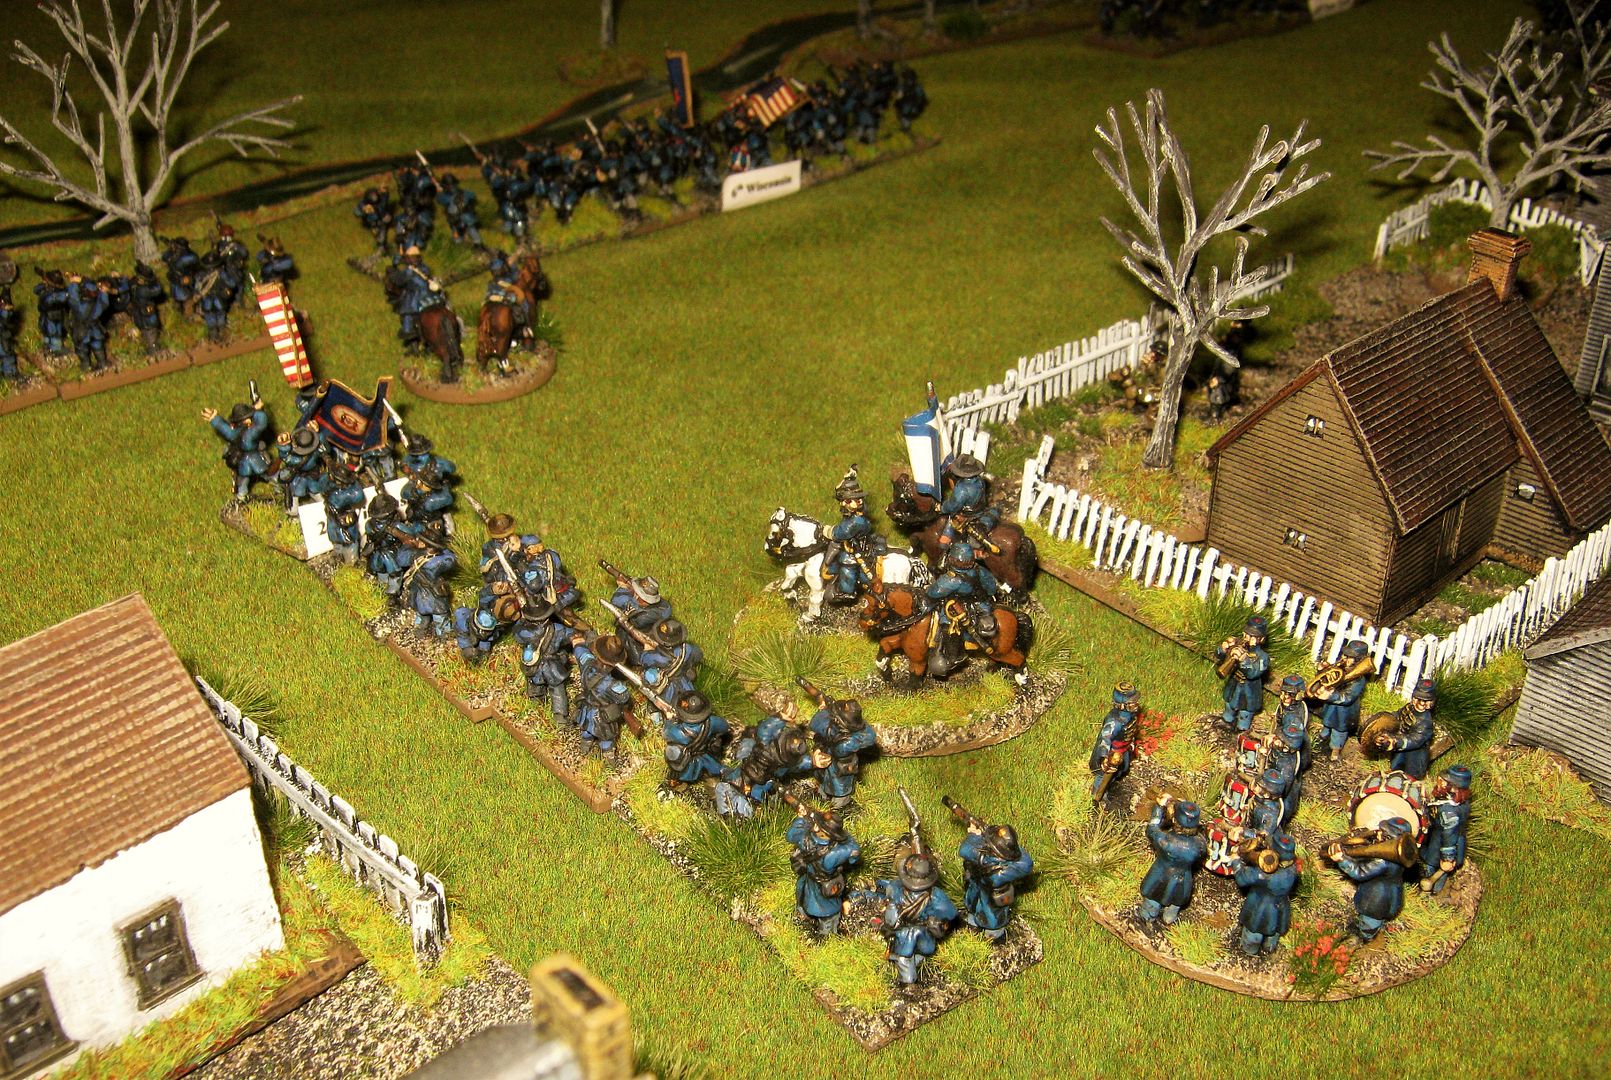
20. The band plays on but Palmer's Brigade fails its Brigade Falter Test with a 1 again and basically routs.
21.Kimball's Brigade almost gets to the wall but loses its fire discipline when firing in total desperation.
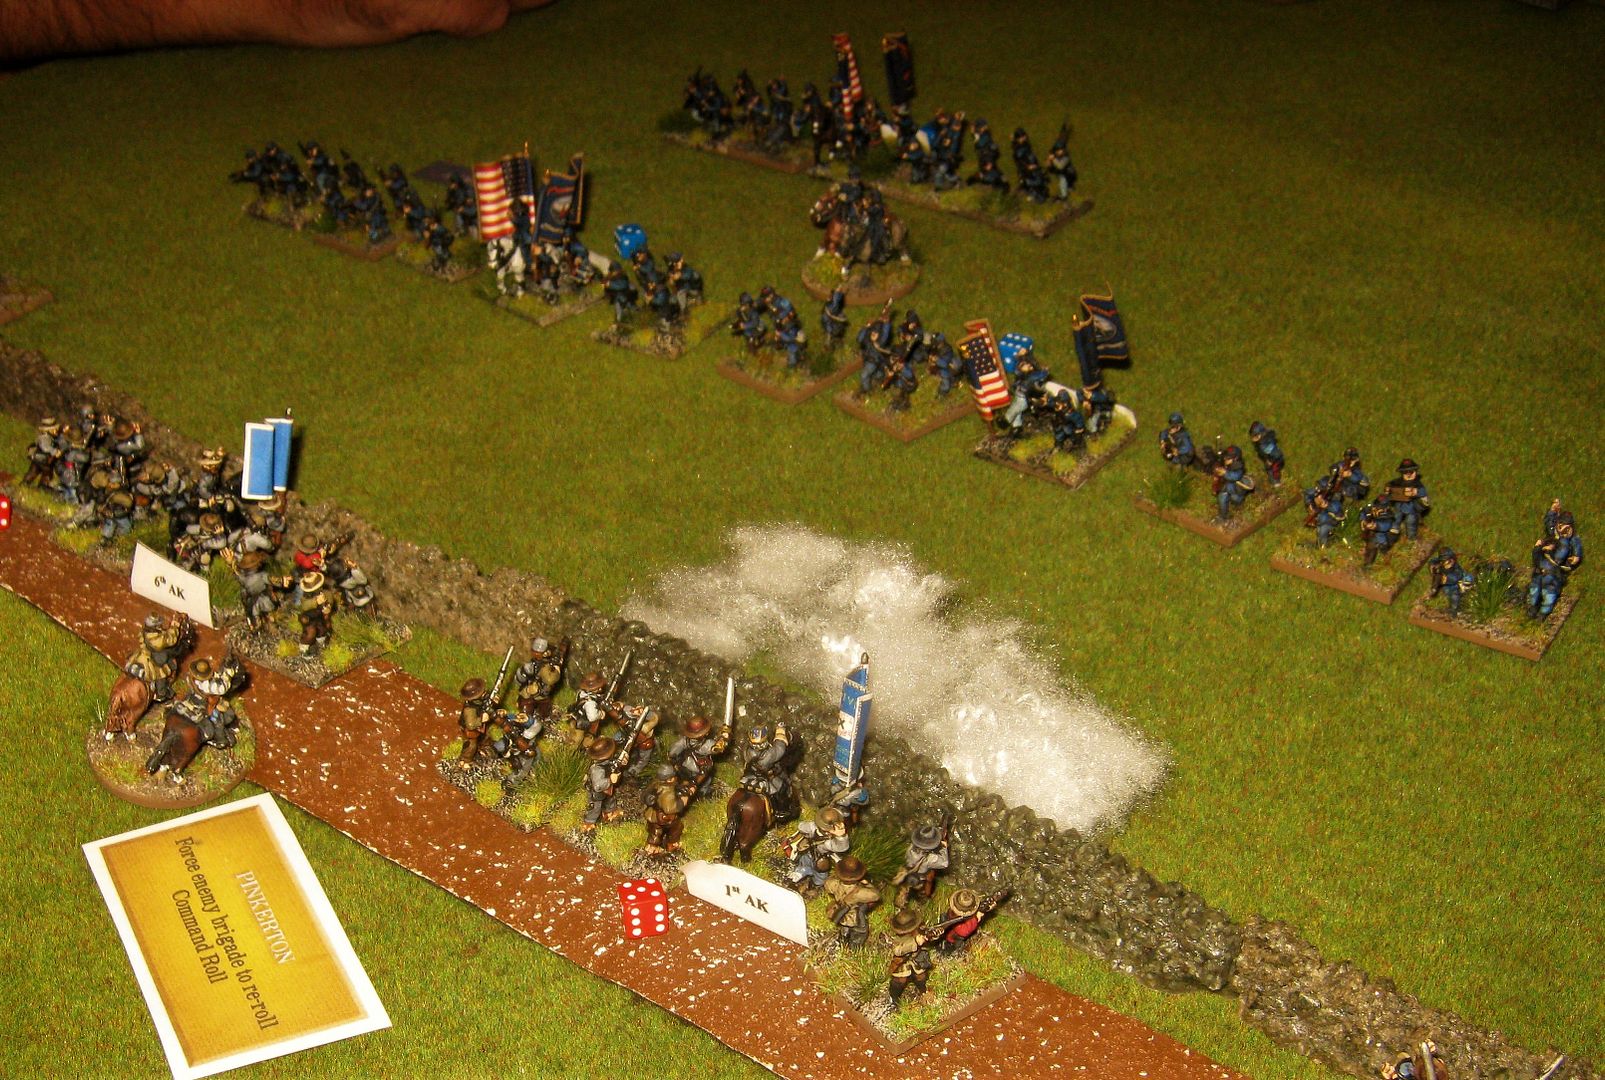
22. Andrews' Brigade reached effective musket range and managed to cause enough casualties to disperse a Confederate regiment, crossing the wall and sunken lane with 1st US Sharpshooters. Union casualties were horrendous with the undertaking though. The timely arrival of two Confederate regiments from the reserve pushed Andrews' men back to almost their start point.
23. With the extreme Union left and right flanks engaging, and their centre collapsed, all eyes look towards the Federal reinforcements under Zook and Meagher. Meagher is off table and Zook is still Hesitant.
24. Kimball's men are taking serious casualties now and his brigade becomes Hesitant.
25. Confederate reinforcements under Cooke stand in reserve.
26.Zook, after four rounds of hesitancy is at last obeying orders. It's too late though as Kimball's and Andrews brigades Falter. Game over. Truly horrific casualties on the Union side with one Brigade routed and two Faltering. Amazingly though, Andrews Brigade managed to get one unit across the wall at one point AND disperse two Elite Confederate regiments. If the Union reserves hadn't actually become Hesitant so often the result might have been much closer.
Jack rolled really well, played the right Staff Officer attachments at the right time and even worked out prior to the game where his reserves should enter. He also threw four double sixes and passed every 'See the Elephant Test' all day long.
Paul and I were somewhat thrashed. Elite troops get 2CD to firing plus bonuses for the wall which made it exactly like the scene from 'Gods and Generals'.
Great fun though.
Hasppy New Year
Kev


