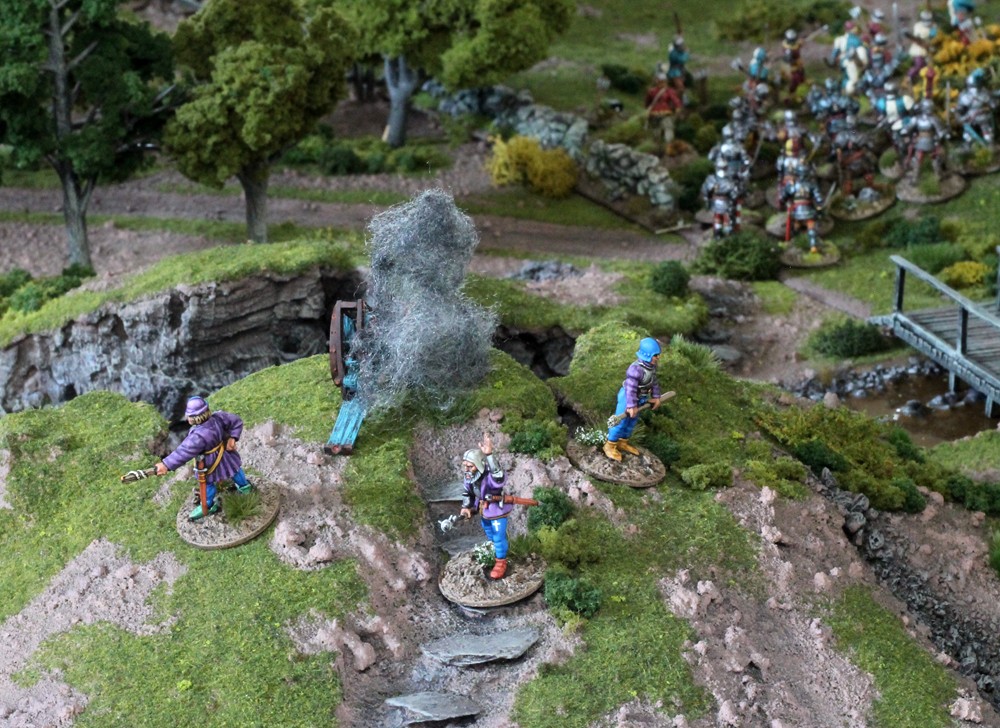
Turn two…The Lancastrian artillery and skirmishers card turns up first. The Lancastrian gun fires, and rolling three ones, promptly blows up!
The Scots handguns fire, but all miss. An inauspicious start to the turn for the Lancastrians!
Next up, Tenchley’s ward in the Lancastrian centre. They shoot another volley of arrows at the Milanese crossbows, killing three more (despite the Italians’ saving throw being improved one armour class by the cover of the stone wall)

As luck would have it, the next card out is Clarence’s. Having just seen his Italian skirmish screen decimated, Clarence throws his men-at-arms forward over the wall, eager to get down to business. They take a disarray marker, but Clarence uses his second command action to rally this off (I think I’m right in saying that unlike ‘daunted’, ‘disarray’ can be incurred and rallied off in the same turn?)

Clarence then uses a perk bonus card (picked up by the Yorkists in a turn of the bonus card during the first turn), to give his men-at-arms an extra activation – they charge! Luckily, with Tenchley attached, the Lancastrian archers have the option to evade – which they do, hastily swapping places with their own men-at-arms behind them.
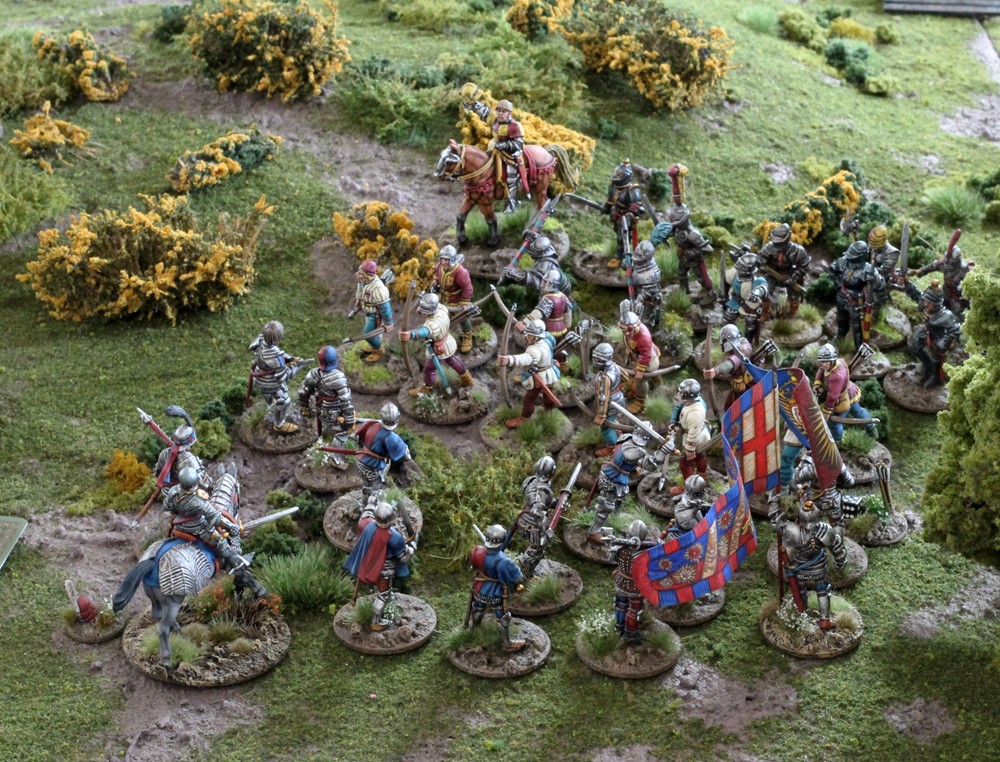
The two bodies of men-at-arms now lay to with a vengeance, and this is largely on the roll of the dice, although with the advantage of attacking, the Yorkists get to re-roll any ones.

The Yorkists lose three men-at-arms, whilst the unfortunate Lancastrians lose four. Tenchley’s block is pushed back towards the bridge, becomes daunted, and splits in two - yielding two army morale tokens up to the Yorkists.

It’s Trollope up next for the Lancastrians. Seeing this ghastly setback unfolding, he leaves his Scots pikes and handguns to hold the Lancastrian right flank, and orders his block of bows and bills across the wall onto the heath, picking up another disarray token (he rallied off the previous one – again, I think I’m right in saying that the block as a whole is disarrayed, not the two individual units? So only one disarray marker incurred and rallied off?)

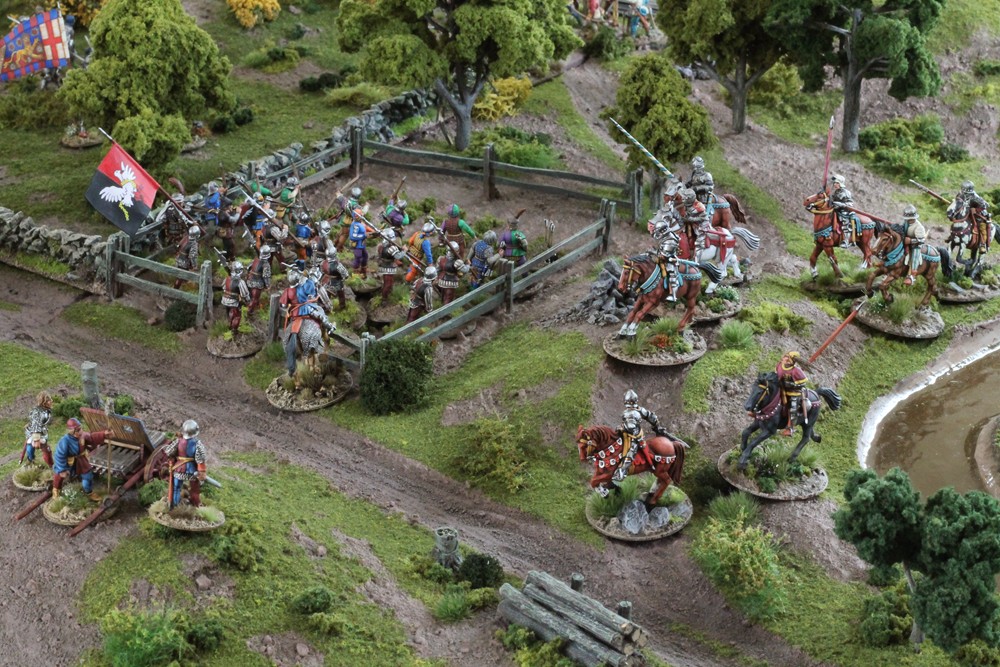
Next it’s Sir Thomas Howard’s turn on the Lancastrian left. Rashly, he now leads his light horse in a rapid and risky outflanking manoeuvre, right past the flank of Lord Hastings’ Yorkist bills and bows, heading for the Yorkist gun which started all the trouble!
And finally, for the second turn in a row, it’s Gloucester’s ward on the Yorkist left which fails to turn its card and activate. Harsh.
However, once again, his under-employed longbowmen get to shoot under the ‘end of turn’ rules - and even though there are only nine of them, they manage this time to take off three of the pesky Scots handgunners (who miraculously then pass their morale test).
More unfortunately for the Lancastrians though, that sole surviving Howard knight and standard bearer (remember him?), long since abandoned by his liege lord, IS now obliged to take an end-of-turn morale test, being very significantly under half-strength. He fails the test and immediately routs - yielding a further two Lancastrian army morale tokens up to the Yorkists.
The Lancastrians are already down to just three remaining army morale tokens!
 Turn three…
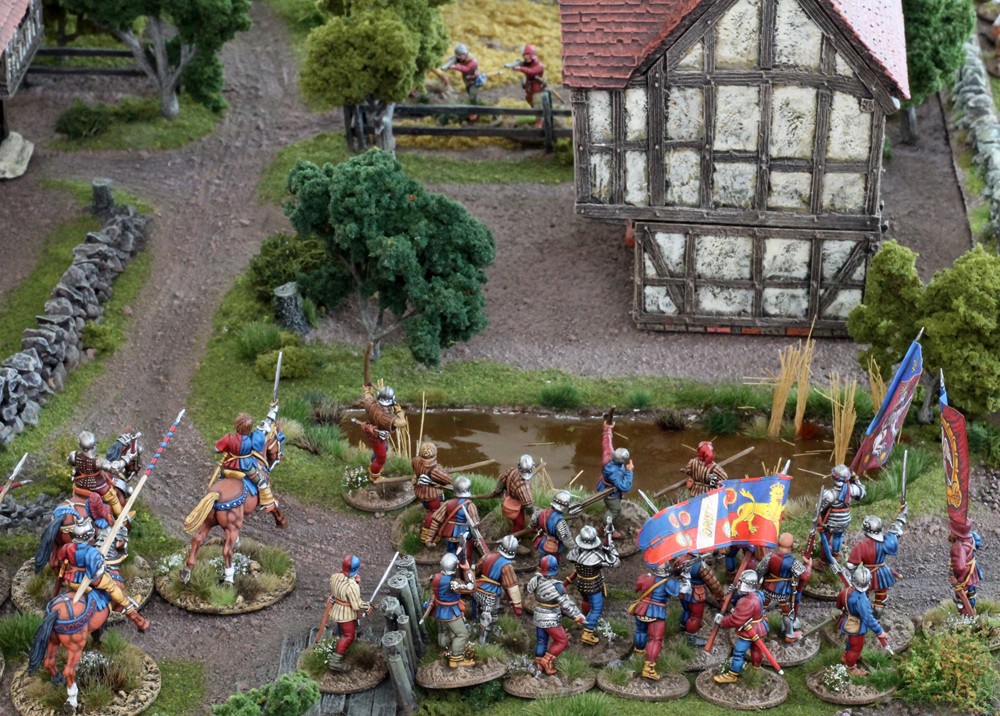
First card and Gloucester finally gets to move. He orders his longbowmen to loose with their first action - and they manage to destroy the remaining Scots handguns with a single devastating flight of arrows. The block of bows and bills then moves forward around the pond, ready to face down the waiting Scots pike.
With his second order token, Gloucester leads his cavalry off up the lane to where the real action is.

Next up comes the bonus card, and the Yorkists pick up another perk.
Which is handy, because next up it’s Clarence, who blithely ignores Trollope’s body of bills and bows over to their left, and uses both actions of his men-at-arms to follow up with another attack on Tenchley’s daunted Lancastrian men-at-arms.

Another vicious melee ensues…

Once again, the Lancastrians come off worse (largely because they’re now only defending with one rank because they’re daunted, whereas the Yorkists are fighting with both ranks and rerolling their ones as the attackers… ) Result – two more dead Yorkists, but four dead Lancastrians.
Once again though, the Lancastrian men-at-arms miraculously hang on in their morale test, becoming double-daunted (which isn’t actually a thing) and falling back again over the footbridge, through their archers, but still unbroken.
The archers, still eleven men strong although also daunted, have to take another morale test as their battered big dogs fall back through their midst. They pass. (Although as I understand it, this pass doesn’t remove their daunted status?)

They don’t have long to worry about it anyway, because using that second perk, Clarence orders his men-at-arms forward yet again, to slam into the Lancastrian archers. The archers, their leader no longer attached, have to roll to react – and they decide to stand and fire. Yikes!

They succeed in taking down one Yorkist man-at-arms, which is no mean feat shooting daunted with their front rank only, but they then get walloped.
It’s a predictable bloodbath – no casualties on the Yorkist men-at-arms, but five slain Lancastrian longbowmen.
They break, coughing up another army morale token, pushing their way off-table through their own men-at-arms. The men-at-arms take no notice, and don’t have to test their own morale again, because longbowmen are mere riff-raff.

And in a clean sweep of initiative for York, Lord Hastings now gets his turn as well.
He wheels his block of bills and bows in the cabbage patch 45 degrees, and with their second action, his longbows loose at Thomas Howard’s passing plump of mounted spears - to devastating effect, killing four of those rash horsemen.

Unfazed by this setback, Howard now leads his surviving prickers to attack the Yorkist gun on its hillock.
The rules say cavalry can’t charge uphill, which I take to mean they can still urge their horses up a slope (it’s not a very big slope) and into contact, but they don’t count the attacking bonus of re-rolling 1s.

In any event, the hardy artillerymen manage to kill one horseman, for two losses of their own. The sole survivor abandons his gun and flees - hotly pursued by the reckless Lancastrian C-in-C, who promptly leaves the field never to return. (A departure which at least saved his prickers from yielding up another army morale token or two).
It’s now Sir Andrew Trollope’s turn. But just as he is about the plunge towards the fray, the Yorkists play another bonus card on him - this time a forfeit they have been holding onto since turn one (yes, the Yorkists got ALL the luck with the bonus cards in this game, the Lancastrians only ever winning the dummy card). So his block can only take one action. His disheartened longbows launch a desultory long range volley at Gloucester’s knights – and don’t hit a thing.

That’s the end of turn three, and in the end of turn wash-up actions, Tenchley’s Lancastrian men-at-arms (down to only four figures), immediately have to test their morale again – and this time they do break. Sir Robert Tenchley has the good grace to scurry off with them, and a sixth Lancastrian army morale token is passed across to the Yorkists.

And that is effectively that.

The Lancastrians still do have one army morale token left to give - but they only have Trollope’s ward surviving, the other two wards having completely disintegrated.
His Scots pike have done absolutely nothing, and are now out of his command range anyway.
His skirmishers have been destroyed.
He only has his block of bills and bows left. Whereas the Yorkists have two largely intact blocks of bills and bows, plus their knights, plus Clarence’s bloodied half-unit of men-at-arms.
It’s mission impossible for Trollope, and he cedes the field.
Interesting that largely through the turn of cards, there was hardly any action at the Gloucester/Trollope end of the battlefield. It all happened in the centre and at the other end.
The Yorkists indisputably had the better luck, with both the bonus cards and the dice, but the Lancastrian C-in-C, Sir Thomas Howard, did make a couple of stupid decisions, so probably got his just desserts.
Once again, it’s an interesting and intriguing set of rules. But there is a LOT to remember. I have made the attached extra QRS to help remind me of the things I keep forgetting!

Only one special event card came up - once again it was the 'truce' card, which seems of slightly limited use given that melees seem to rarely be drawn, and I'm not quite sure where the advantage would be in playing it anyway. But it's a nice piece of period flavour


