The Slaughterhouse Three - AARIt was a matter of poor timing that just this weekend the Minister of War had been at his Sussex estate. Despite informing his wife that he needed some alone time to catch up on a rather full red box of briefing papers, hed included his mistress in the travelling party. Being a stickler for what is proper, his Principal Private Secretary had viewed her inclusion with some distaste, but perhaps more importantly he was troubled that of late the Ministers evident distraction meant that he hadnt been focussed on recent developments in Europe. Sadly, the Ministers planned weekend of intense paper work had become overtaken by events. With the Germans Forces having made their surprise landing at Worthing and then quickly advanced towards Horsham, the Minister had been forced to scurry from his estate.
The Minister of War, his Personal Private Secretary and his Mistress - The Three - are in hiding in or near a complex of buildings - The Slaughterhouse - on the road between Worthing and Horsham, at the junction with road to Guildford. Its not known if anyone else is present, but its expected that officers from the Sussex Constabulary are also in attendance while Bert and Bertha Mince - the owners of the premises - are described as a feisty, no-nonsense and cant be told couple, with Bertha perhaps being the scariest of them all.
01

02

03

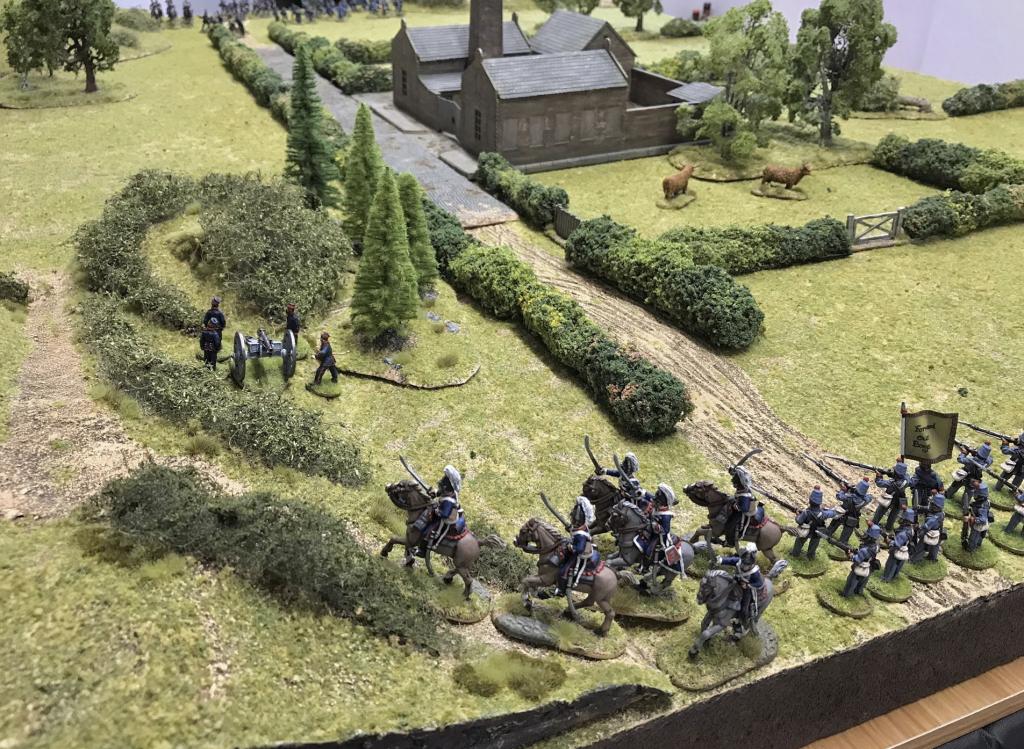
Though located at a key road junction, The Slaughterhouse is not a huge site. It known to have three main buildings: the Killing Room, the Meat Locker and the Offices; there is also a Tool Shed and a Furnace Room. The civilians WILL be somewhere in The Slaughterhouse.
Being a source of information, both the British and Germans want to find the Minister. However, the commanders of the two opposing forces actually have different objectives, though given the importance of their respective missions, they have also each been instructed that their force is considered expendable.
The rules used were modified Rebels & Patriots, by Leck and Mersey. LAFer Captain Blood played the Germans and Oshiro Model Terrain the British, while I umpired. The opposing forces arrived at their start lines, though to get things underway each was allowed to position their gun 12 forward.
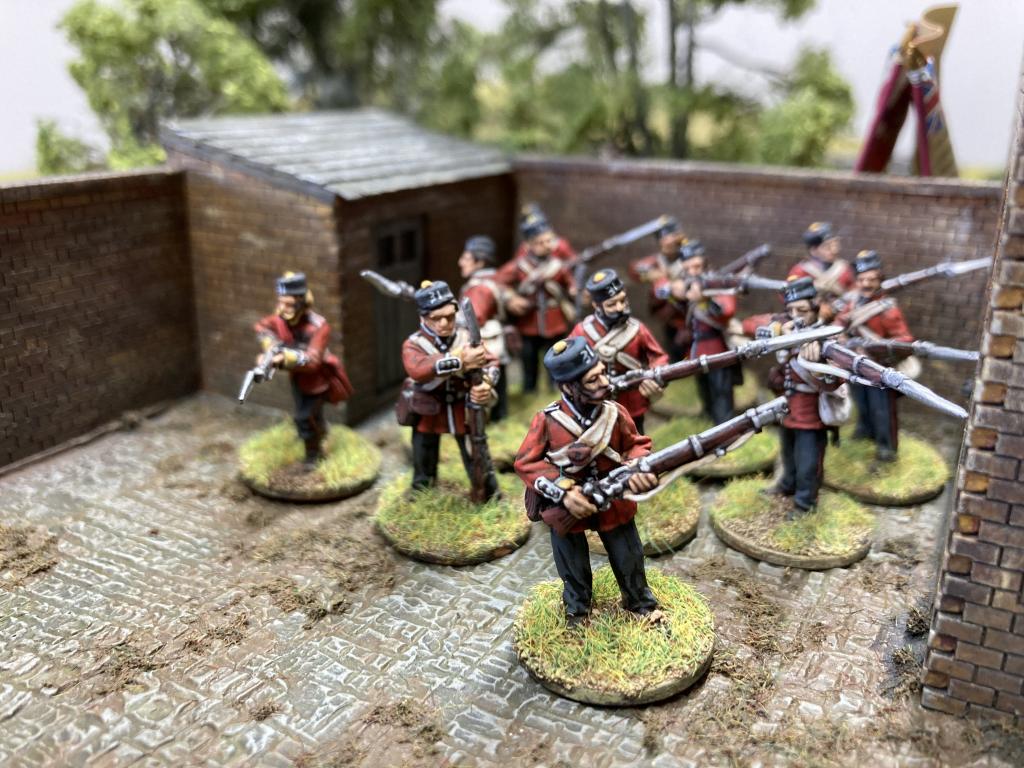
The British had an initial advantage inasmuch as they started closer to The Slaughterhouse. Their force comprised a mix of regulars (in limited numbers) and volunteers, both with marksmanship a strength, though the volunteers were extremely likely to fold during Fighting. The volunteers had a light gun, which while easily manoeuvrable lacked range and impact.
04

05
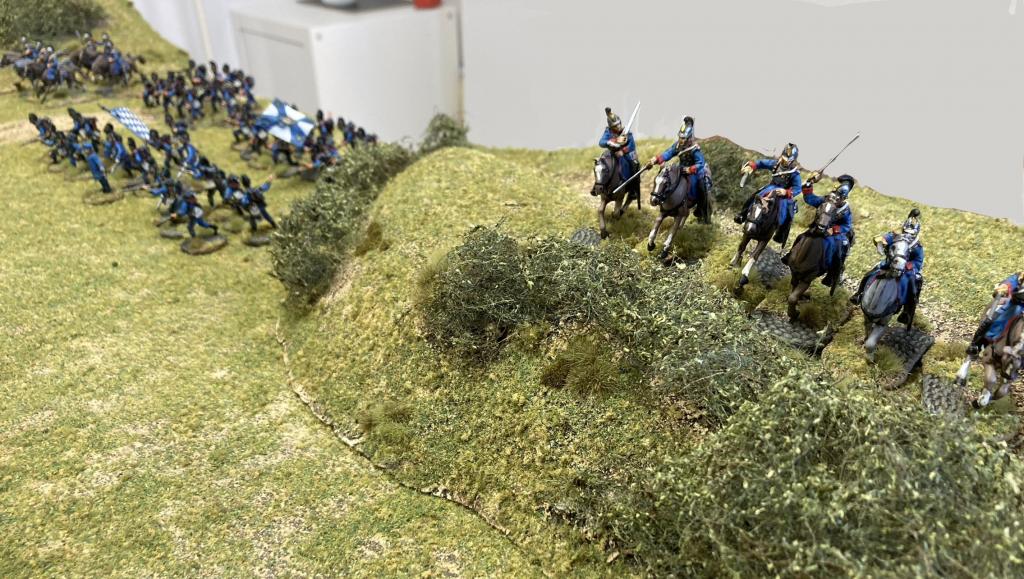
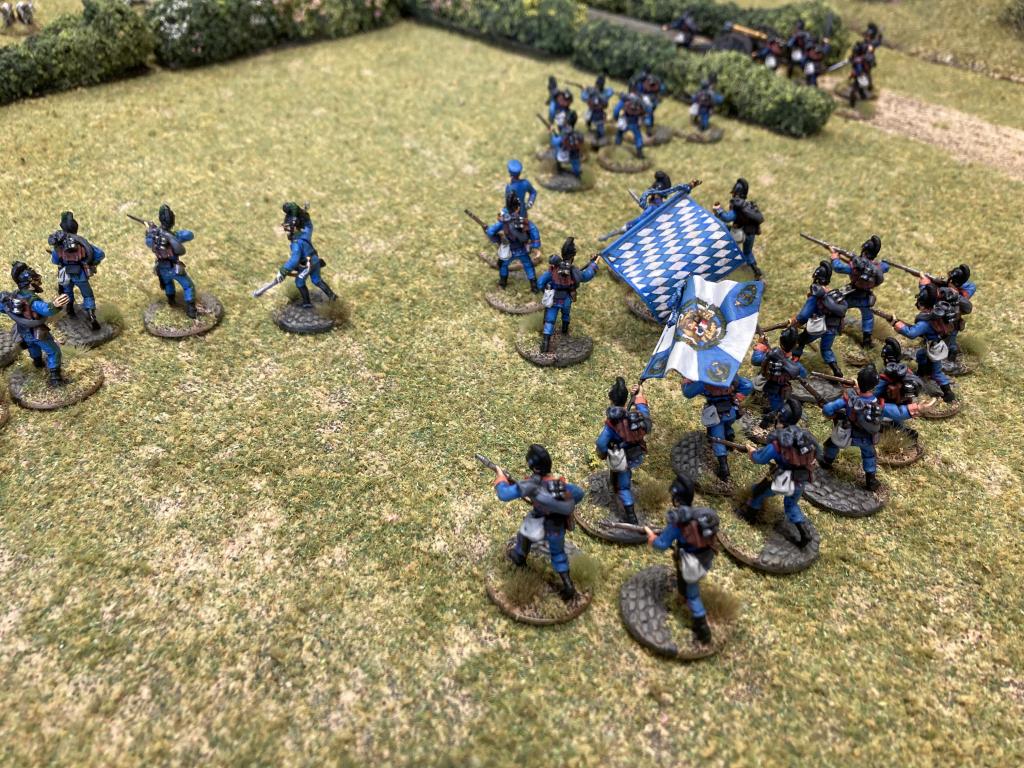
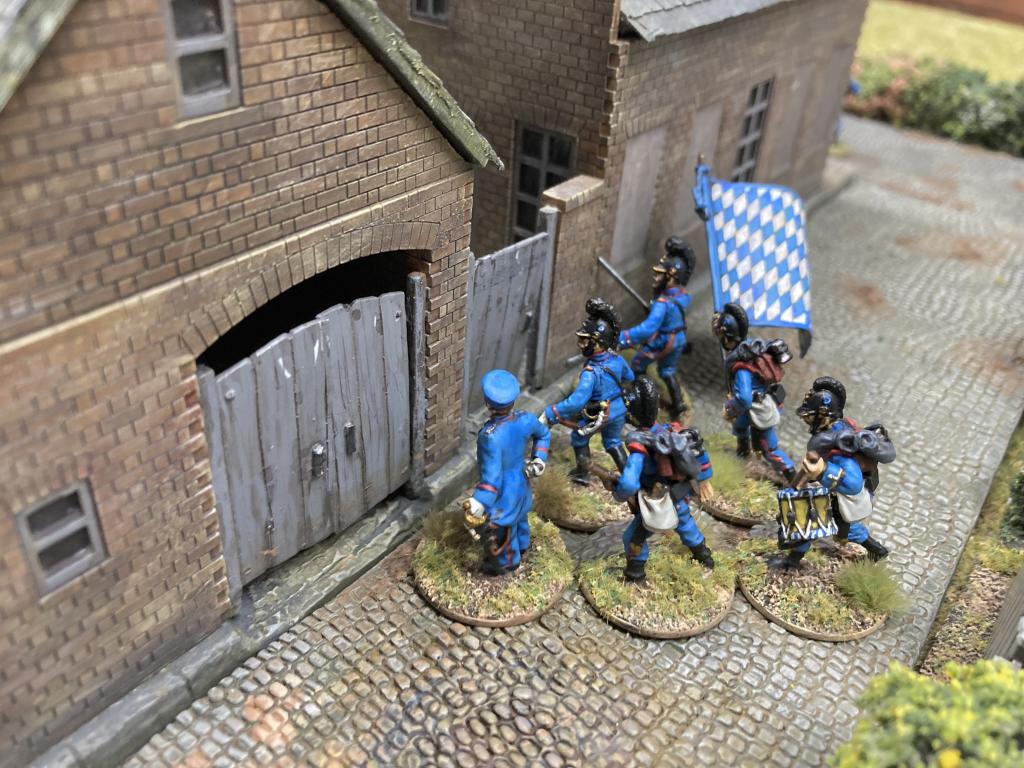
The German force was comprised of Bavarian regulars who were veterans of the Franco Prussian War. However this force was disadvantaged by having areas of open ground to cross. The Bavarian troops were more robust than their opponents but due to the regular Infantry being equipped with a lesser quality rifle, they had shorter range. The capability of their Krupp gun significantly exceeded that being used by the British, with the Bavarians also having a limber to hand.
06
07

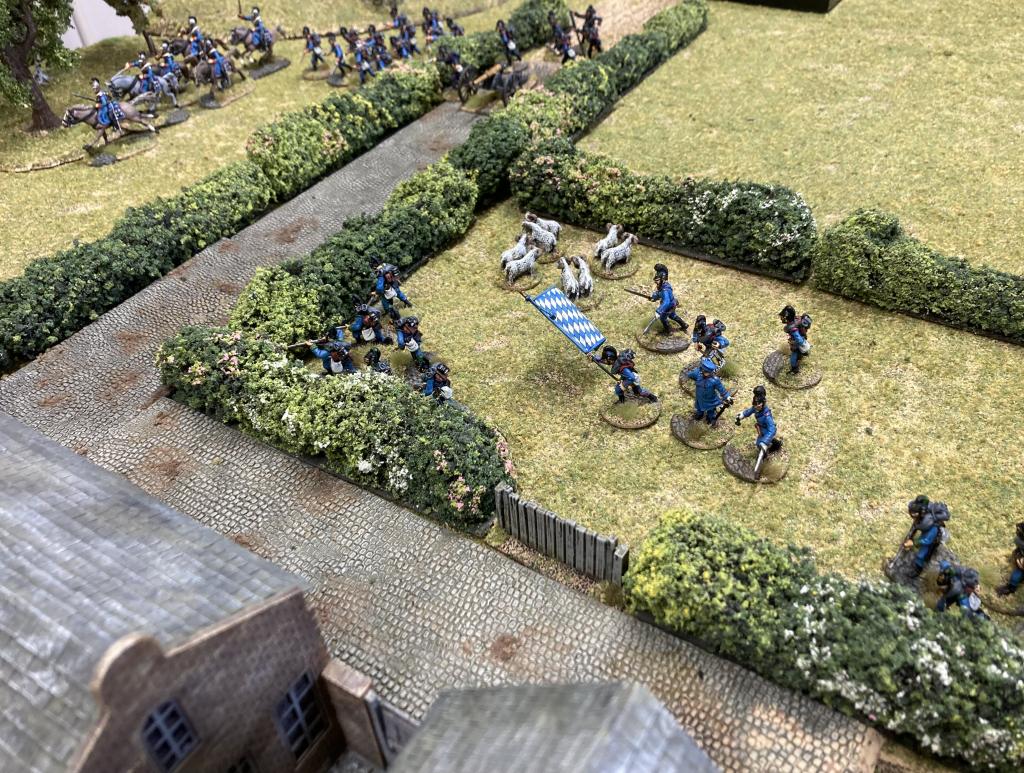
For much of the game, the British had the initiative. They were fast off their start line, making for The Slaughterhouse while using its buildings as cover, with elements to each flank engaging the Germans with the intent of slowing them up and whittling them down (for which their longer rifle range was extremely useful). The light gun was manhandled up the small hill, to dominate the clear ground to the front of The Slaughterhouse. With the gun positioned at height, the Yeomanry Cavalry provided a screen in front of it.
08

09

10

With their Commander leading (albeit safely shielded by the looming bulk of The Slaughterhouse) the Bavarians launched forward, with Cuirassiers at their flanks and the Krupp gun being trundled along the lane to quickly bring the enemy in range.
11

12
13

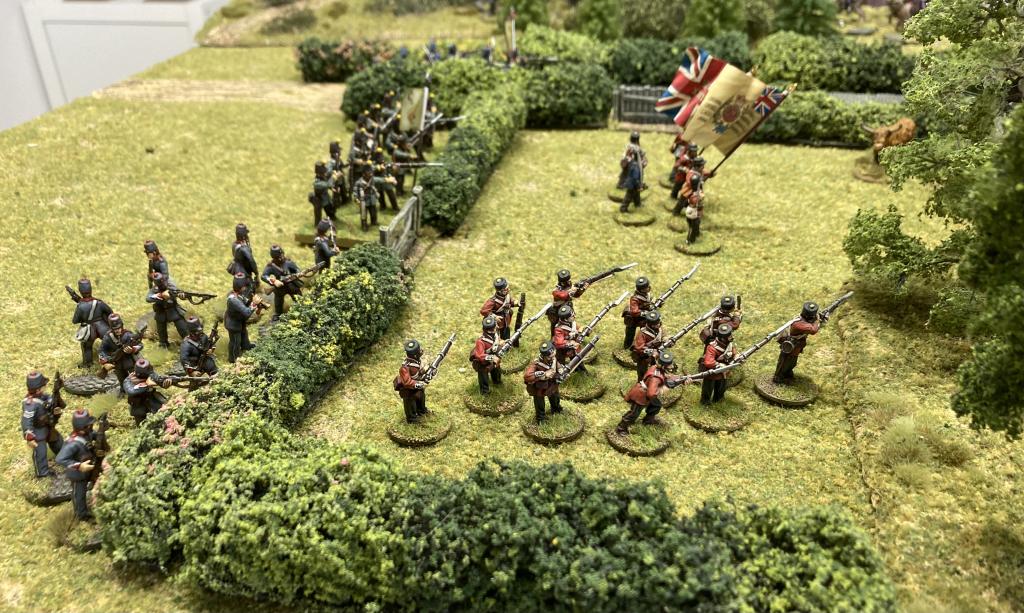
The British continued their push, in the centre they were closing on The Slaughterhouse and at the flank taking the fight to the Germans.
14

15
16

17

Ignoring the accumulating losses on his flanks - especially amongst the Cuirassiers who were shot up before being charged by the much lighter Yoemanry horse - the German Commander pressed forward, into the sheepfold, almost reaching The Slaughterhouse.
18
19

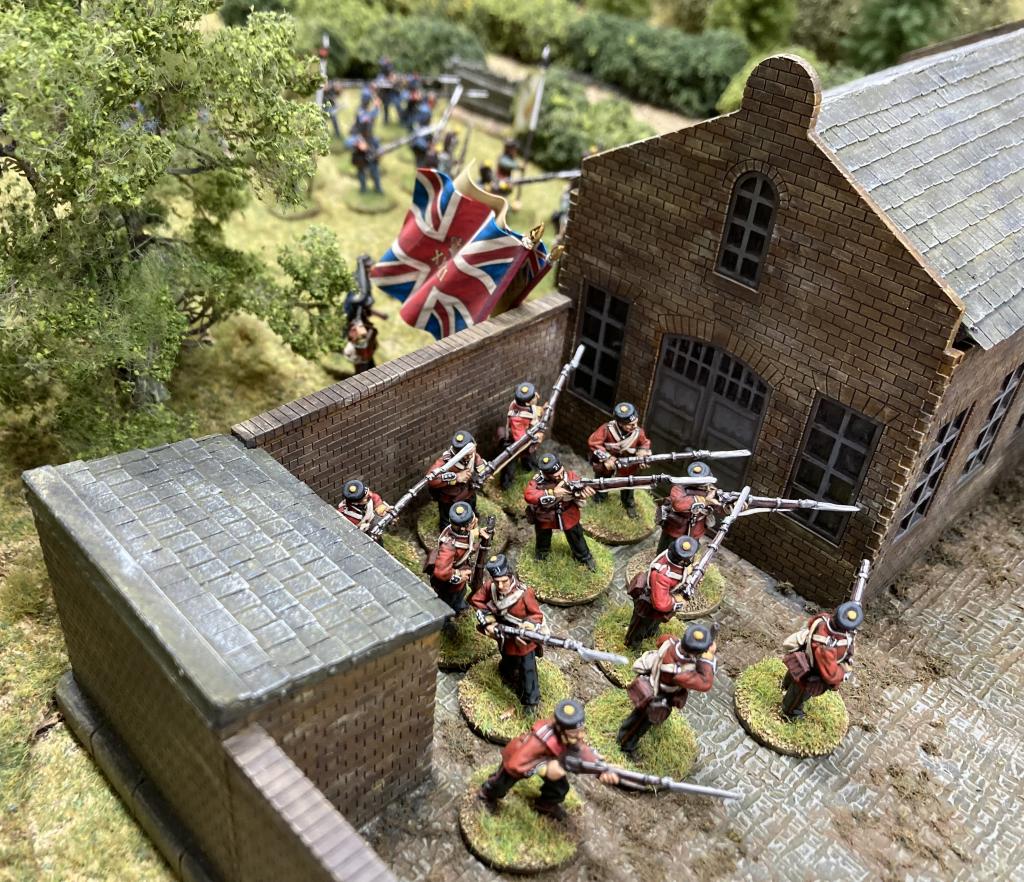
The British centre now comprised a mass of men in the cattle field, who quickly jumped the wall into The Slaughterhouse courtyard, all the time protected by the riflemen on their right flank.
20

21

22

23
The Germans pushed right up to The Slaughterhouse perimeter wall
.
24
25

while inside the British searched the Meat Locker, finding two officers of the Sussex Constabulary
..
26
27

.. as the British CO (in blue) vaulted the wall to pull the Minister of War from the Toolshed.
28

***** CONTINUES ON THE NEXT PAGE *****


 Welcome, Guest. Please
  June 15, 2024, 11:50:29 PM


