*
Welcome, Guest. Please login or register.
March 28, 2024, 06:09:42 PM

Login with username, password and session length

Donate

We Appreciate Your Support

Recent

Author Topic: Bloody Bucket - Turn 7 - Outskirts of Consthum  (Read 4490 times)

Offline Digits

  • Scatterbrained Genius
  • Posts: 3774
Re: Fighting Bloody Bucket - 1-1!
« Reply #15 on: April 17, 2021, 11:24:51 PM »
Speed is of the essence here mate.  No time to dally.  Jamie had indeed units still to come on and that would have been the logical place for them.   

I very nearly didn’t make it as it was.

Online vodkafan

  • Scatterbrained Genius
  • Posts: 3510
Re: Fighting Bloody Bucket - 1-1!
« Reply #16 on: April 17, 2021, 11:30:08 PM »
 Crossing open ground certainly does seem risky in these rules....so does that count as you cutting off the road between map 1 and 2 then? So you will be able to attack map 1 from both ends next time?
I am going to build a wargames army, a big beautiful wargames army, and Mexico is going to pay for it.

2019 Painting Challenge :
figures bought: 500+
figures painted: 57
9 vehicles painted
4 terrain pieces scratchbuilt

Offline TacticalPainter

  • Mad Scientist
  • Posts: 590
    • The Tactical Painter
Re: Fighting Bloody Bucket - 1-1!
« Reply #17 on: April 17, 2021, 11:37:49 PM »
Crossing open ground certainly does seem risky in these rules....so does that count as you cutting off the road between map 1 and 2 then? So you will be able to attack map 1 from both ends next time?

The best way to think about it is to see the Americans defending a line of outposts running north to south. The Germans are trying to move east to west and in this particular case they are moving with some urgency to capture Bastogne. In the map just played the team crossing the table represented a German breakthrough to the west, effectively putting Germans behind the defensive position here. Hence the Americans abandoning/losing this map.

The Germans will continue pushing west, they won’t turn back to take map 1, that’s a job for other platoons, the main mission is to push west. For that reason map 1 can only be attacked from the one direction (unfortunately for the Germans tasked to take it!).

Offline TacticalPainter

  • Mad Scientist
  • Posts: 590
    • The Tactical Painter
Re: Fighting Bloody Bucket - 1-1!
« Reply #18 on: April 18, 2021, 12:18:11 AM »
Crossing open ground certainly does seem risky in these rules...

On that point, I think crossing open ground should always be a difficult proposition, but to make matters worse the Volksgrenadiers are rated ‘green’ and their lack of field craft and limited training make them even more vulnerable. Historically this feels right, the Americans have often referred to Germans crossing open fields in extended lines (and being shot up accordingly).

Offline has.been

  • Galactic Brain
  • Posts: 8235
Re: Fighting Bloody Bucket - 1-1!
« Reply #19 on: April 18, 2021, 10:50:05 AM »
In one of our early games of Chain of Command, one player
had a whole section badly chewed up by a concealed HMG.
as he tried to cross an open field. Rather than complain he
said, 'Fair enough, if I'm daft enough to walk across open
terrain like that, I deserve to get shot up.'

Offline Digits

  • Scatterbrained Genius
  • Posts: 3774
Re: Fighting Bloody Bucket - 1-1!
« Reply #20 on: April 18, 2021, 11:00:54 AM »
True...but you don’t have much choice here...you have to cross the ground in order to either try and force them to expose themselves or try to take ground!   

But yes....I can wait until I have a little armour to try it again.

The other lesson here....I should have attacked with the Sturm platoon.   Less likely to have taken so many morale rolls it turns out, seeing as they are one team per section.

Offline PrivateBuzz

  • Assistant
  • Posts: 36
  • Too Fat Lardies fan.
Re: Fighting Bloody Bucket - 1-1!
« Reply #21 on: April 18, 2021, 10:46:59 PM »
Excellent write ups! Really captured the tense situation of sitting and waiting until the 'right' moment to deploy. I am still losing sleep over it trying to work out tactics for the next battles ;)

Thank you for hosting the day.

A question, dear readers, particularly those that have played this campaign;

What happens to the U.S. platoon from table 2? They ended the battle with their force morale intact (10) and only a single man killed. I think these are the options, but which one or is there another?

1. All men and supports are simply lost
2. It's classed as a withdrawal and treated as such according to the rules in At The Sharp End (ATSE)
3. It's classed as a rout (but the morale didn't reach zero!) and treated as such according to ATSE
4. The remaining platoon and supports retreat back along the main route to table 3
5. The remaining platoon and supports retreat back along the main drive to table 4 and roll for interdiction according to the Bloody Bucket rules on page 20.

I can make an argument for and against all of these. Any thoughts?
All the best!

Jamie.

Offline has.been

  • Galactic Brain
  • Posts: 8235
Re: Fighting Bloody Bucket - 1-1!
« Reply #22 on: April 19, 2021, 09:33:56 AM »
Quote
The best way to think about it is to see the Americans defending a line of outposts running north to south. The Germans are trying to move east to west and in this particular case they are moving with some urgency to capture Bastogne. In the map just played the team crossing the table represented a German breakthrough to the west, effectively putting Germans behind the defensive position here. Hence the Americans abandoning/losing this map.

I think the section you need to look at is, 'Voluntary withdrawal'
In short you may successfully withdraw 2xD6 figures. If you want
to do that, e-mail me & I will let you know what that score is.

Offline Soundchaser

  • Student
  • Posts: 11
Re: Fighting Bloody Bucket - 1-1!
« Reply #23 on: April 21, 2021, 06:54:14 PM »
Thanks for the AAR... your building source(s)?

I ask as there are a couple in the picks that I like...

Offline Digits

  • Scatterbrained Genius
  • Posts: 3774
Re: Fighting Bloody Bucket - 1-1!
« Reply #24 on: April 21, 2021, 07:24:41 PM »
The first table “Total Battle Miniatures”...the second I think are Charlie Foxtrot laser cut.

Offline gamer Mac

  • Galactic Brain
  • Posts: 8207
Re: Fighting Bloody Bucket - 1-1!
« Reply #25 on: April 21, 2021, 10:00:50 PM »
Great stuff  :-* :-* :-* :-* :-* :-*
All your hard work has been worth the effort
I need to try one of these campaigns
Will be following your progress

Offline TacticalPainter

  • Mad Scientist
  • Posts: 590
    • The Tactical Painter
Re: Fighting Bloody Bucket - 1-1!
« Reply #26 on: April 22, 2021, 12:01:02 AM »
I think the section you need to look at is, 'Voluntary withdrawal'
In short you may successfully withdraw 2xD6 figures. If you want
to do that, e-mail me & I will let you know what that score is.

Yep, that’s it. The platoon withdraw but things are confusing, some head straight west and out of the campaign, some blunder into the Germans that have got behind them and are captured, and lastly, 2xD6 make it to Map 3 to fight another day.

Offline PrivateBuzz

  • Assistant
  • Posts: 36
  • Too Fat Lardies fan.
Re: Fighting Bloody Bucket - 1-1!
« Reply #27 on: April 22, 2021, 08:22:05 PM »
The buildings in the second battle are from Empires at War.

Thank you for the clarification on the withdrawal. I'll get Pete (has.been) to roll.

Offline Digits

  • Scatterbrained Genius
  • Posts: 3774
Re: Fighting Bloody Bucket - Turn 4
« Reply #28 on: April 29, 2021, 12:34:34 AM »
Turn 4.

After the first two battles I was starting to think all the effort put into collecting and painting almost seemed wasted......the first battle, effectively over in five minutes, the second, a probe almost gamey, and again, with very limited action.

I decided to attack table 3, Holzthum Village with a flank attack from point B in the woods...with a Sturm platoon.

Splitting my patrol markers onto the two table edges.  As you look at this table, I ended up with a jump off point on the left hand table edge, and a couple in the bottom right among the buildings.  The left edge being totally exposed had me remembering how I got cut up in the first game, so not an appealing edge....but I did think it  possibly influenced a little of the American deployment.


To be continued....
« Last Edit: April 29, 2021, 07:39:04 AM by Digits »

Offline Digits

  • Scatterbrained Genius
  • Posts: 3774
Re: Fighting Bloody Bucket - Turn 4
« Reply #29 on: April 29, 2021, 08:59:08 AM »
Only rolling a one on my morale roll, meant I was starting with a slightly lower force morale.  Rolling ones was to become a familiar if unwelcome theme for me....

This game, once we had the obligatory gassing out of the way, lasted for a very intense five hours.  I can not even begin to give you a blow by blow AAR because the phases changed hands so often to be untrue.  The first game turn lasted all of literally three minutes as I rolled three sixes on my command dice - good job I didn’t take a barrage!

The rest of the game...all 4 hours and 57 minutes took place during turn 2!

All accumulated CoC dice being used to interrupt the opponent and wring out whatever additional shots we could!

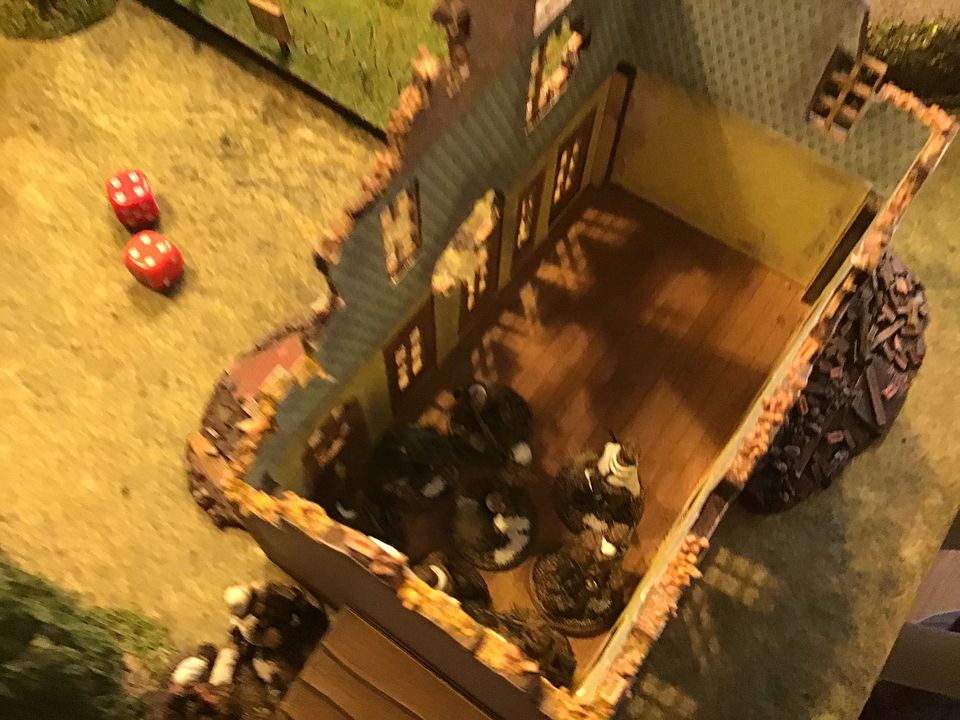
The basis of my attack was to penetrate forward as quickly as I could into the cluster of buildings in the bottom right.

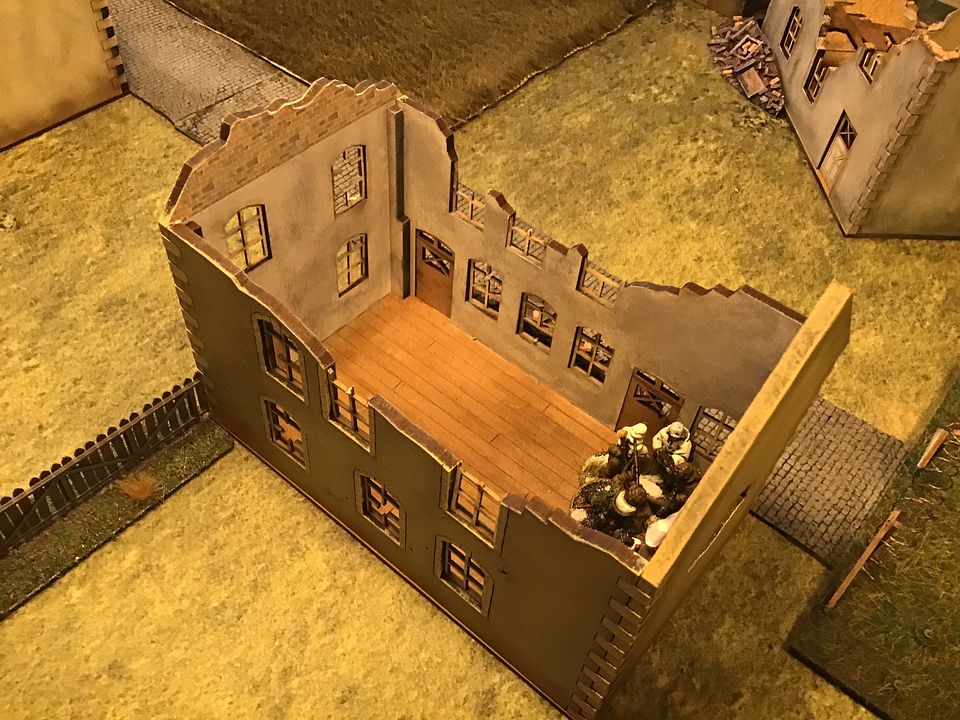
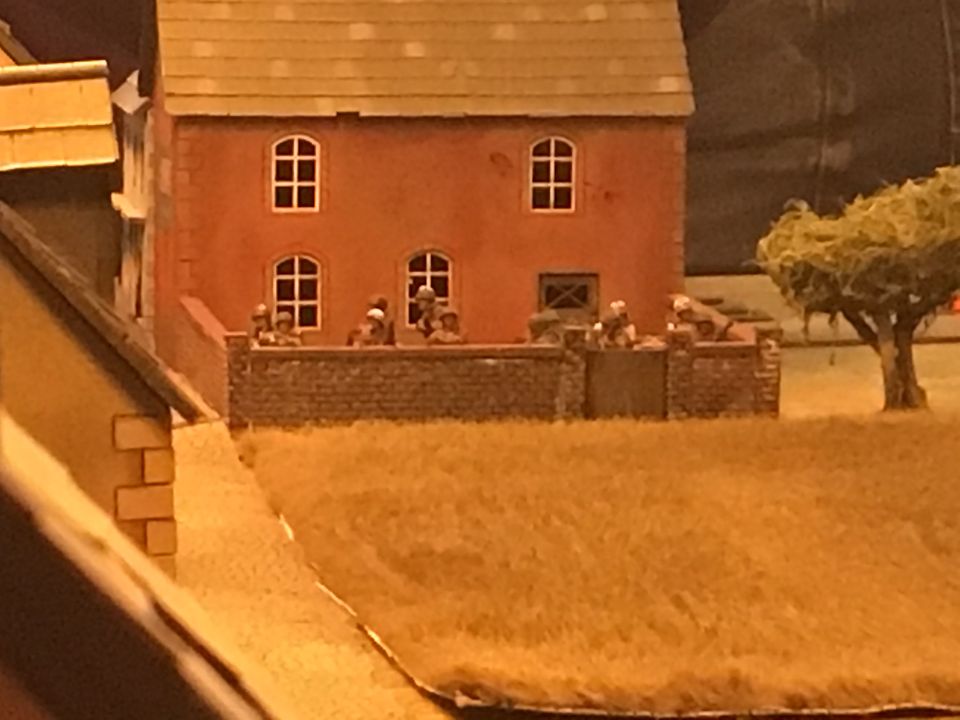
Unusually for Jamie thus far, he had decided this time to deploy some units early, placing a section in the walled garden and his platoon sergeant in the building to its left as we look up the table.  This section was to take up overwatch and as I moved into buildings, I was conscious of not appearing at the windows until I had enough support ready - a reversal of where we were in the first games.


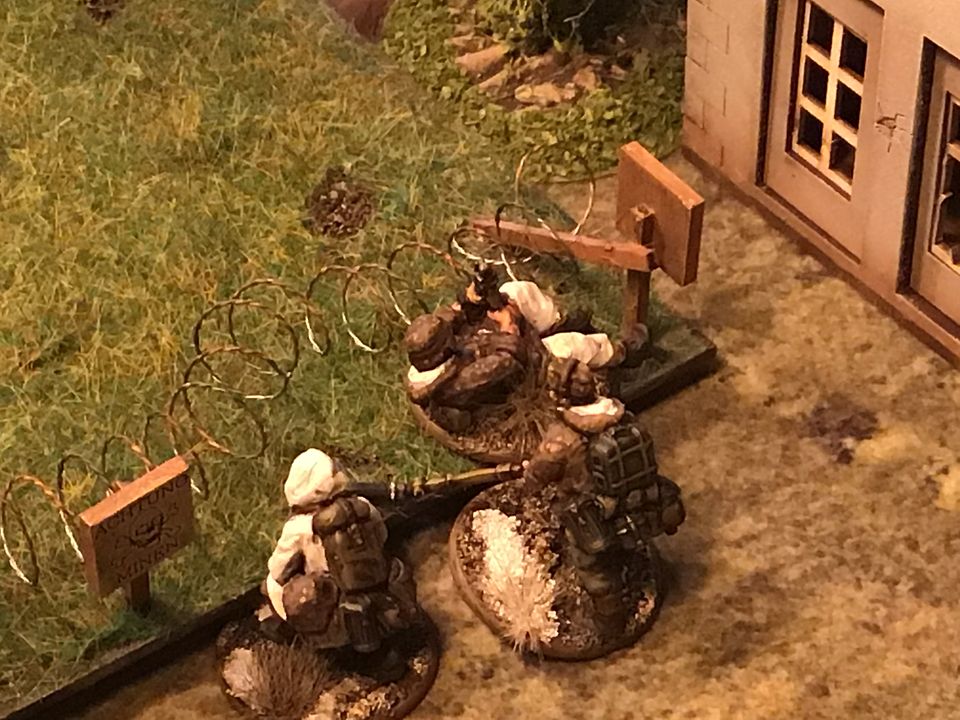
I had taken a second leader, an HMG, another assault squad and because I had two pretty wasted points, a wire cutting team that didn’t see the table and a mine clearing team.

The units pushed on


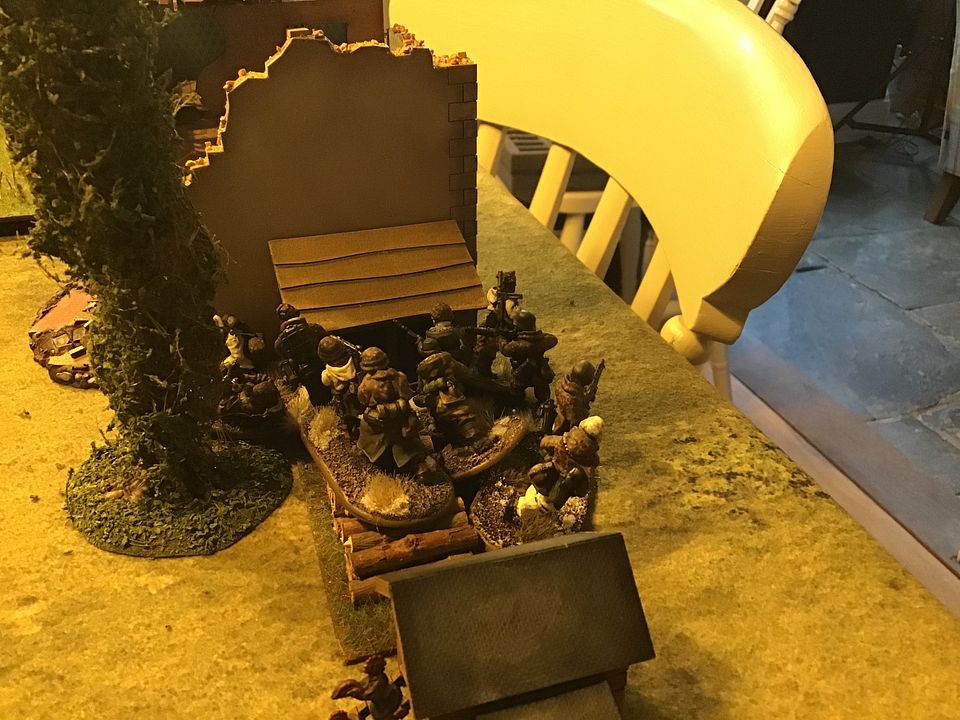
The mine clearers did get on, and made their way to the placed field, had one attempt at clearing it before a mortar round sent them scurrying back!


Mortar team in action


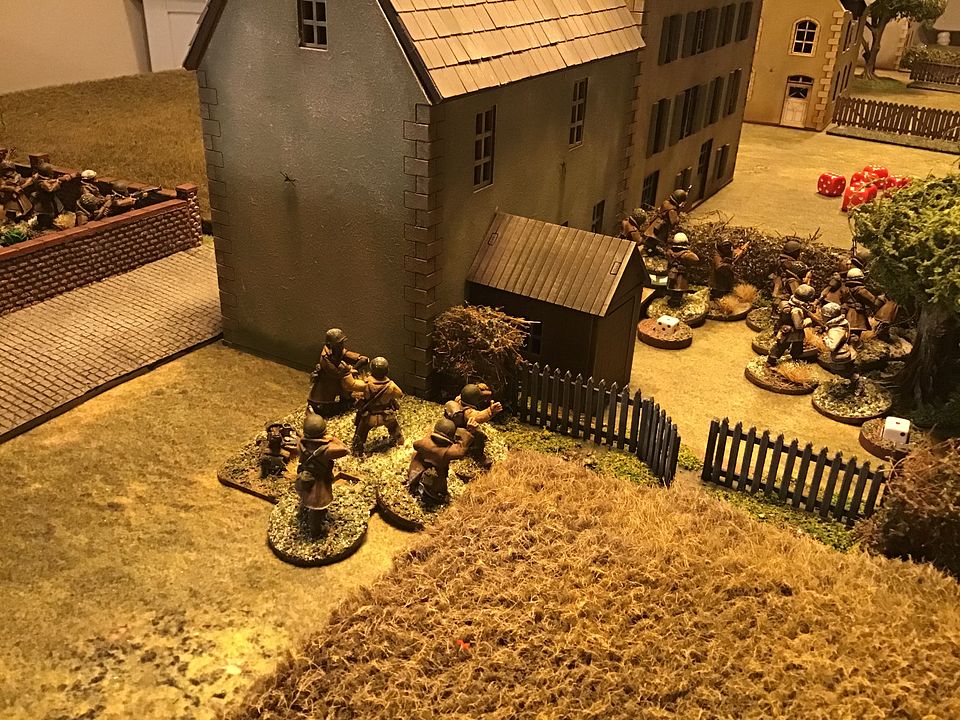
Jamie deployed another section on the left of the buildings, maybe to cover the wayward jump off point, but certainly to cover the section that had taken up positions in the building up by the top left of the minefield, the furthest I was to push.

I can’t quite recall the sequence of what happened suffice to say, all hell let loose!

I don’t think I’ve played a game with quite so many shots pouring out both ways!  My lmg section, occupying the top of the house in my bottom right, was about the only section unit I had relatively unmolested the whole game, and it was able to pour out a fantastic amount of firepower at the section in the walled garden for hours!   

Likewise, my HMG team, manouvered into the top of the grey stone barn, also firing constantly at the section in the walled garden for most of the game...

My plan was simple.....I knew I couldn’t rush in, I’d be cut down in seconds, and I had concentrated my force, mostly because I had no choice in this back corner.....concentrate my fire on one unit and try and break them.

Early on I did kill their nco and reduced Jamie’s morale by one.  But this did not really effect them too much.

This is because, the command dice we were rolling all night, really started to favour the fact that all fire was pretty much under the direct control of the senior leaders.

Much to Jamie’s amusement, I threw an unbelievable number of double fours with mine, time after time and Jamie was able to add his dice almost every time to keep his nicely placed commanders able to direct or remove shock when necessary.

The section in the walled garden took a very high number on incoming rounds, phase after phase!

The problem was....somewhere in the last week or so, I must have greatly offended the dice gods!   

For hours, every time I shot, I was not getting many hits, and most that did find a target, were deflected by that damned wall!

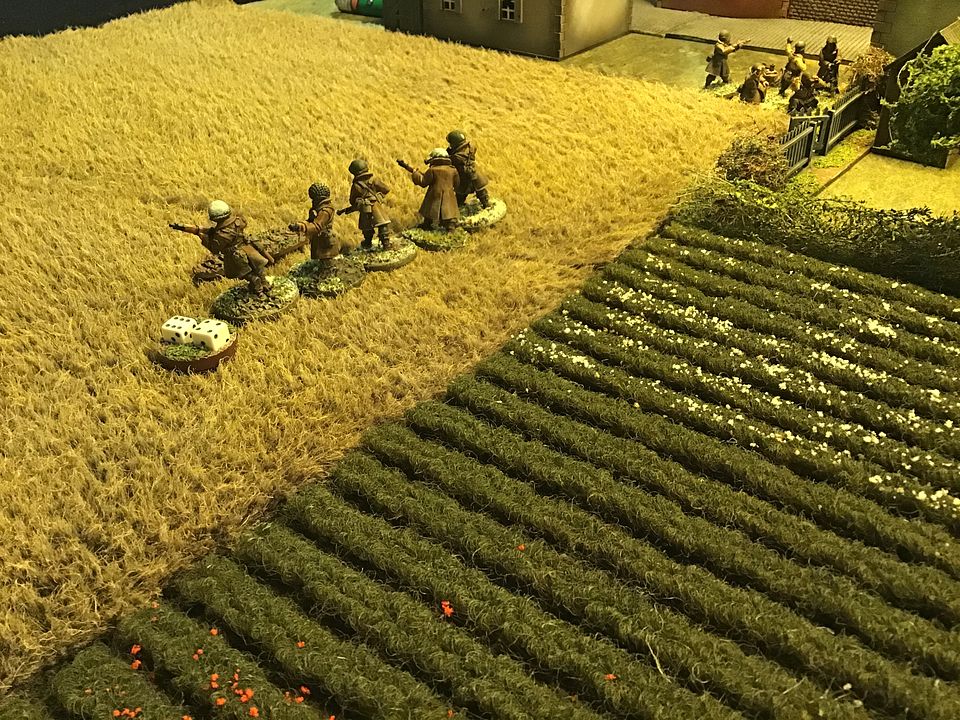
Meanwhile, Jamie deployed an dug in .30 cal to support the walled section, and his third section, with the section on the left, with the express intention of pressing a flanking counter attack along the hedges.


By now, I was taking a lot of damage!  Firstly, at least three of my junior leaders had been wounded, reducing their capacity to lead somewhat.   My furthest section on the right, then got chewed up, the final two guys breaking and hitting my morale.  I had however moved another section up near the house which ended up replacing them.  It too however ended up being hit by some serious fire, and was wiped out!   More morale loss!

Meanwhile my support section, in the minefield corner building, close enough to use the additional firepower of their assault rifles, was alternating between firing at the two sections on the left of the table.   My luck held a bit with these guys.  They walled building turned out to be very well constructed!   The original american section had kept up a lot of covering fire to allow the flanking section to move forward.

American squads, with their re rolling of ones, and extra BAR’s are actually a hard until to trade shots with.   For the best part of the game, I was being chewed up and I was hurting.   With two sections gone, I was down to three command dice but I was still rolling fours and able to direct at least two if not three elements every phase.

We both could see the end coming, Jamie’s aggressive stance and flanking action was going to pretty much wipe me from the table.  By now, he had about double my manpower
as it was getting late, we were pushing hard to get the game wrapped up.....

....and then, just as I was praying for a miracle (out loud) the dice gods, having played with me all night like a worm on a hook, decided to take pity on me and removed their curse!

The support section, with its three dice per gun, despite being down to four men, broke the flanking section!   


Jamie’s morale started to take a hit.

The support section though got slaughtered with only the nco surviving to run away, though he was steadied by my second leader who only had a solitary figure to command now!

All I had left was the lmg section and an HMG.

The HMG was attracting a lot of fire now and ended up at two men only, though I was able to keep the shock down.

However, like I said, the dice gods now seemed to a four me and in very rapid succession, the walled garden section finally broke (to be fair, they received more fire than any other unit all night) and Jamie was now on the same low morale (two) as me, with us both only having three command dice.

Up until this point, I had concentrated all my right hand firepower on the walled section and totally ignored, ( perhaps foolishly as at times I did consider putting covering fire on it but kept deciding not) but now I was free to fire on it......and with my best dice of the night, killed a few of the team and broke them in one volley, sending them scurrying!


This final loss sealed the loss for the Americans.  A complete and unexpected reversal of the battle.  Winning this table regained me the initiative but my original platoon, down to only 10 survivors, was effectively wiped out doing so!

That was brutal!   The action kept up for hours with a phenomenal amount of traded firepower.   The changes in fortunes were for me obviously welcome, but I do feel for Jamie here.....he did everything right I think and I couldn’t second guess any of his decisions.   His move to outflank me should have worked and it was absolutely the right thing to do.  His very well placed officers were able to command nearly every element each phase and it really end up coming down to a couple of (finally) extraordinary rolls at the end of the battle.

We both learned a lot from this game and things are speeding up for us.

Thanks to Jamie for hosting, table looked great and thanks to Kato, (Cooper) the collie for keeping me amused all the time I was these too!


« Last Edit: April 29, 2021, 09:14:07 AM by Digits »


Related Topics

  Subject / Started by Replies Last post
2 Replies
1469 Views
Last post July 03, 2015, 04:54:35 PM
by commissarmoody
15 Replies
1776 Views
Last post April 15, 2017, 04:44:49 PM
by Andrew_McGuire
2 Replies
1052 Views
Last post April 25, 2017, 05:34:24 AM
by CaptainHaddonCollider
4 Replies
1001 Views
Last post June 30, 2017, 09:45:46 PM
by SABOT
95 Replies
11038 Views
Last post June 07, 2021, 12:31:18 AM
by Shahbahraz