Took a bit longer than a day to get it done but here are the next steps as detailed on
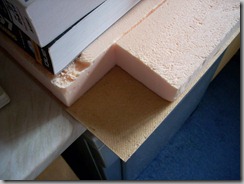
www.blog.kings-sleep.me.ukAs the base is too big for the foam so I completed the edge using off cuts:

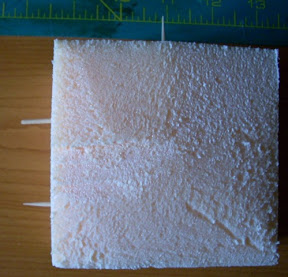
and pinned together using tooth picks:

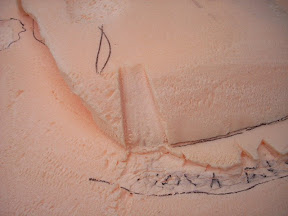
The location of the steps and rough path next to them:

I had fun creating the path - I tried a couple of techniques to create a rough battered path but found the best way was to hit the foam with the flat end of a small hand mattock my wife and daughter use for archaeology field digging

It was to hand where as the hammer was too small and just dug into the foam rather than push it down

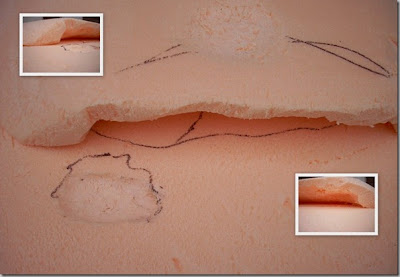
The overhang / cave front:

I do wonder if I should have made this big enough for figures - maybe on board two or three I'll build a cave...
The depression at the top of the mound will be used to host a rock formation that I picked up on my day off a couple of weeks ago - shear fluke I was in the area (due to a hospital appointment of all things) and I saw these in a tourist shop
http://www.the-stone-shop.com/index.htm as cast off bits for £1.50 each:

The figure is a GW Skaven for size reference - no I did not buy it in the shop - it's one of mine...
The stones on the other hand are smokey quartz
http://www.the-stone-shop.com/search.htm?search=quartz&start=5Next step is to cast some rocks for the edges of the hill and then start the first layer of painting.
Andrew