No, not first time every time! I usually have to take about six at least to get a good one. But it used to be a much higher ratio. Practice makes perfect.

I don't use a booth or a light box or anything like that. I just use whatever ambient light is available. Sometimes that's sunlight, sometimes it's the room light. I've nothing against building a fancy light set-up, lots of folks get great results doing that. But I'm lazy and couldn't be bothered with all that so I found another way. You need a camera that's clever enough to do the hard work for you, though. That is the downside.
I stumbled across my chosen method by accident, when I was looking for a way to take group shots. When trying to do this I always found the camera would just focus on one or two figures, and the rest would always be out of focus. So I read the camera manual (had never bothered with that before!

) and discovered a setting called
AV (Aperture Value). With this mode you decide how much of the frame you want to be in focus by adjusting the numerical aperture value (from just a single figure right up to every single damn thing in view). Taking into account the available light level the camera calculates the exposure time required to get everything in focus, and then Bob's your uncle.
The big bonus here is that because the camera automatically adjusts the exposure time to account for available light, you can get pretty good shots regardless of light levels. So no need for a fancy light rig!
You can take photos that come out okay in almost total darkness this way, but the exposure time can run up to several minutes if you do this. Because even with good light the exposure time is longer than normal, you have to use a tripod or other method of steadying the camera, or you'll just get a blurry mess. Even just clicking on the button can ruin a shot, so using a remote or timer is a good idea.
Another thing you need to do is figure out how to set a custom White Balance for whatever light you are using, otherwise the photos will come out all yellowy if under artificial light. Oh, make sure the flash is switched off, too. Flash is the enemy of nice figure piccies!
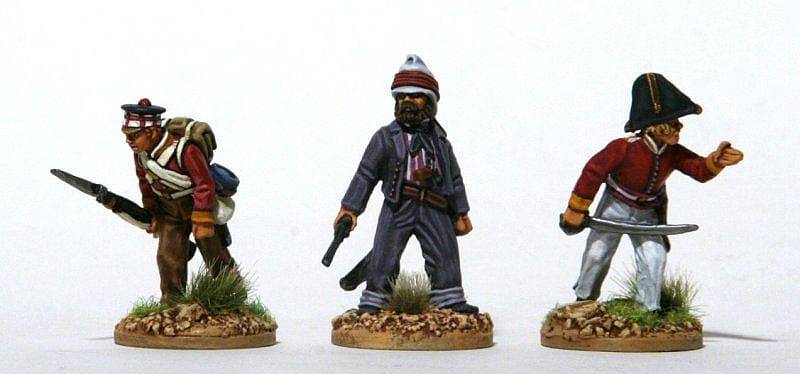
This method isn't too fond of a white background however. Those shots usually come out a bit dull and dark...
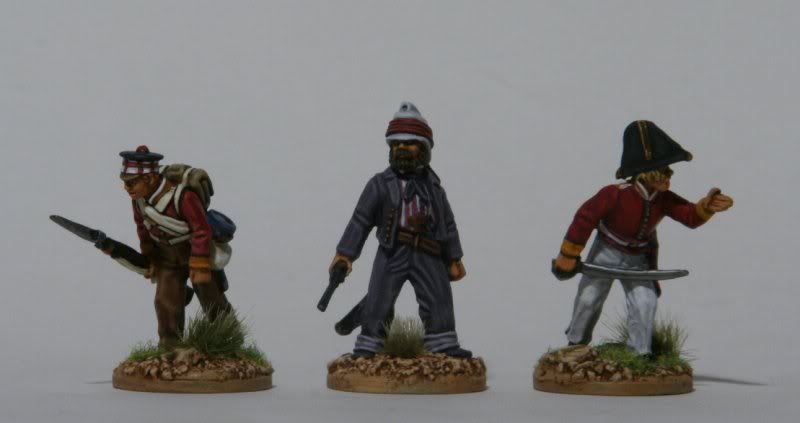
So I cheat with those. About ten seconds in a graphics package gives us this instead...
But the ones with a backdrop haven't been messed with in this way. The photo of the Highlanders in front of the hut was taken with sunlight streaming through the windows on to the table. That's why it looks a bit different. You can never quite tell how it's going to come out with sunlight. Sometimes you get a nice effect, sometimes you don't. That's why I usually use the room light with the curtains drawn, as it is more consistent, if not always as spectacular. That's about it, really. Sometimes I sharpen the shots up a bit too while I'm resizing them, if I think it would help, but not always. So obviously, the Plynkes method requires a camera with an AV setting, the ability to set a custom white balance, and to make things a bit easier a tripod. So I guess it isn't for everyone.


