*
Welcome, Guest. Please login or register.
April 27, 2024, 07:57:31 AM

Login with username, password and session length

Donate

We Appreciate Your Support

Members
Stats
  • Total Posts: 1690838
  • Total Topics: 118355
  • Online Today: 861
  • Online Ever: 2235
  • (October 29, 2023, 01:32:45 AM)
Users Online

Recent

Author Topic: Into the tunnels - pic heavy-now with full set pics  (Read 8208 times)

Offline mattblackgod

  • Mad Scientist
  • Posts: 985
  • Post Apocalyptic Nut Job
    • Post Apoc Wargames Forum
Into the tunnels - pic heavy-now with full set pics
« on: March 10, 2012, 07:39:40 PM »
After playing Stalker and Metro 2033 I decided to make my own tunnels to play in.


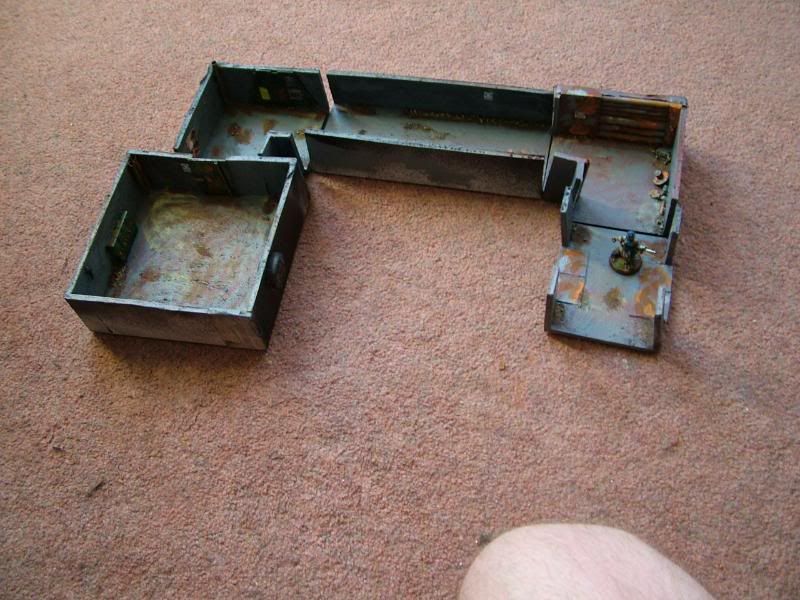
The finished tunnel pieces.


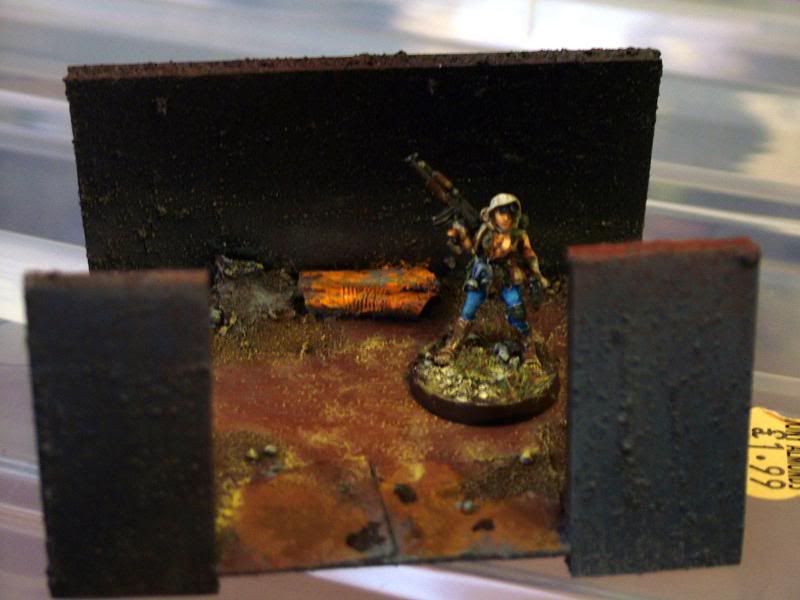
Cross section with some signage.


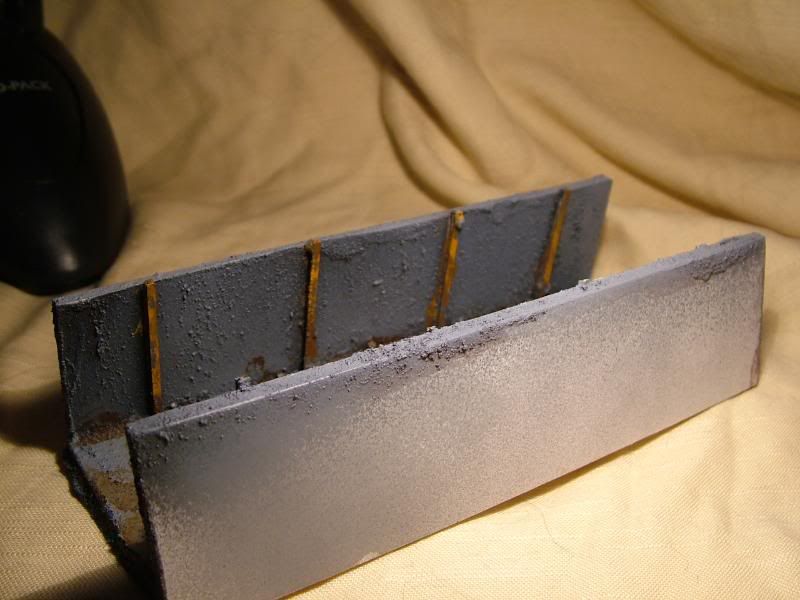
The pipewall section with a warning sign.


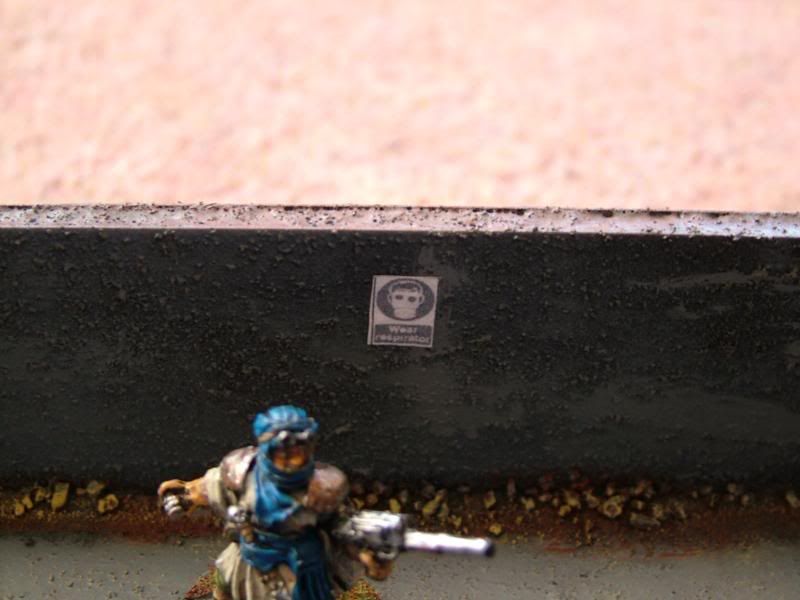
 :frustry: Random tunnel sign. Better mask up!


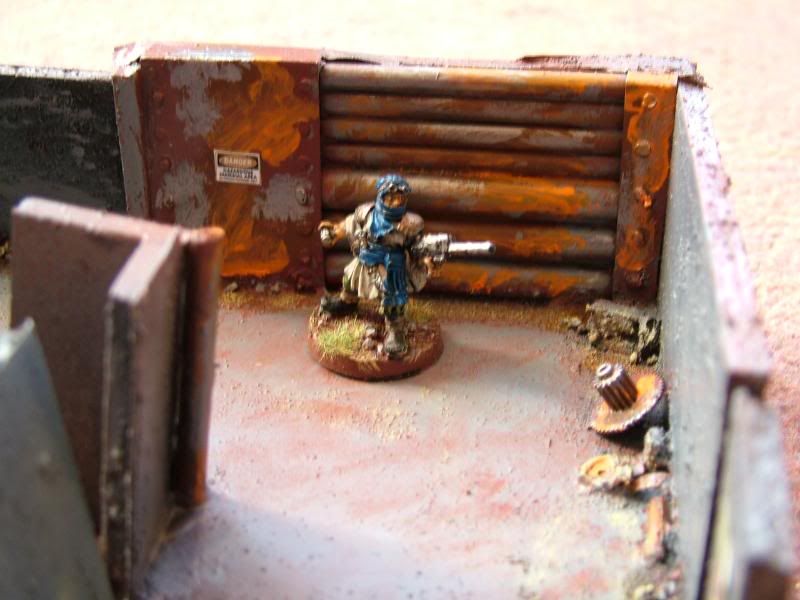
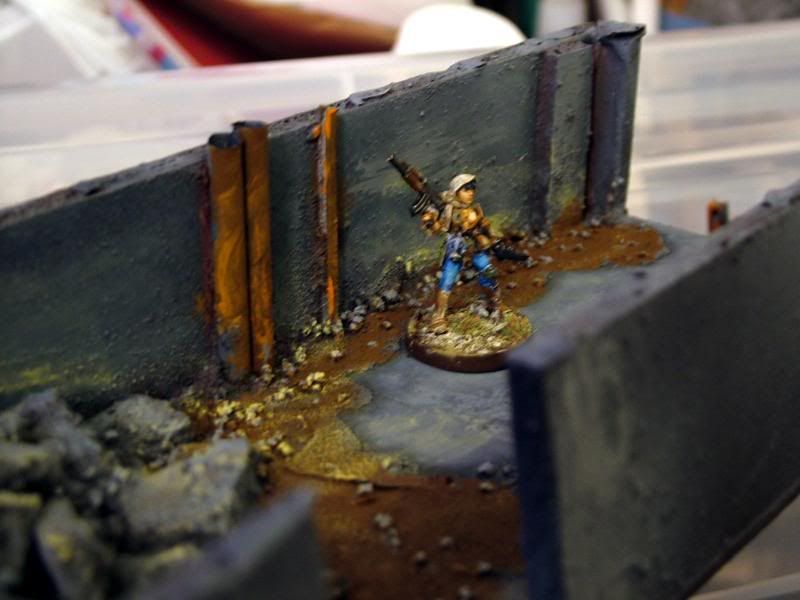
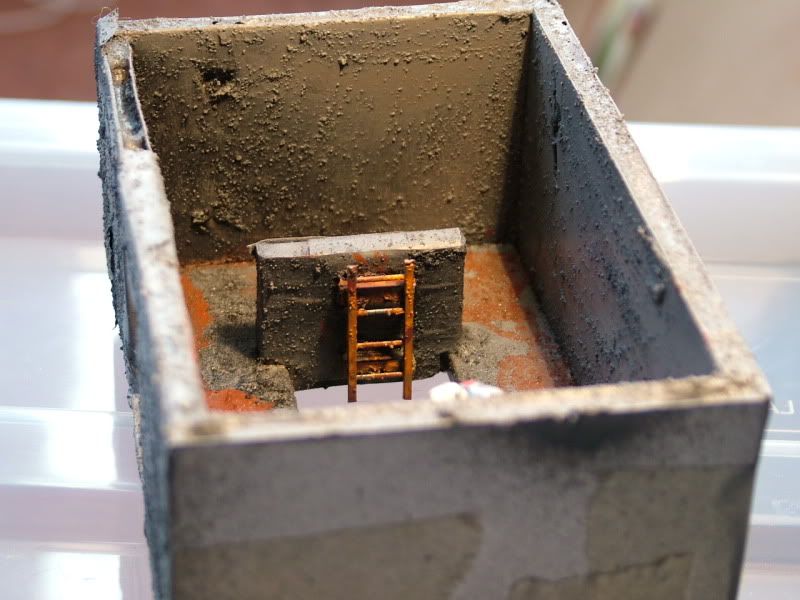
The tunnel with the home made ladder.


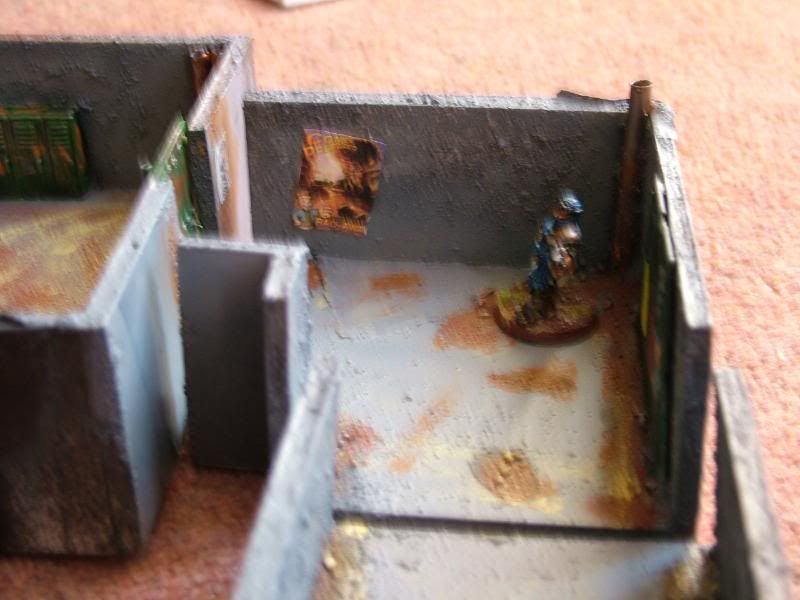
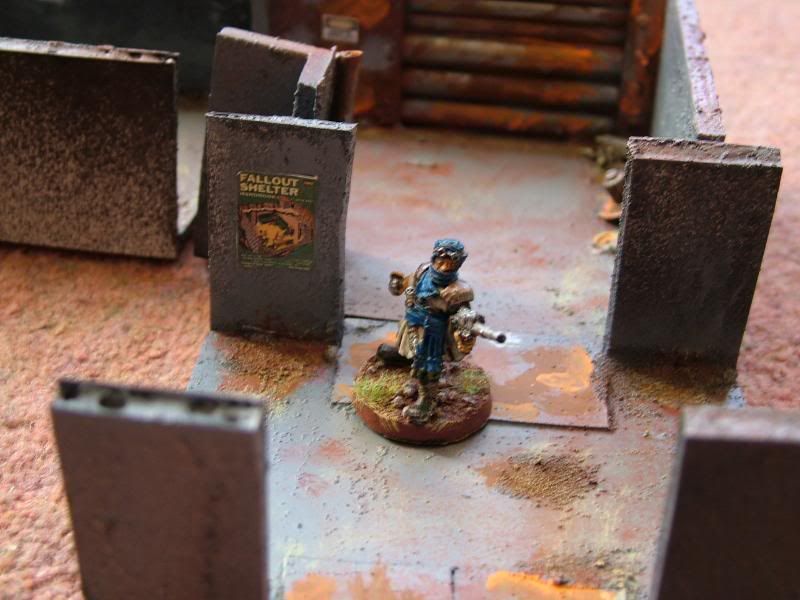
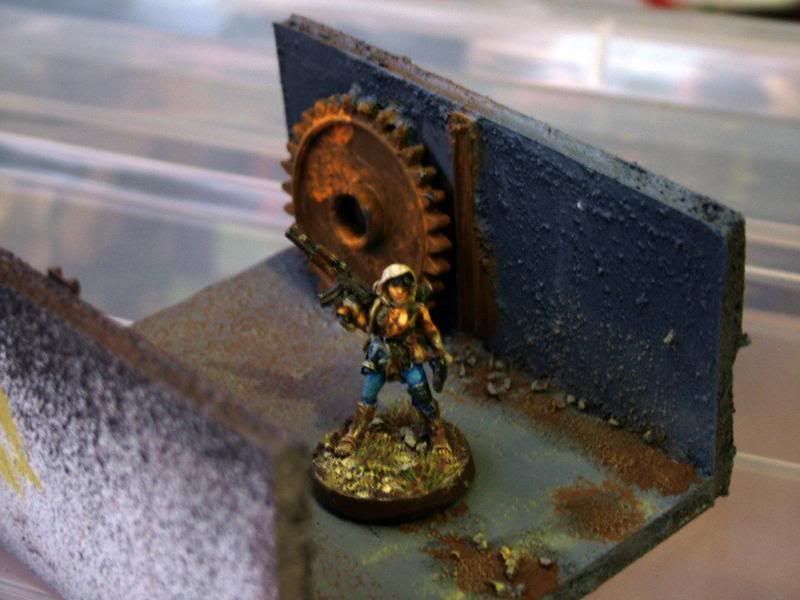
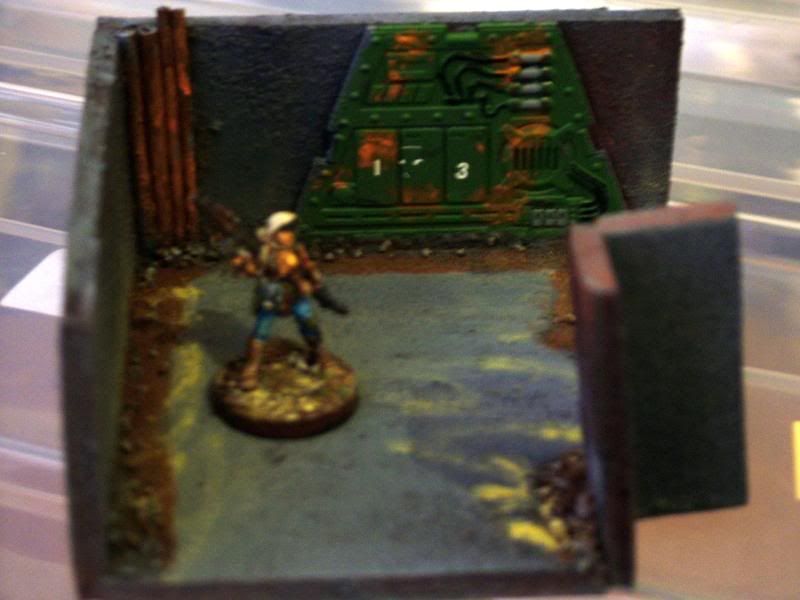
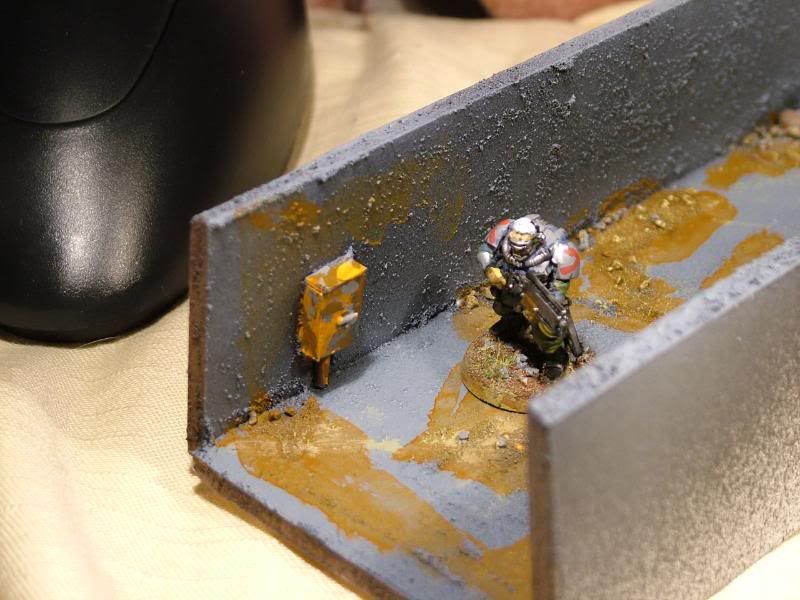
Right angle with a poster.


Same right angle panel detail. Boys always check the red panel - that is were they stash ammo.


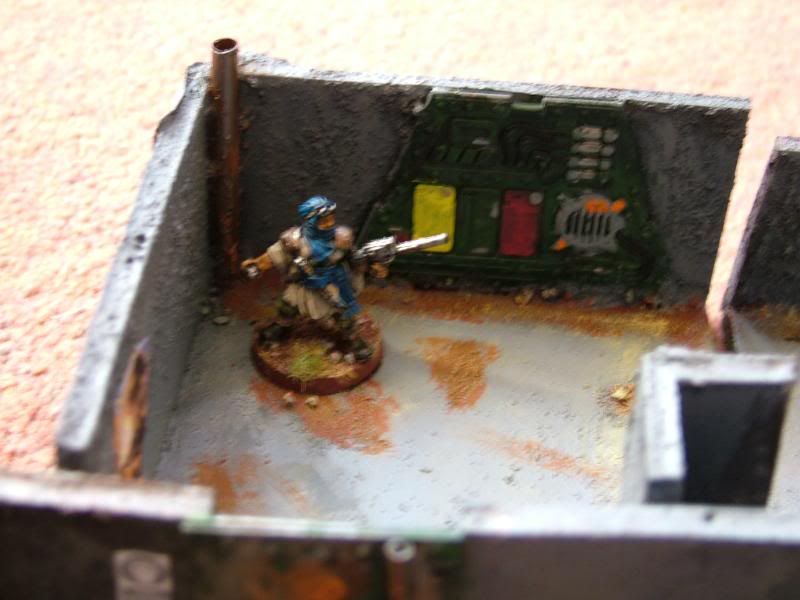
Inside the Stalker Stash room. I have not done any furniture yet. This room could be a lab, break or security room.


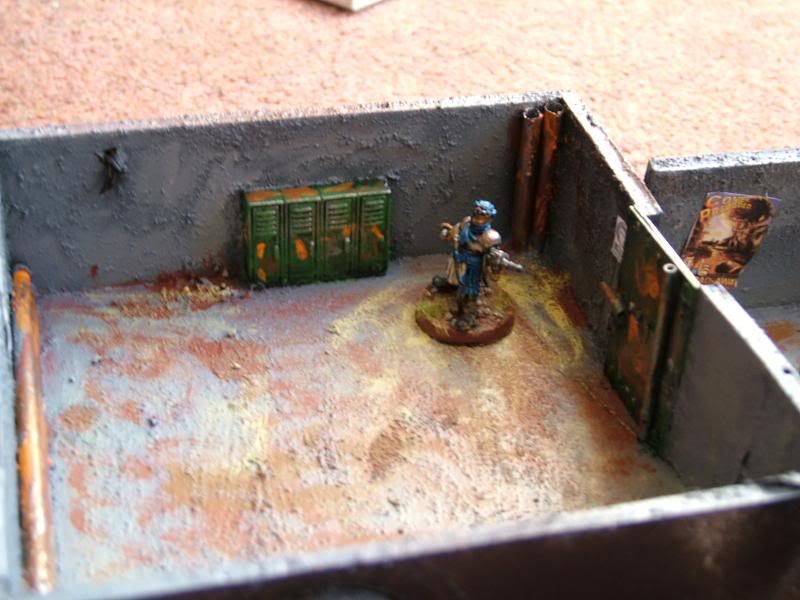
The lockers. Always worth checking. Sometimes there is a medi pack or some ammo. One time we found a pristine assault rifle and some body armour.


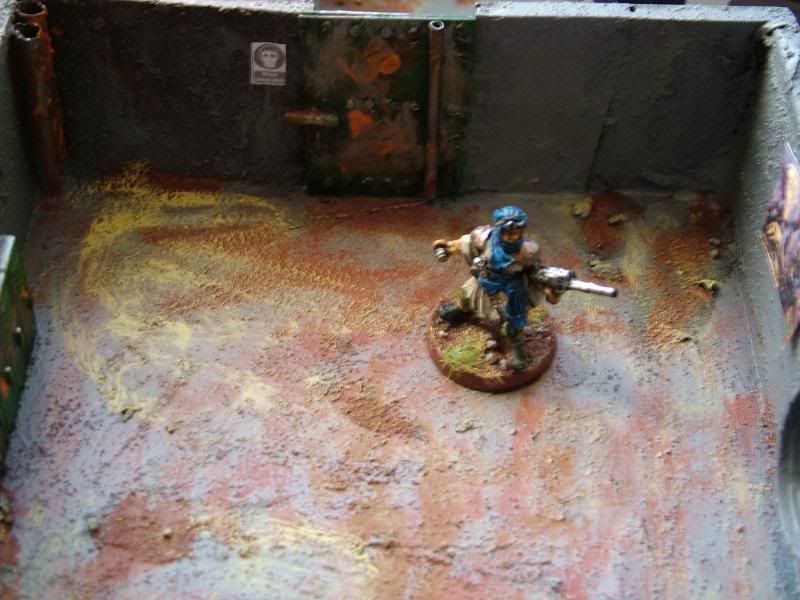
Whoever was here last must have been fans of this, what ever it is.


STALKER vodka advert.  :D


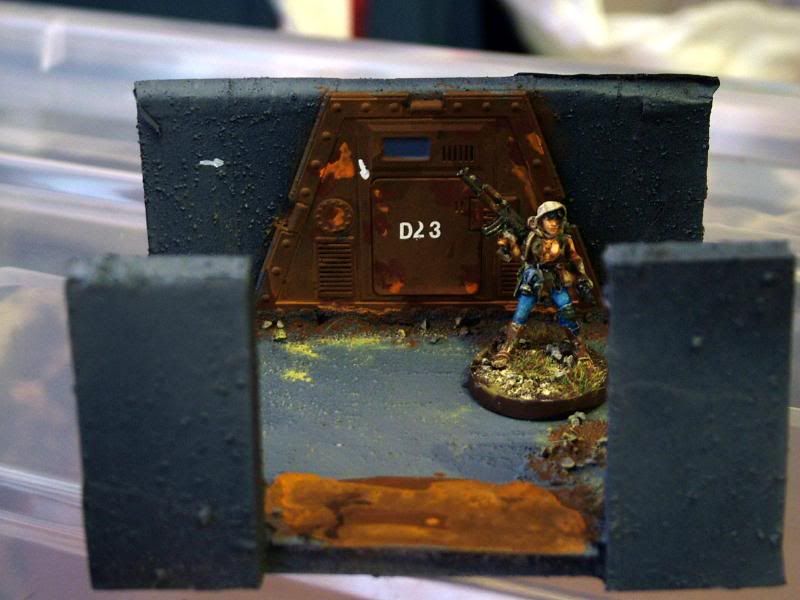
The letters are lettraset and where a total pain to apply. The arrows point to a hidden stash.


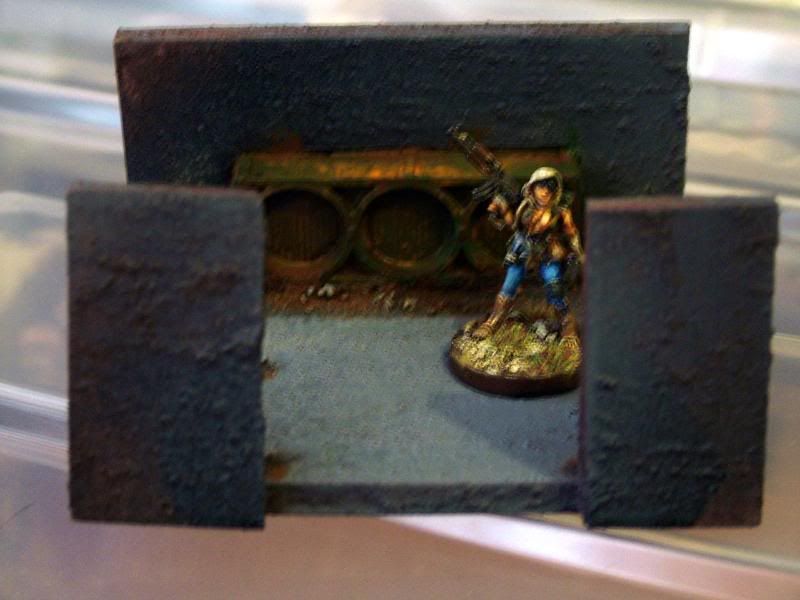
I love the way the rust has come out on the air vents.


More lettraset letters


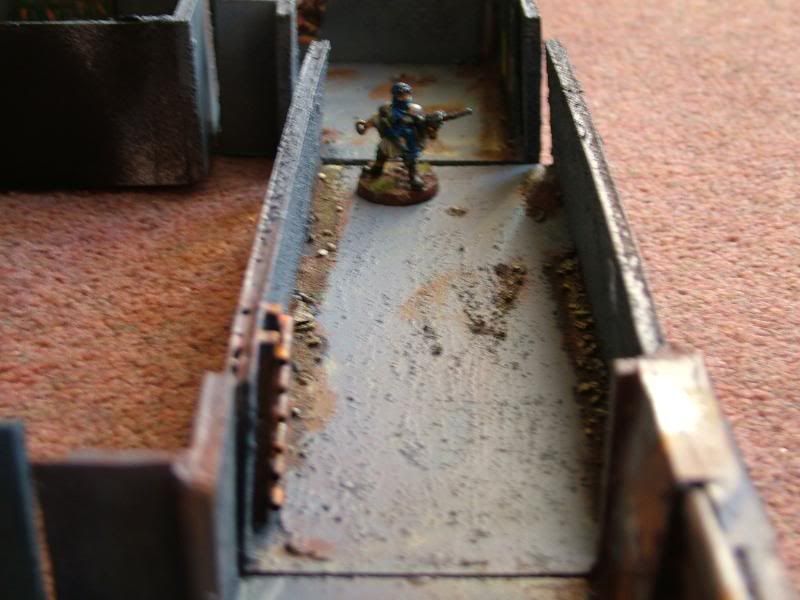
Finished long tunnel


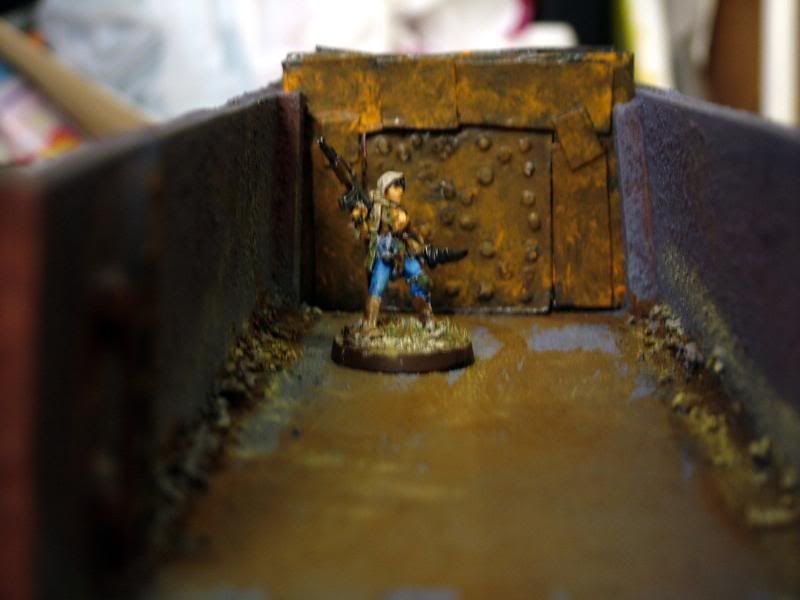
The removable tunnel door.


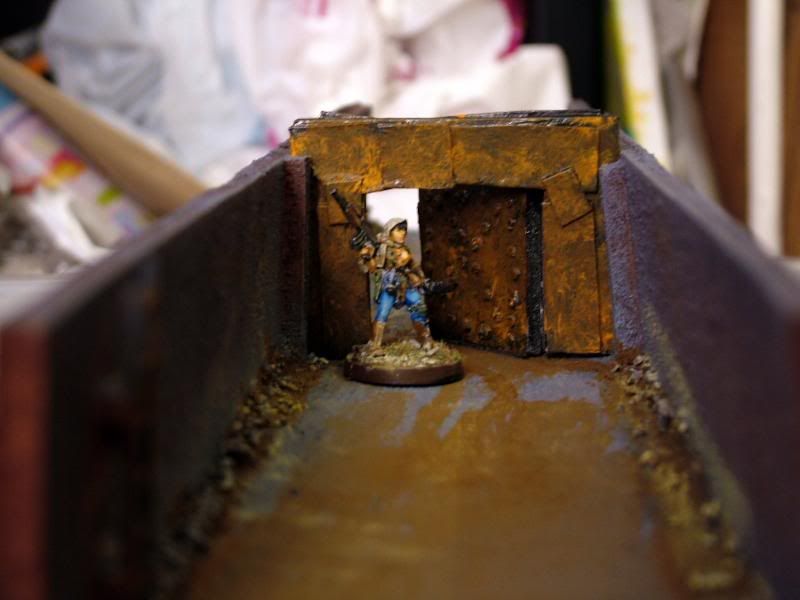
SHUT THE DOOR! Where you born in a barn?  
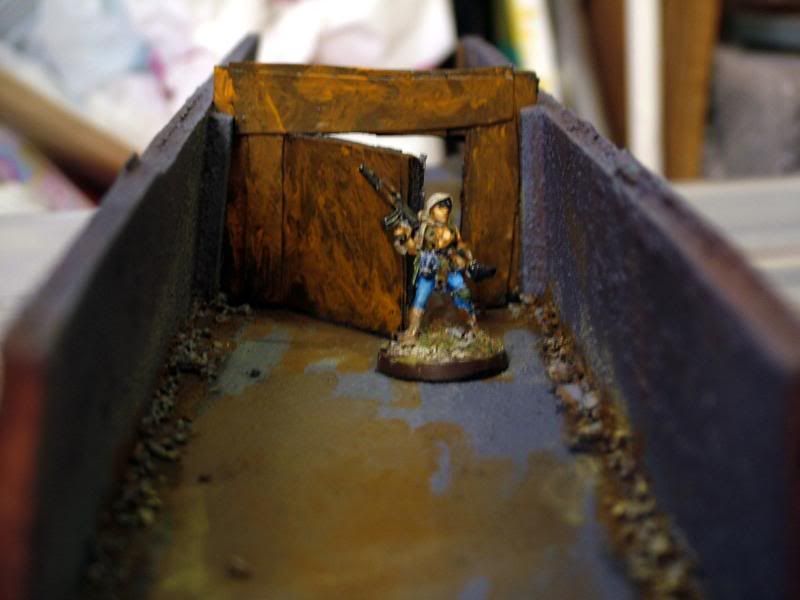

Other side


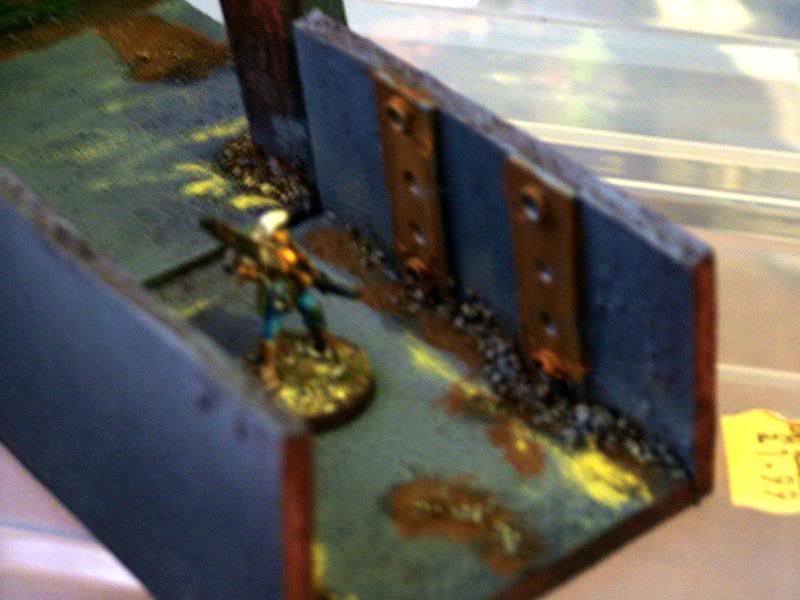
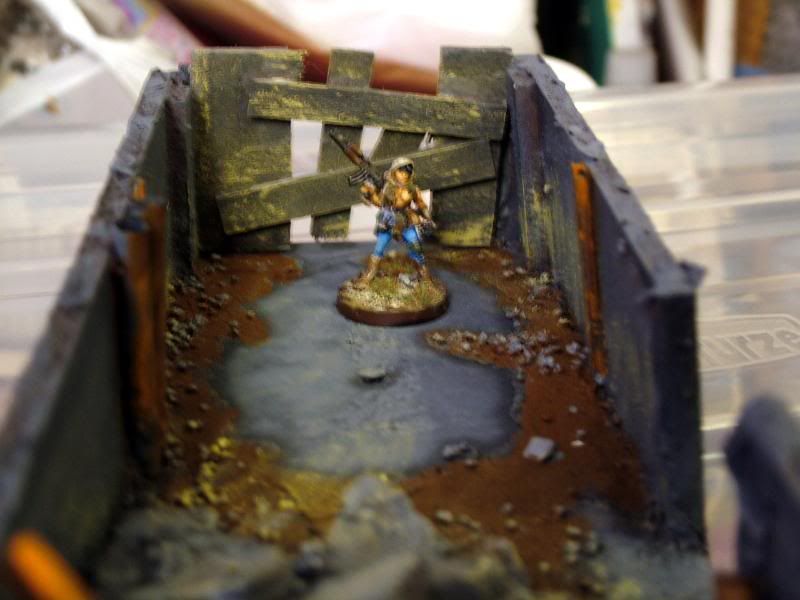
The barricade for the long tunnel.
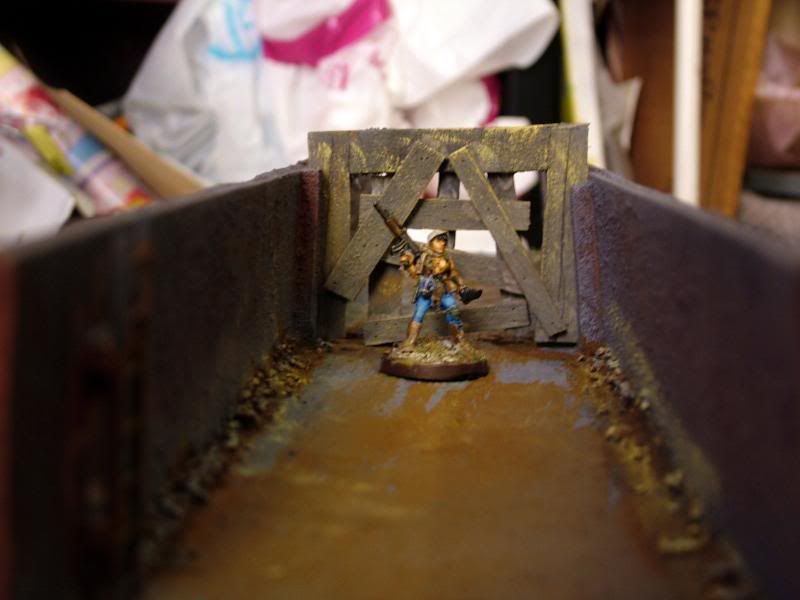

Other side


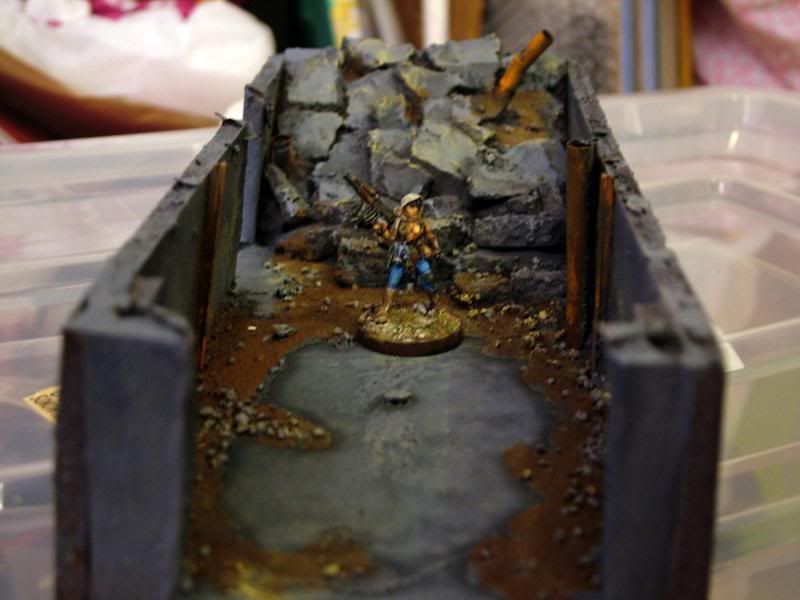
The collapsed tunnel.


More from the tunnel


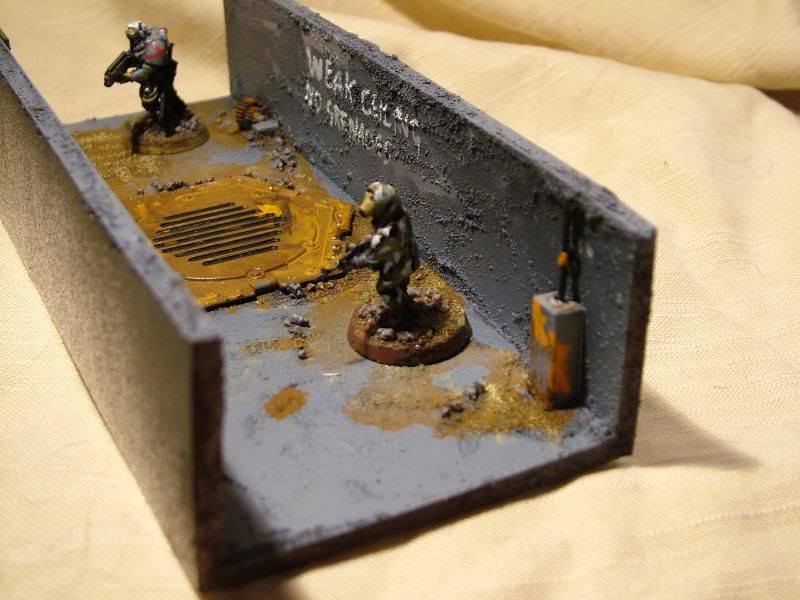
Best watch that grid thing. Something unpleasant might climb out of it.


Another shot of the same tunnel.


You have been warned! The tunnel's graffiti. I thought it might be fun to have sections where you cant use certain weapons.


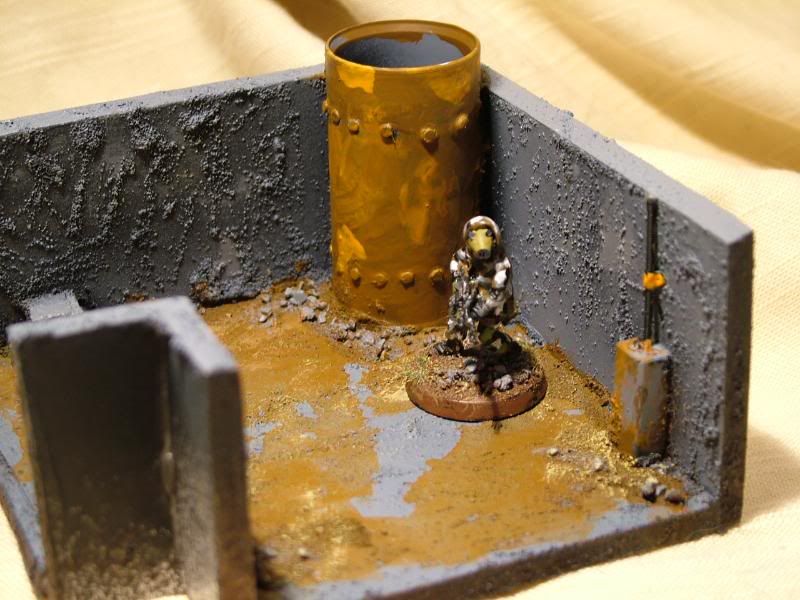
A right angle. The mad looking huge pipe thingy is a 20mm plastic conduit bush/coupler. You can pick them up in DIY stores quite cheaply. The electrical box is made from the covers you get on a 3 pin mains plug when you buy a new appliance (US and Euro guys might not be able to get these as your plugs are round pins). The hole in the top was plugged with putty. The cable is a guitar string with a putty bracket.


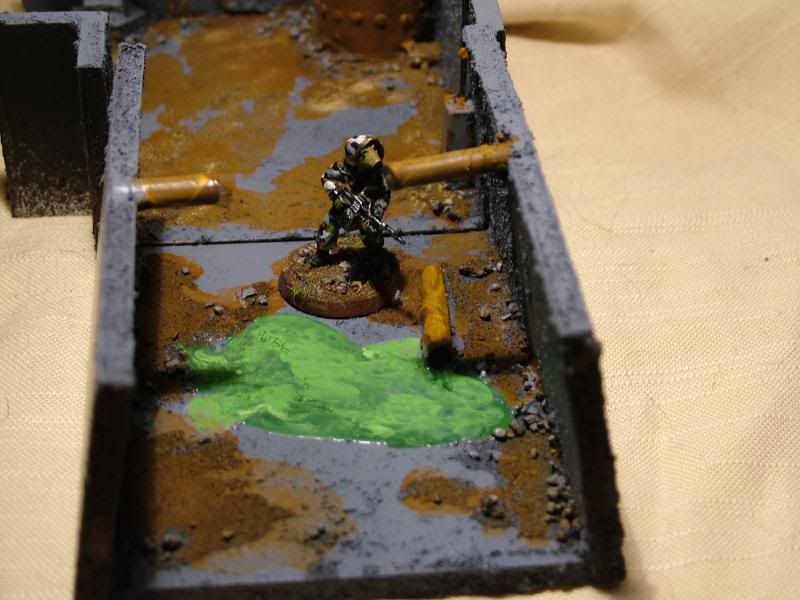
Eeeewwww - watch your step. The puddle is PVA glue painted green. It may be hazardous it may not...step in it and see.


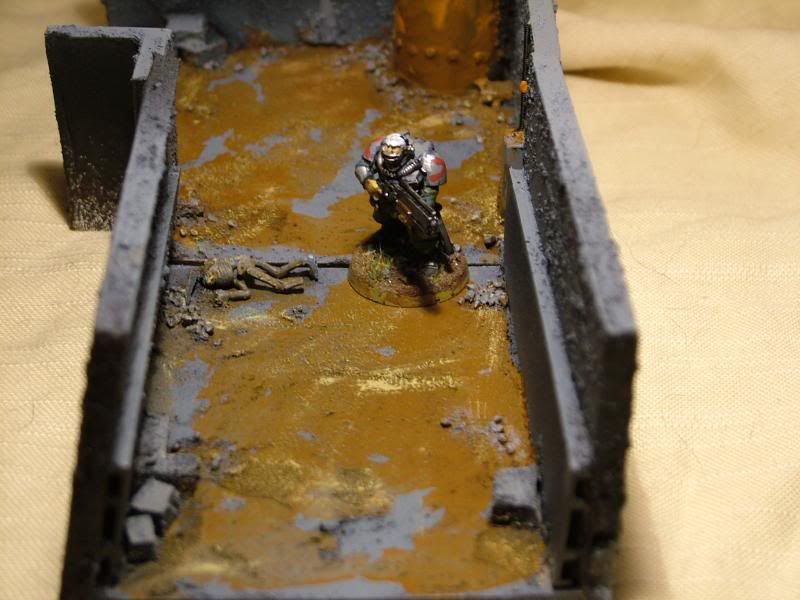
The lower walls in this section came from packets of end pieces for UPVA windows that where left behind when the builders installed our new windows a couple of years ago. A long dead explorer lies on the floor - a warning to others.
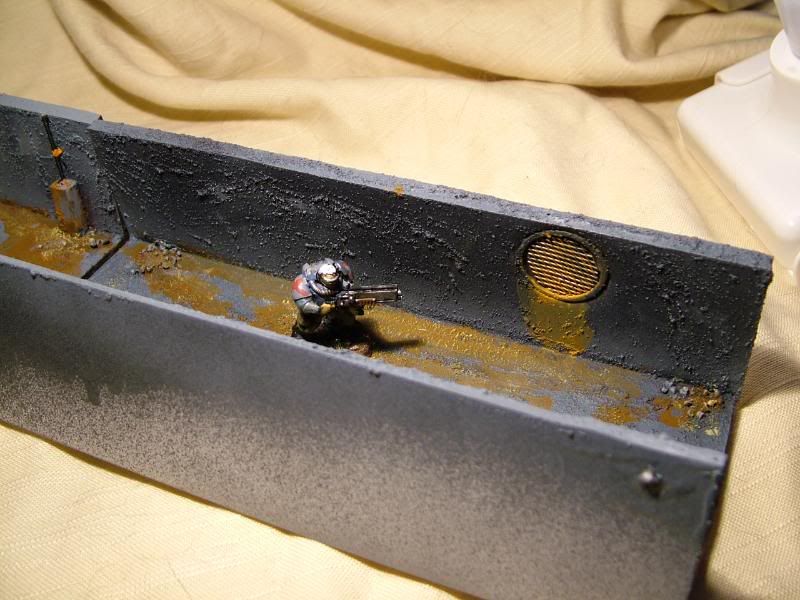

The vented tunnel.


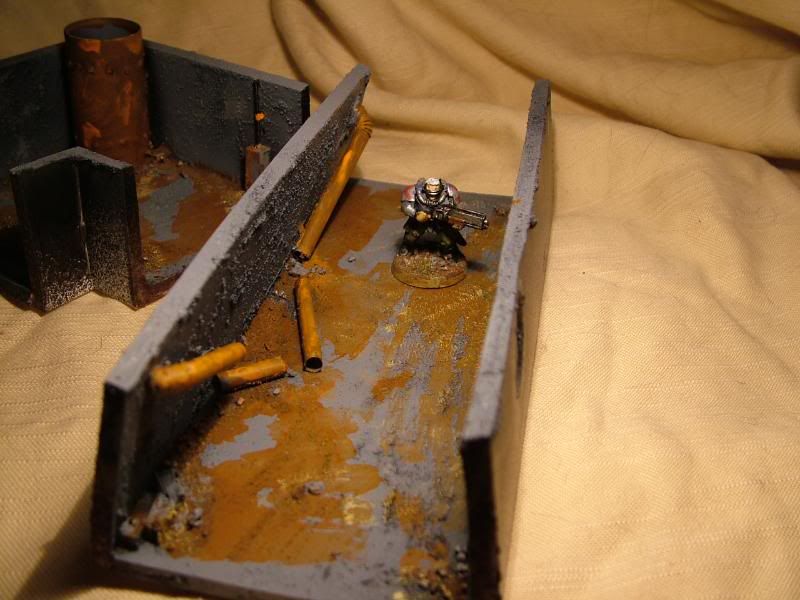
The other side of the vented tunnel. I quite like how the pipes turned out.


Ribbed section with grid. The ribs are made from plastic coffee stirrers you loot from cafes.


A shot of the wall ribs.


The electrical box is scratch built from foamboard and card. The conduit under it was a qtip and the handle was a chopped up WW2 1/35 anti-tank rifle handle.


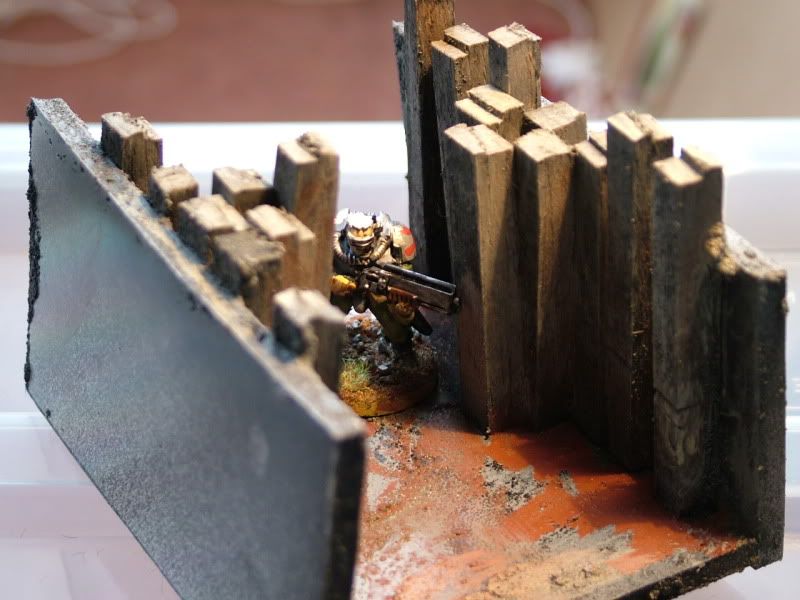
The propped up tunnel.


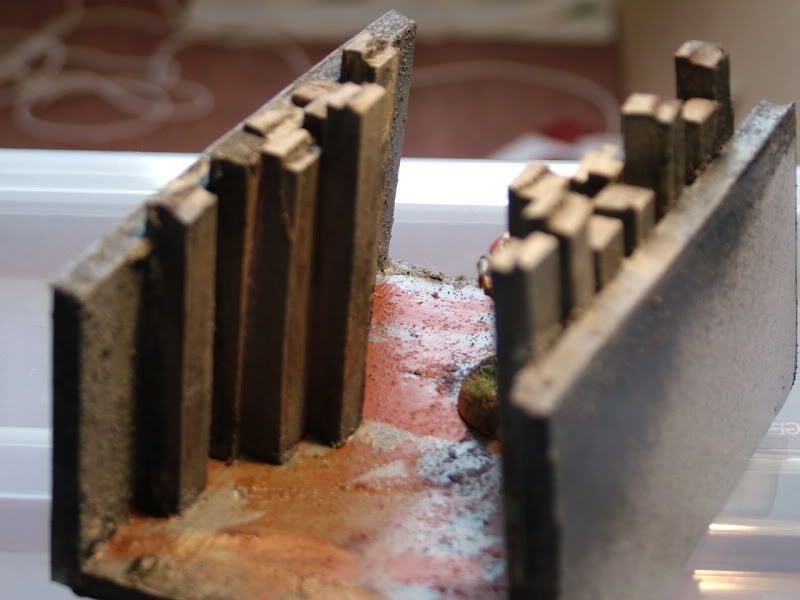
The other side. It makes a nice choke point. May even be a good mission to seal a tunnel by blowing the props (directly stolen from the Metro 2033 game!  :D ).


The ladder down room.
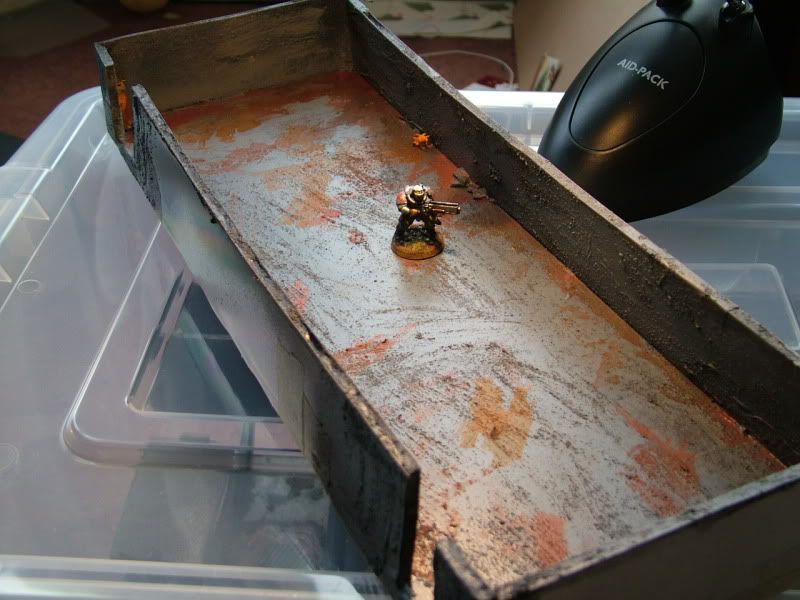

The wide tunnel.


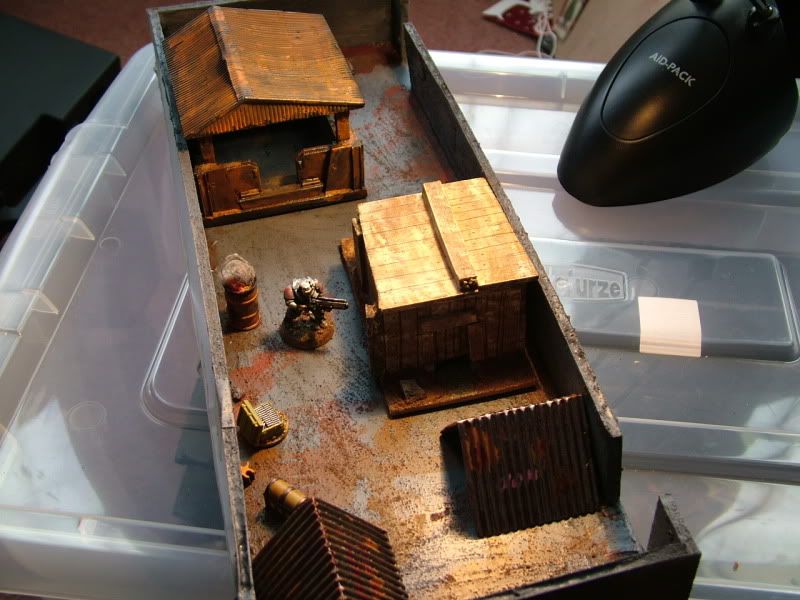
The wide tunnel being used as a camp.


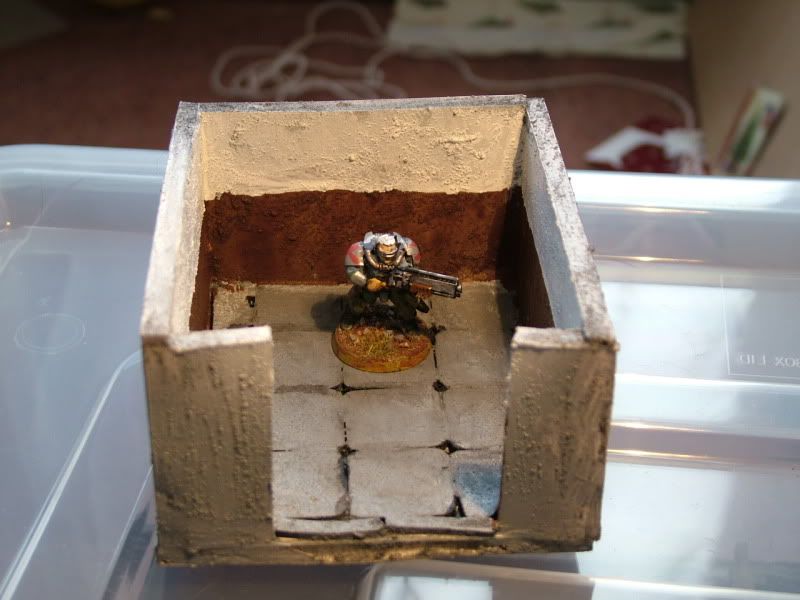
Small room. My line painting isnt the best. It wasnt helped by the masking tape not sticking, so its free hand. I am thinking that if I ever do this again I will paint the inside walls first. That way its easier to get a straight line and there is no limits on brush movement.

One of my favourites.


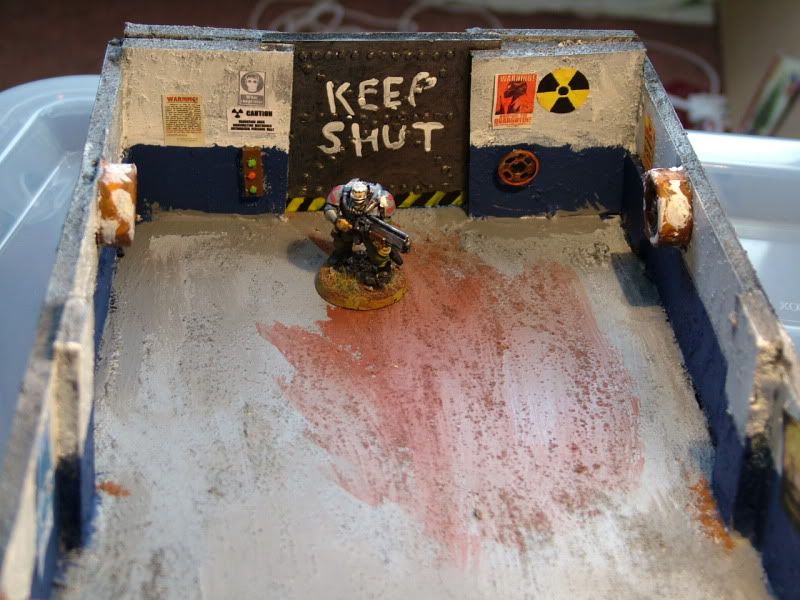
Its based on the first room in the Metro 2033 game. See the big door? That leads up into the station and to the surface. The posters are   pictures I found online and printed off. The wall fans/aircon units are resin items I found on Ebay. The mechanial backup door wheel is a pop fastener and the power switch on the left hand side of the door was a rear airfoil off a 1/100th Cobra helicopter kit with 1.5mm diameter punched bits of card as buttons.


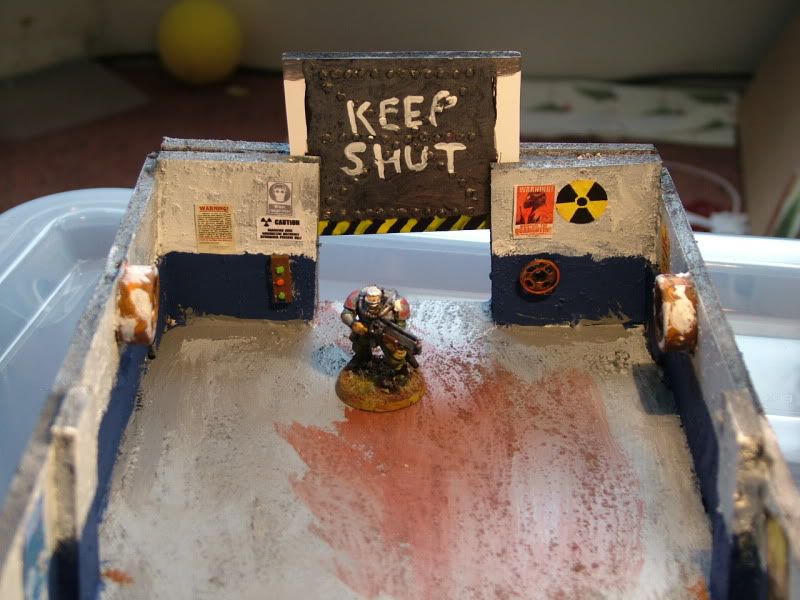
Oooh heck, your not going up there are you?


Other end of the room.


More detail and posters.
 
« Last Edit: March 11, 2012, 08:56:22 PM by mattblackgod »
Mattblackgod's world - Games and minis blog.

Offline mattblackgod

  • Mad Scientist
  • Posts: 985
  • Post Apocalyptic Nut Job
    • Post Apoc Wargames Forum
Re: Into the tunnels - pic heavy
« Reply #1 on: March 10, 2012, 07:41:28 PM »

Large room. The bulkheads slide out for maximum versatility. I used plastic I beam to make the holders and the bulkheads are mounting board. I may detail the bulkheads one day. 


Picture with them removed to make extra door ways. 


Green room with the bulkheads in. 


No idea what that gubbins is. Power generator, power backup, Air pump or water pump perhaps? It was a power plant from a 1/6000 port playset I got as a kid (yikes - that 30 years ago! ). I extended the chimneys with plastic straws. There is some sort of lever arrangement fitted to one side (that was some sort of hand control from the cockpit of a 1/24 Messersmicht 109 kit). 


Brown room. 

And now....

Imagine you are exploring some tunnels and you see this? 


A ladder goes up. 


A ladder goes down into the dark. 


You climb the ladder to some sort of holding tank or over flow. Except there is a big hole in the centre of the tank. A cold dread fills you as you wonder what might be lurking down there. 


On the other side of the tank some pipes appeared to have emptied into here once. A suspicious dried green goo is on the floor. As there are Bio Haz signs you better not fall in. Looking over you spot a hole in the wall. You wonder what made it. Is this where the mutants have come from?  


Even more worrying is the metal mesh in the grates. It appears to have holes smashed into it from below. 

The whole thing is a poly packing piece from my new printer. The ladders are trimmed wire mesh. The metal grating is granny grating/embroidery mesh. Plastic straws and textured paint finish it off. All that was added was a few signs.


At the vending area...Ice Cold Nuke or a Ice Cold Rad Beer? Vending machines by Ainsty/Old Crow, First Aid cabinet by Fenris games and the safe is by Pardulon. 


Lockers by Pardulon


Some Plaster cast bed I got off ebay. No idea who makes these. 


High tech research lab by Copplestone.


Lab Equipment by Pardulon


Toxic Waste store...barrels by Fenris Games. 

Offline v_lazy_dragon

  • Mastermind
  • Posts: 1836
Re: Into the tunnels - pic heavy
« Reply #2 on: March 10, 2012, 08:27:38 PM »
Cracking looking scenery mate - I look forward to the next time I can try to clear them of ghouls  :D
Xander
Army painters thread: leadadventureforum.com/index.php?topic=56540.msg671536#new
WinterApoc thread: leadadventureforum.com/index.php?topic=50815.0

Offline Phelan

  • Bookworm
  • Posts: 82
Re: Into the tunnels - pic heavy
« Reply #3 on: March 10, 2012, 08:35:12 PM »
Amazing!  :o

Offline Brummie Thug

  • Scatterbrained Genius
  • Posts: 2631
    • Brummies Wargaming Blog
Re: Into the tunnels - pic heavy
« Reply #4 on: March 10, 2012, 09:49:36 PM »
Really great.  ;)

Offline oxiana

  • Mastermind
  • Posts: 1069
Re: Into the tunnels - pic heavy
« Reply #5 on: March 10, 2012, 10:16:59 PM »
Wow – lots of game-play going on there. Top work!  :)


Offline mattblackgod

  • Mad Scientist
  • Posts: 985
  • Post Apocalyptic Nut Job
    • Post Apoc Wargames Forum
Re: Into the tunnels - pic heavy
« Reply #6 on: March 10, 2012, 10:25:59 PM »
Thanks for the comments. The problem I find is I keep designing new rooms to add to the set. Maybe when I get time.

V_Lazy_Dragon, you are on!

Offline aggro84

  • Scatterbrained Genius
  • Posts: 2519
    • Noble Pursuits
Re: Into the tunnels - pic heavy
« Reply #7 on: March 11, 2012, 12:17:16 AM »
What a great project.  :-*
I love the way its modular and all of the little details.
I been wanting to do a similar project for years, but I've just never really gotten around to it.

Offline Luckyjoe

  • Scientist
  • Posts: 349
Re: Into the tunnels - pic heavy
« Reply #8 on: March 11, 2012, 12:18:08 AM »
Wow, this is so cool. And some very nice furniture.

Offline artshiraz

  • Scientist
  • Posts: 327
    • http://miniatures.mehlinger.net/
Re: Into the tunnels - pic heavy
« Reply #9 on: March 11, 2012, 12:25:09 AM »
Greetings


now only a picture of the whole assembled tunnels *together* is missing  ;)
That's quite a piece(s) of work you made there.
You know that you can pencil light lines in your rooms. When covering the walls with colour afterwards the pencil marks get covered and you have nice straight lines  >:D

Great job. Thank you
Jo
50°17\\\'60N  8°16\\\'0E

Offline TheMightyFlip

  • Mastermind
  • Posts: 1606
  • Smoggie!!
    • Flips Miniatures
Re: Into the tunnels - pic heavy
« Reply #10 on: March 11, 2012, 01:12:55 AM »
Cool stuff. Ive got some of them plaster beds, the fella that used to own the game store in Middlesbrough started knocking them up a few years back, not sure if he made the molds or bought them.

Offline airbornegrove26

  • Mad Scientist
  • Posts: 664
Re: Into the tunnels - pic heavy
« Reply #11 on: March 11, 2012, 01:19:16 AM »
That is really cool.  Really like the total effect.  Feels like you might get tetanus at any turn.

Offline Blackwolf

  • Potato Cup 3 winner
  • Supporting Adventurer
  • Galactic Brain
  • *
  • Posts: 6225
Re: Into the tunnels - pic heavy
« Reply #12 on: March 11, 2012, 01:33:42 AM »
Lovely project :-* :-* :-*
May the Wolf  Walk With You
http://greywolf1066.blogspot.com.au/

Painting Clubs Joined: APC,MPC, PPC,PAPC,LPC.

Offline Marine0846

  • Supporting Adventurer
  • Galactic Brain
  • *
  • Posts: 6613
Re: Into the tunnels - pic heavy
« Reply #13 on: March 11, 2012, 02:07:28 AM »
Great builds.
I love reading Metro 2033, a cool book.
It would be a treat to play a game with that terrain.
Thanks for sharing.
Semper Fi, Mac

Offline Dentatus

  • Scatterbrained Genius
  • Posts: 2265
    • Stalker7.com
Re: Into the tunnels - pic heavy
« Reply #14 on: March 11, 2012, 03:35:44 AM »
Great work. Very dark, damp, dangerous, atmosphere.


Related Topics

  Subject / Started by Replies Last post
6 Replies
3765 Views
Last post April 03, 2008, 06:41:59 AM
by NurgleHH
60 Replies
21069 Views
Last post July 06, 2011, 05:19:40 PM
by anevilgiraffe
163 Replies
36070 Views
Last post December 09, 2011, 10:20:32 PM
by Ainsty Castings
86 Replies
34457 Views
Last post July 12, 2010, 09:51:12 AM
by Argonor
224 Replies
42637 Views
Last post March 31, 2014, 12:04:55 PM
by Ray Earle