He didn't take much convincing 

Tart!
Apparently the Lone Ranger kept a few silver dollars tucked aside for when he visited his exceptionally tall cherokee mistress in the whore house. It was high hoe silver...
*ducks thrown objects, departs* 

Stop it!
Back to the Old West.....
I recently decided that the board I would be using for the Old West games is a little unwieldy to keep lugging up and down the stairs whenever we play so had decided that it needed to be cut in half.
It is four foot square and difficult to manoeuvre about now that I have moved.
I did not have to consider stairs before...
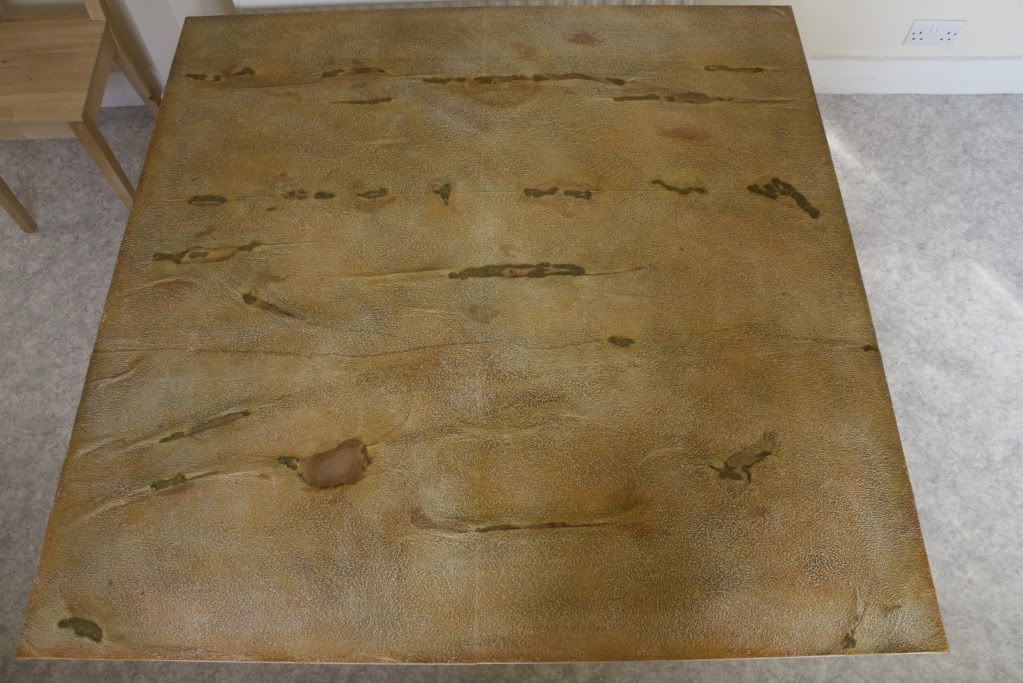
It is made out of two 2x4 sheets of MDF fitted together with two batons that hold it together and in place on my table.
The only problem being that I not only screwed the baton to it and then filled the holes created, I then covered the whole thing with the textured wallpaper.
So I have no idea where the screws are now.
I also glued the baton in place, so removing the baton was not going to be easy.
I would need to cut the baton whilst it is in place and then slice through the covering afterwards.
Another strange coincidence is, knowing that I wanted to cut it in half anyway, I decided to use it to stand on whilst wallpapering a bedroom ceiling last weekend.
It seemed easier to throw the board on the bed and stand on it rather than move the bed out of the way and do things the traditional way.
The up shot of this is the board covering decided, rather conveniently, to split straight down the middle where the two sections of MDF are joined.
At least I wouldn't have to worry about cutting that in the right place!
As I still had a few small decorating jobs do today, I decided that the board could be sorted out at the same time.
I thought recording the process here may prove useful.
So, the board batons were cut earlier on and the board was now in two pieces.
The wallpaper covering had ripped but that was not a problem.
I actually ripped it some more to make irregular shapes that I could work with.
These ripped sections were then roughly painted over with a mix of burnt umber and yellow ochre paints (the two colours used in the original process)....
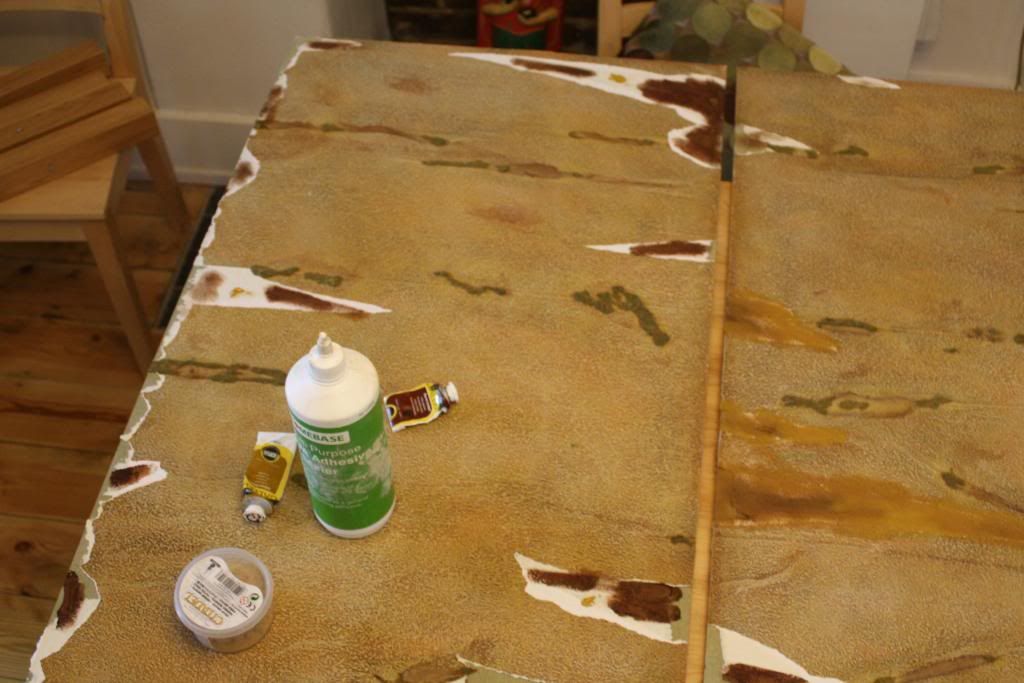
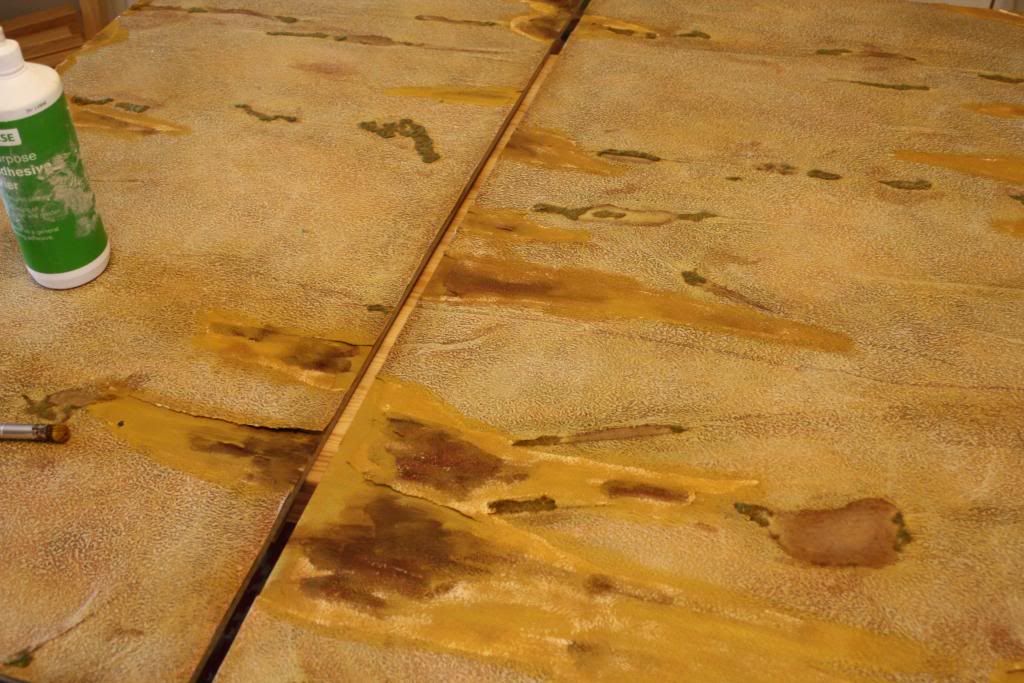
They were then liberally smeared with wood glue....
...which was then mixed into the paint with a little water added to stop the whole concoction from drying out too quickly.
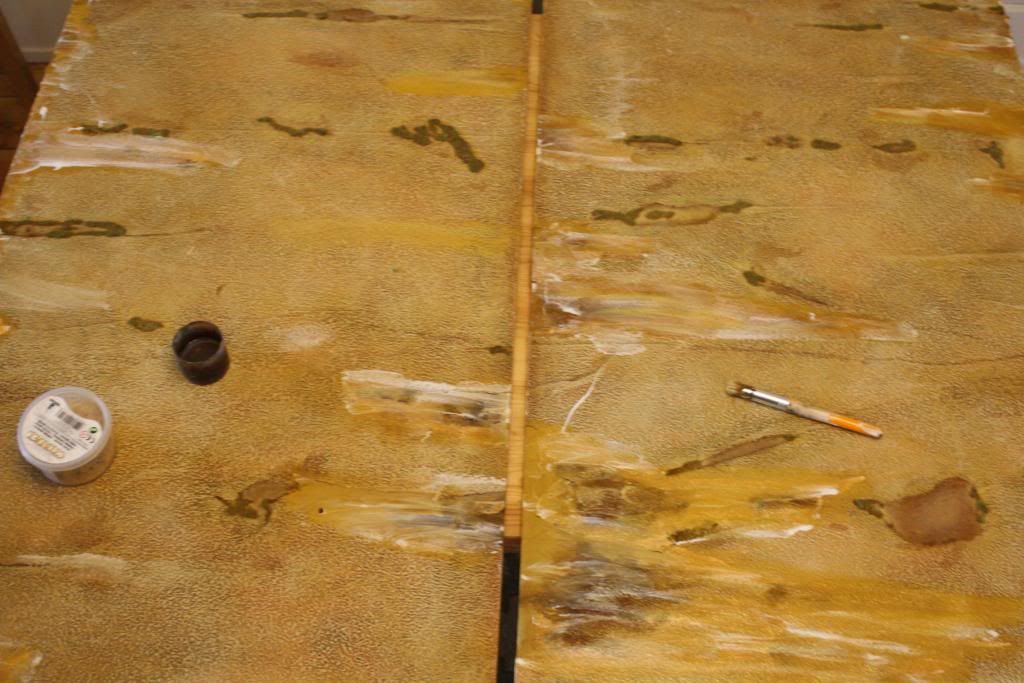
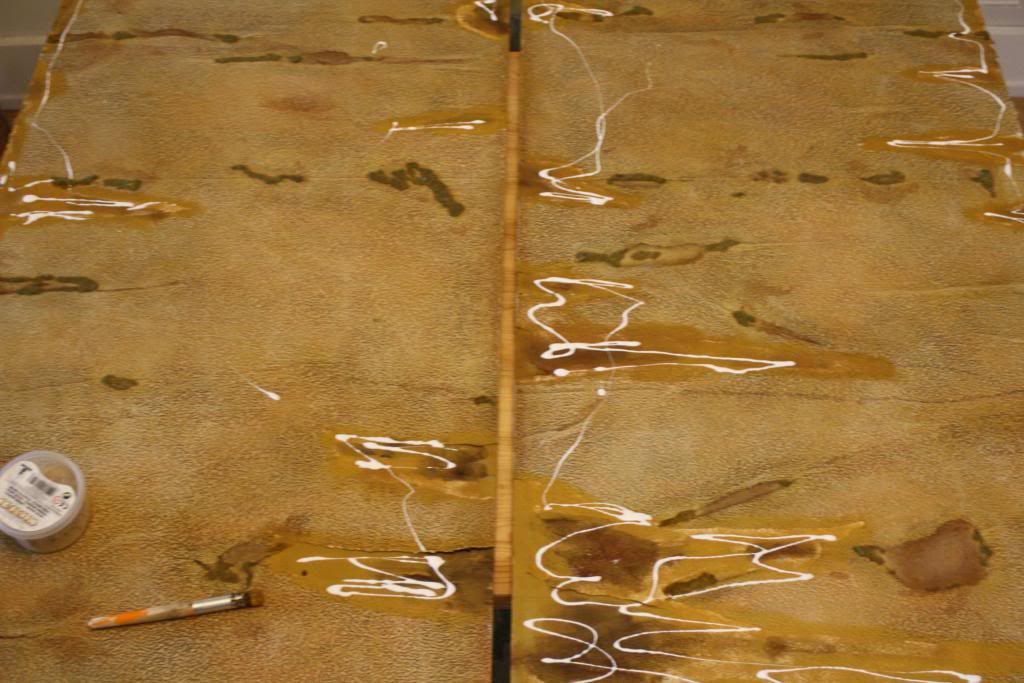
This has then been generously covered in various scenic crap that I was not likely to use in a hurry to get various different colours and textures on the board.
Here is what it looked like before leaving it to dry out...
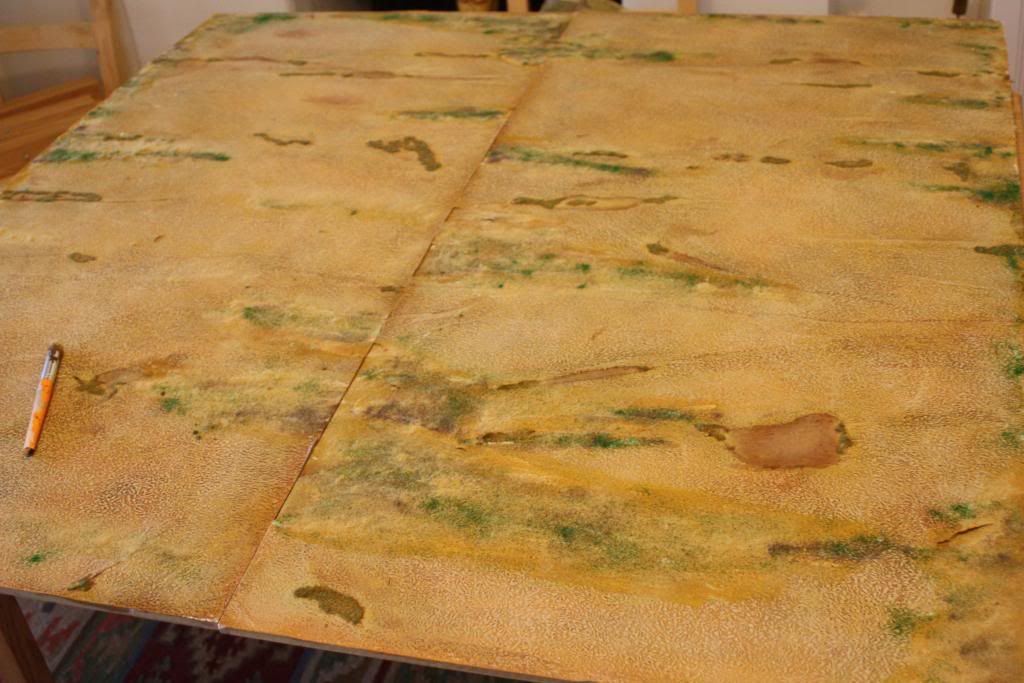
I now need to leave it for a couple of hours and shake the excess off.
I will take a picture of the result later.
I hope it looks as I intended....


