A friend and I finally got round to giving SODAT a game this afternoon. We played on a 3x3 table, sparsely wooded surrounds with the odd barricade and obstacle (wall, canoe etc). I was using my new Frontiersmen miniatures from Wargames Foundry, and 6 of these worked out at 288 points. Each individual had the same traits- Woodsman, Rifle, Marksmen and Tomahawk. My pal had a small group of Woodland Indians, his 7 guys coming to 278. He had a Warleader, and a mix of Elite Warriors and Young Braves. I was defending- this was my territory, these were my pelts, these French-favouring native types needed to get the hell out of these northern woods!
The game began slowly, both players being conservative in terms of activation. The first couple of turns went through with barely a hiccup, the dangerous 3 dice roll usually being left to the last character. The pieces were in place, and with the Indians making progress in the woods the Mountain Men struck the first blow, the excellent rifle knocking out its target, a Young Brave. First blood.
The Huron soon returned fire, and we were all even when a Frontiersman found himself out in the open amidst thick snow, and was taken out. With shots fired, characters needed to reload, and it was now that both players were forced into a more cavalier attitude when it came to activation; but careful thought had to be given as to which areas of battle to prioritise, the field split in two as it was.
Another Indian Brave was downed by rifle fire, and we found an odd kind of mid-game lull- the air was thick with gun smoke, many characters needed to reload, and since this cost 2 activations it was common that one player would attempt a reload, fail, pass the game across, and player 2 would make the same error, and back it came!
With a Mountain Man downed and Indians fast approaching, the game hit its turning point. The Indian Warleader failed his quality test after a kill, and sprinted across the clearing to collect a scalp. Coup counted, and another Woodsman was knocked down and surrounded by both the chief and on-rushing brave. The British though made a crucial breakthrough on the right flank, the trusty marksmanship proving the difference as another Brave was downed. This forced a moral check, which incredibly both Chief and Brave over in the clearing failed, running away from the fallen man and giving the Frontiersmen the space they needed to go on and claim a memorable victory. By the end, only the Chief was left, disappearing into the forest to fight another day.
So, we thoroughly enjoyed the experience! The activation system nailed it for us, being frustrating on one hand and game-changing in your favour on the other. Over a tea, we discussed:
- Terrain. We both need to be clear on what was dense and broken cover. For trees with larger bases, where does this cover begin and end? We must be certain before we start next time.
- Rifles are good. Very good. But, the reloading element means that you could potentially spend a turn failing to activate in order to reload. Should we mix up our forces a bit? Particularly my guys, who depend on the rifle and the rifle only.
Next for us, a game at the club (with matching scenery this time!) which hopefully will interest a few members to dig out older M&T forces and join in. I have started reading Mike's Beaver Wars reports, this sounds great and makes me want to game, and read, some more!
Some phone captures.
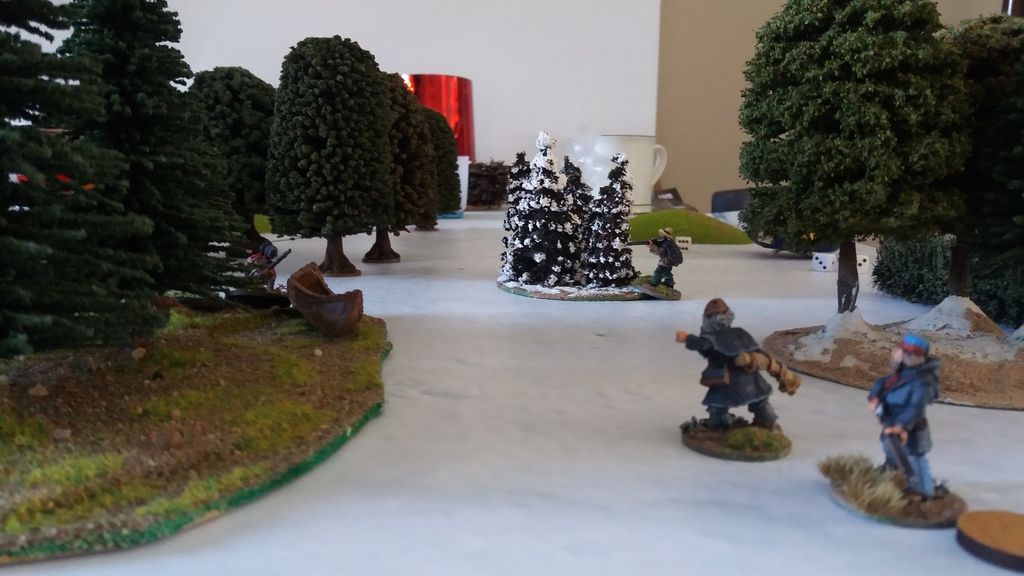
The Frontiersmen assess the Indian threat.
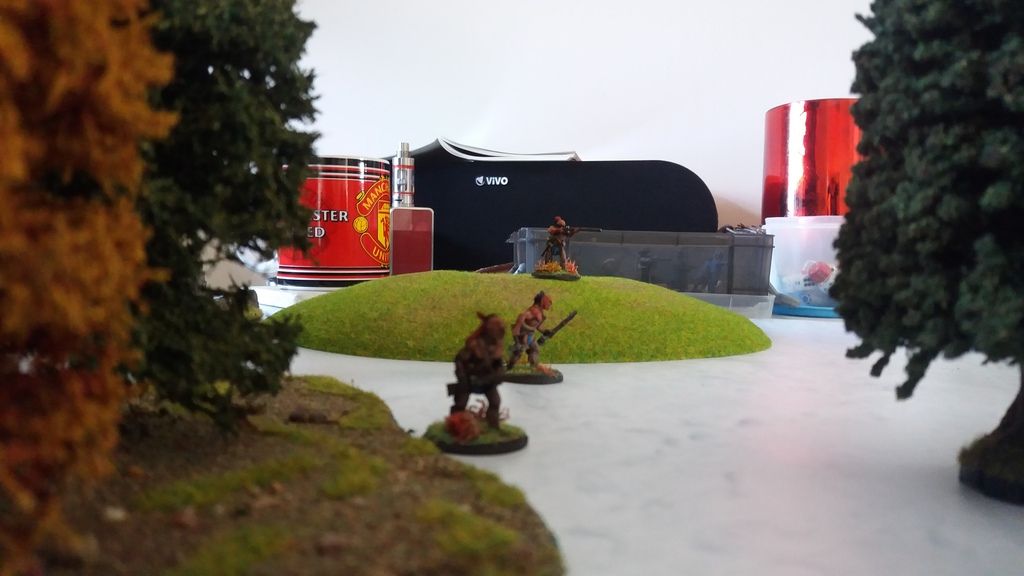
A brave Brave takes up a position on a hill, his brothers head out of the forest and into position.
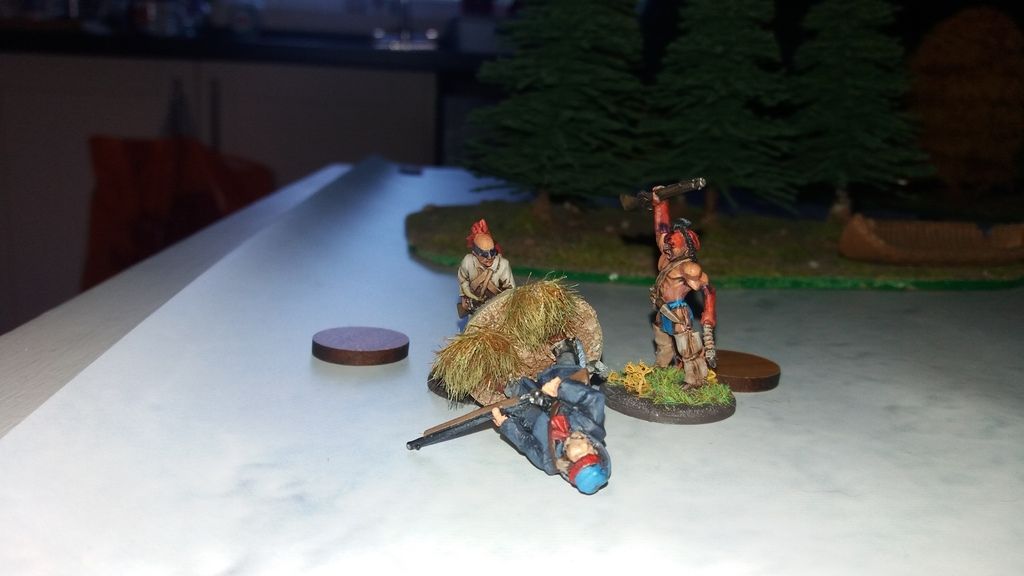
In a dark corner of the forest, Magua collects his scalp in the shadow of the Redwoods, only for the battle to take an unexpected turn out of view.....


