The new website was launched recently with a little guides section. Already added was the Fire Toad guide from this thread. I'd had a few requests for an Ice Toad painting guide and finally got round to making one! For those interested read on...
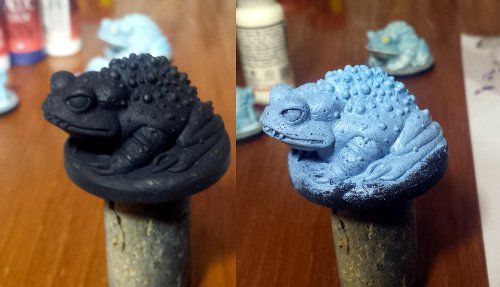
Step One: Paints used are Vallejo and the colours are Night Blue, Pale Yellow, Off White, and Blue Ink for the skin. For the eyes Scrofulous Brown, Pale Yellow, and Black. After priming the model mix Night Blue and Off White to a cold pale blue and paint a base coat on the toad.
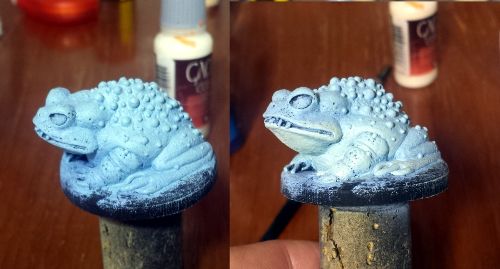
Step Two: Once the base coat is even begin to paint the underside and the legs in a progressively lighter tone. It's difficult to see in the WIP photos but adding a little pale yellow to these lighter areas works very well.
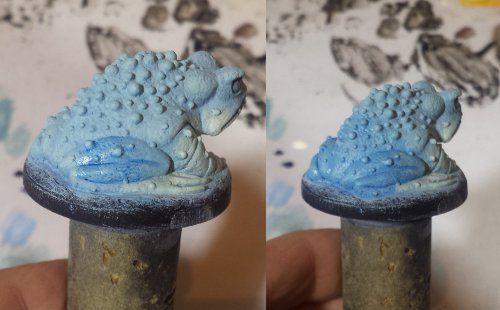
Step 3: At this stage the inside of the mouth is messy so mix up a darker blue tone and paint this in the mouth. Then the teeth can be picked out in lighter tones.

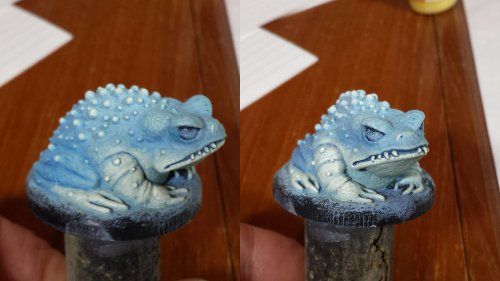
Step 4: Next use little blue ink to wash the rear of the toads legs and back. Provides a little more contrast in the blue colours.
Step 5: Continue painting the pale underside and legs of the toad in lighter colours. You can see in the picture below that the models is starting to look like my original Ice Toad.
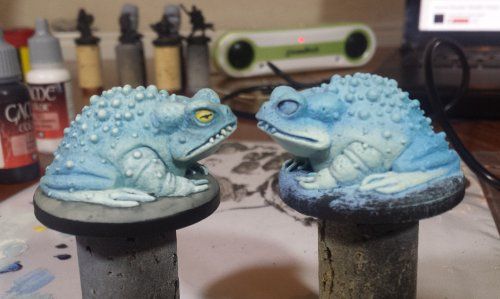
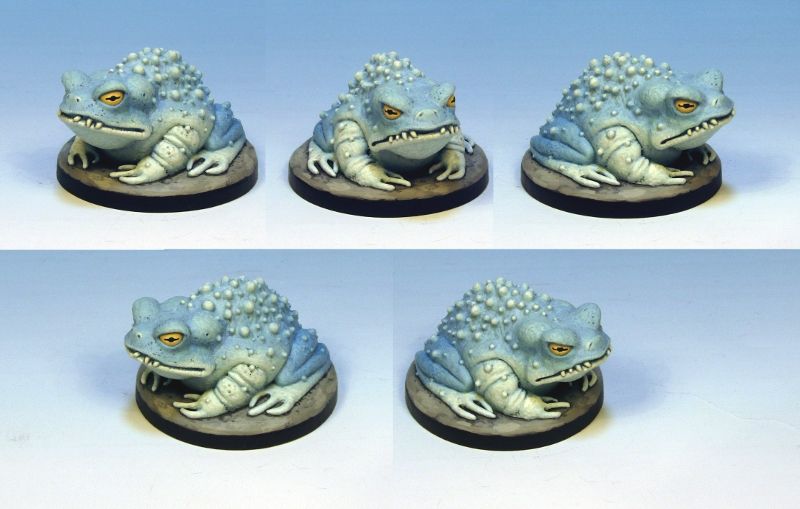
Step 6: So far the warts have been left alone. Now paint them in a lighter colour layering up to almost pure Off White on the extreme highlights. (This stage could be done when painting the other light areas).
Stage 7: The eyes were painted in a similar way to the Fire Toad although paler this time. I used Scrofulous Brown, 50/50 Scrofulous Brown/Pale Yellow and then Pale Yellow. Once the pupils have been painted on a bit of lighter contrast can be painted on the very edge of the pupil.
All that remains is to paint the base and tidy up the base edge, matt varnish, and the model is finished.
Thanks for looking!


