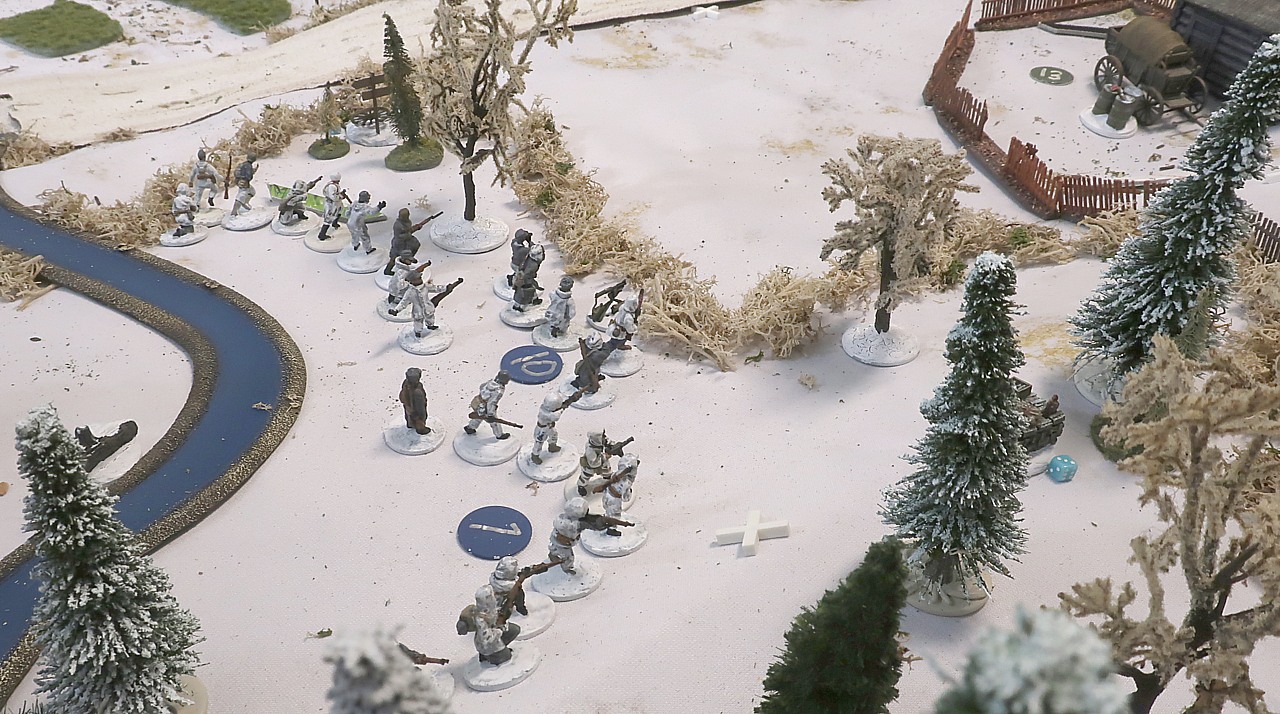
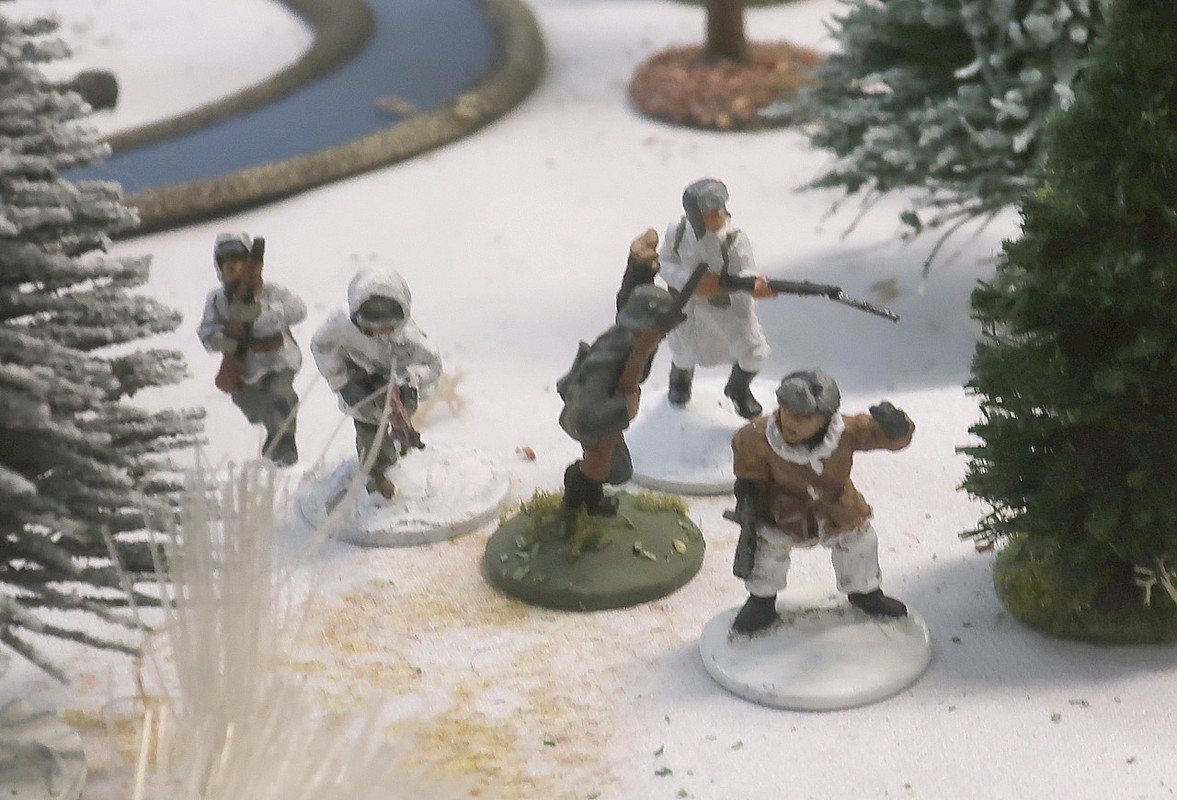
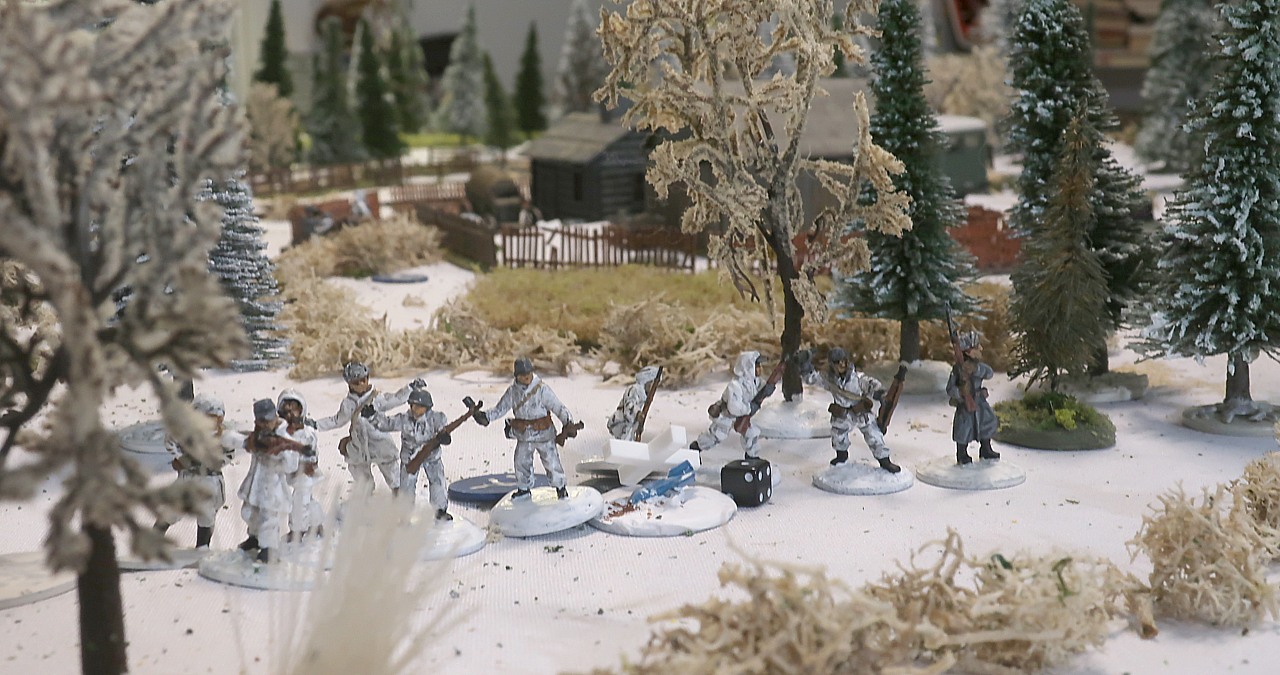
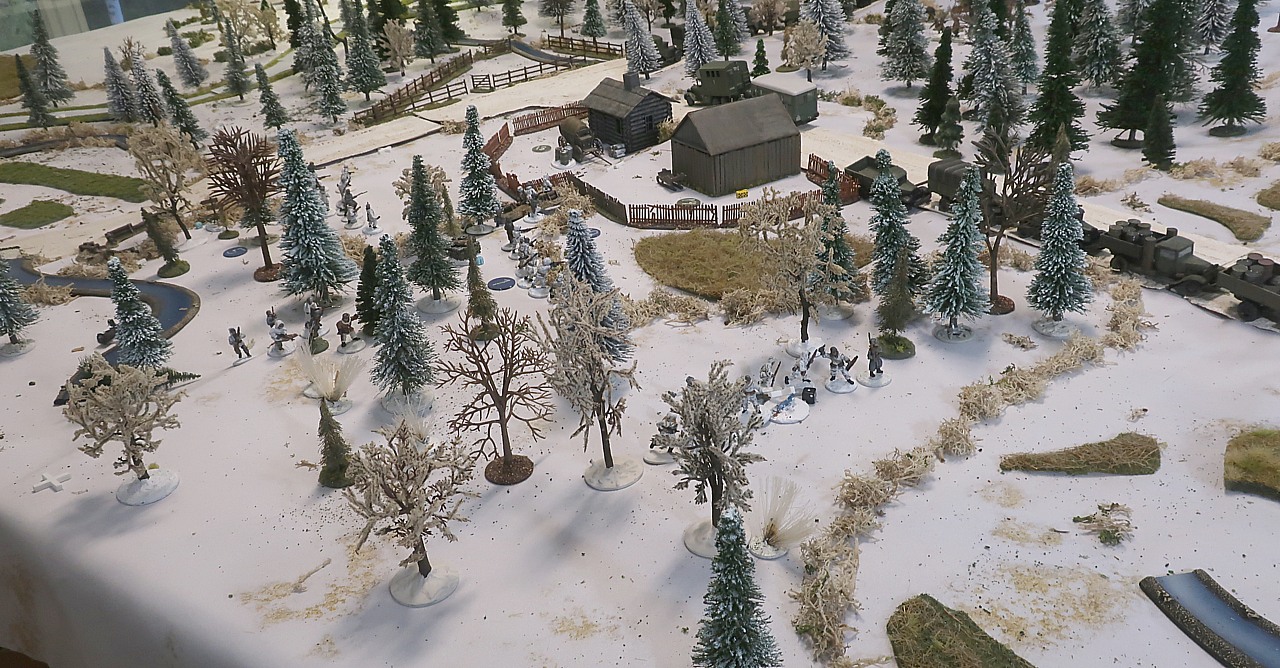
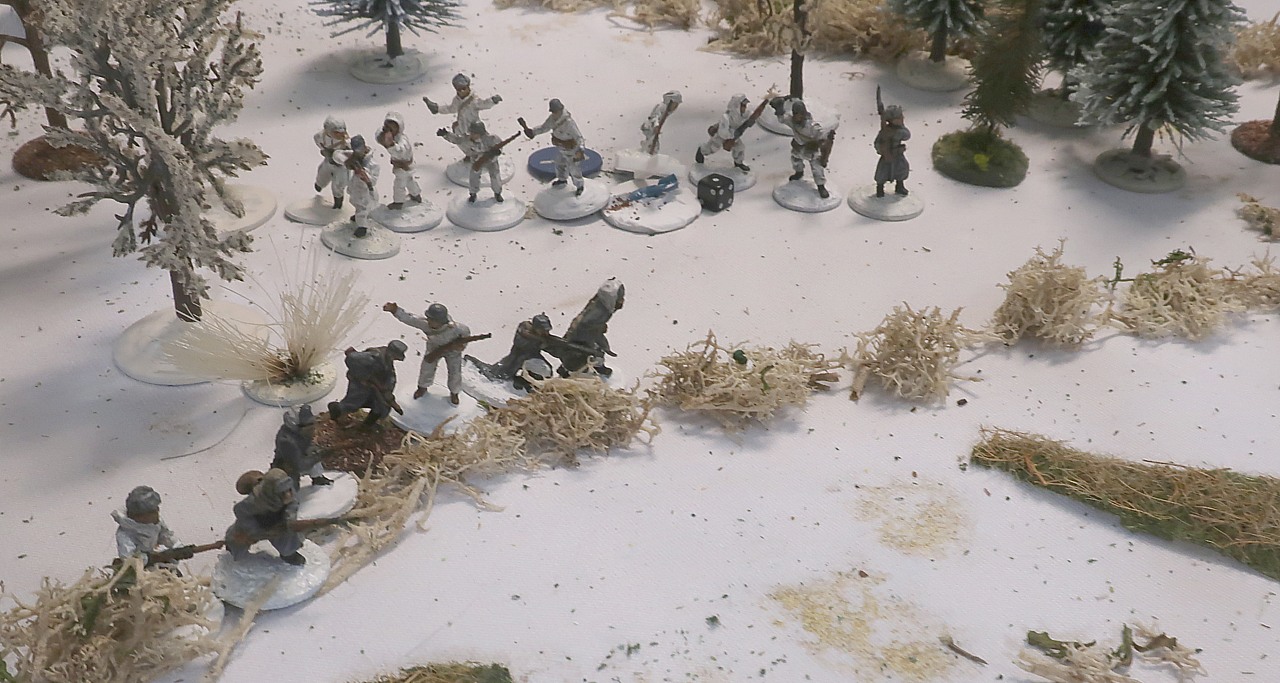
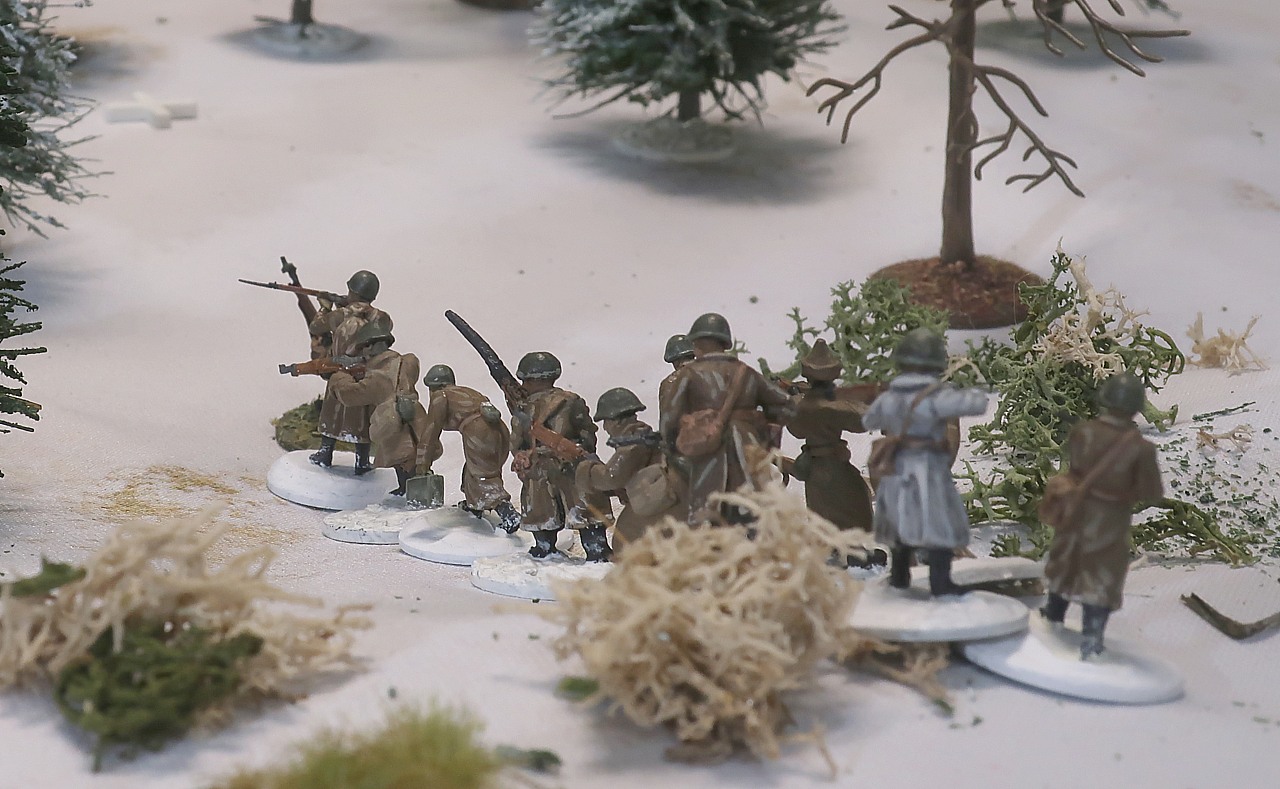
Jarkko deploys his 1st section and directs them towards the north-east...

On his second phase Mikko's MMG team passes the nearby Soviet jump-off point, neutralizing it. *

Then it is finally the first Soviet phase. With both of his two jump-off points already out of commission, he can only deploy from the easternmost jump-off point which he shares with Janne's troops.
As the Finns have again
surprised the Russians, the Russians must use all their command dice every phase.
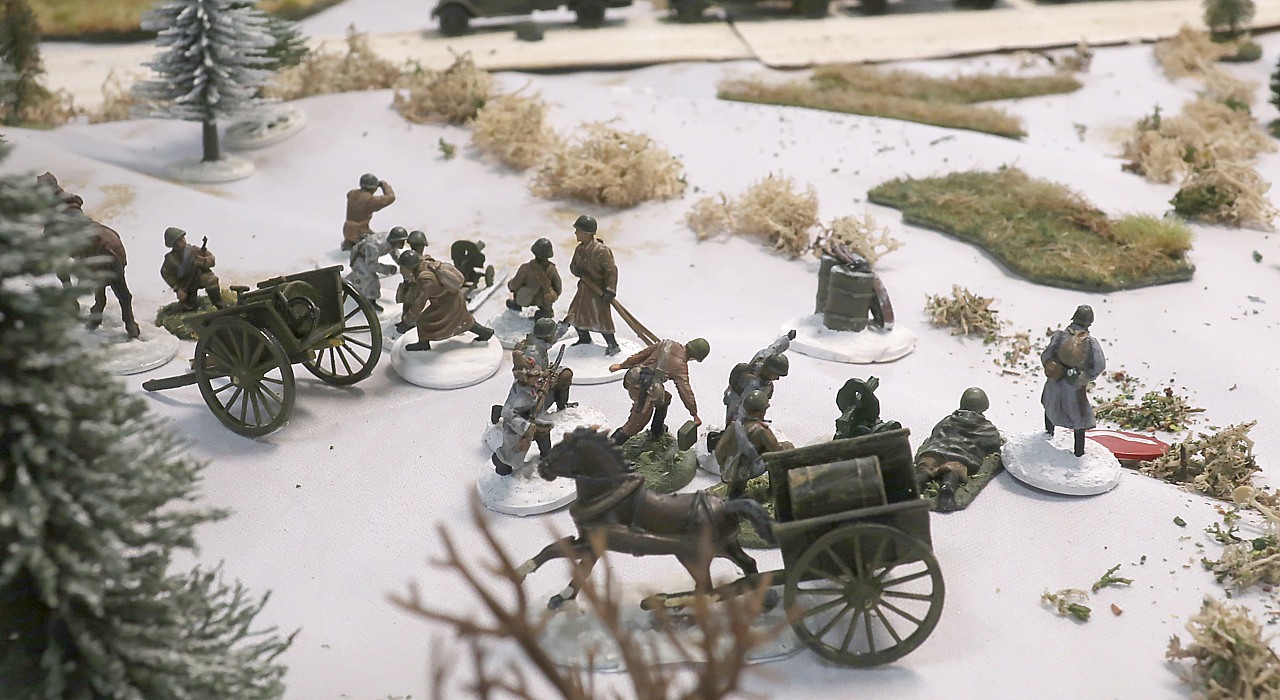
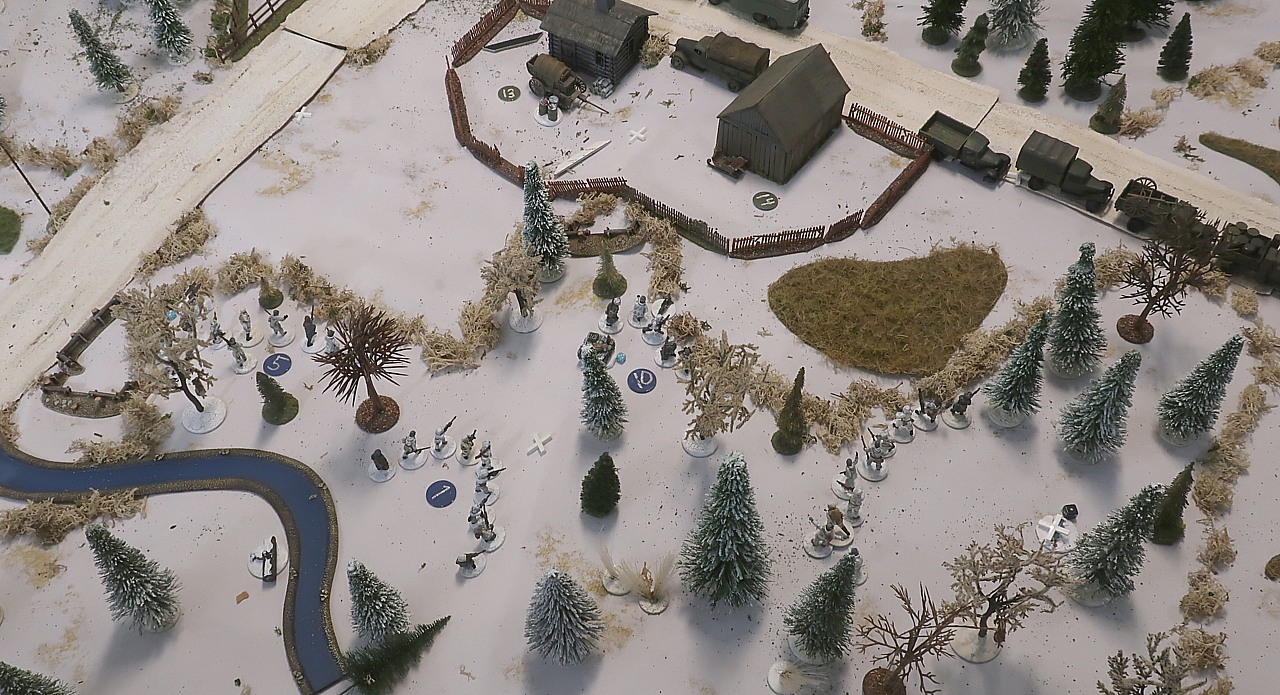
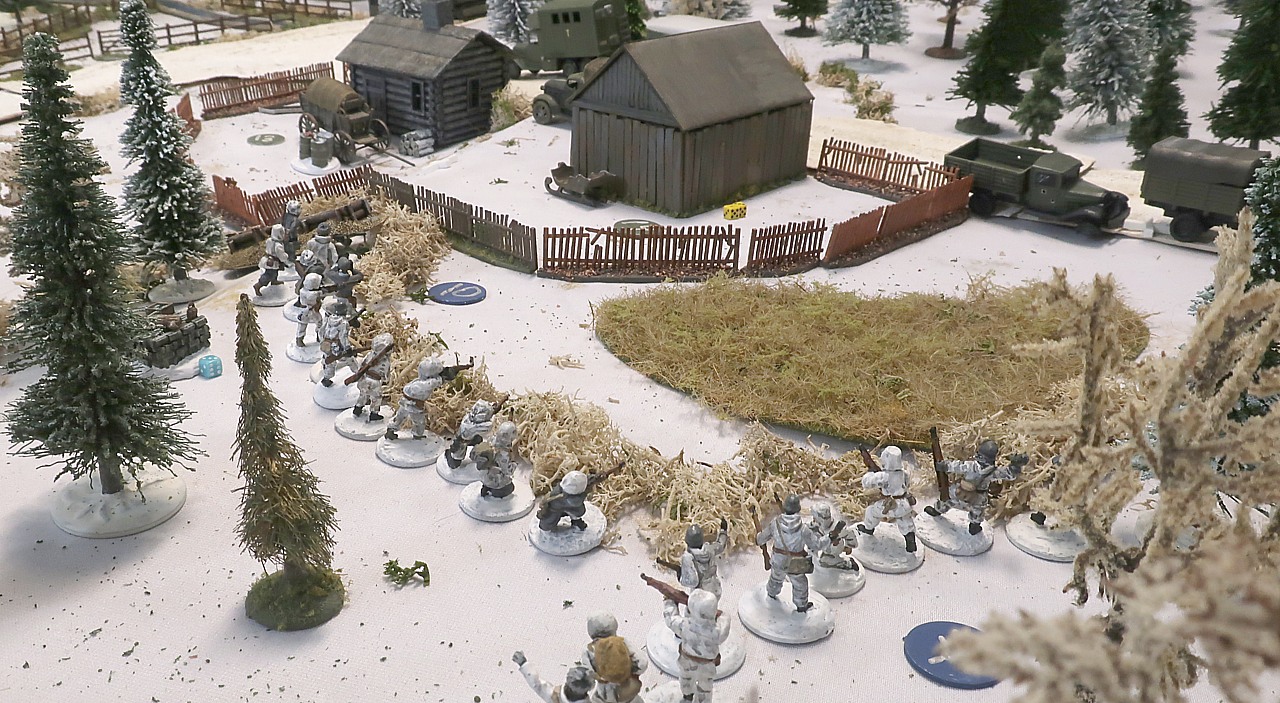
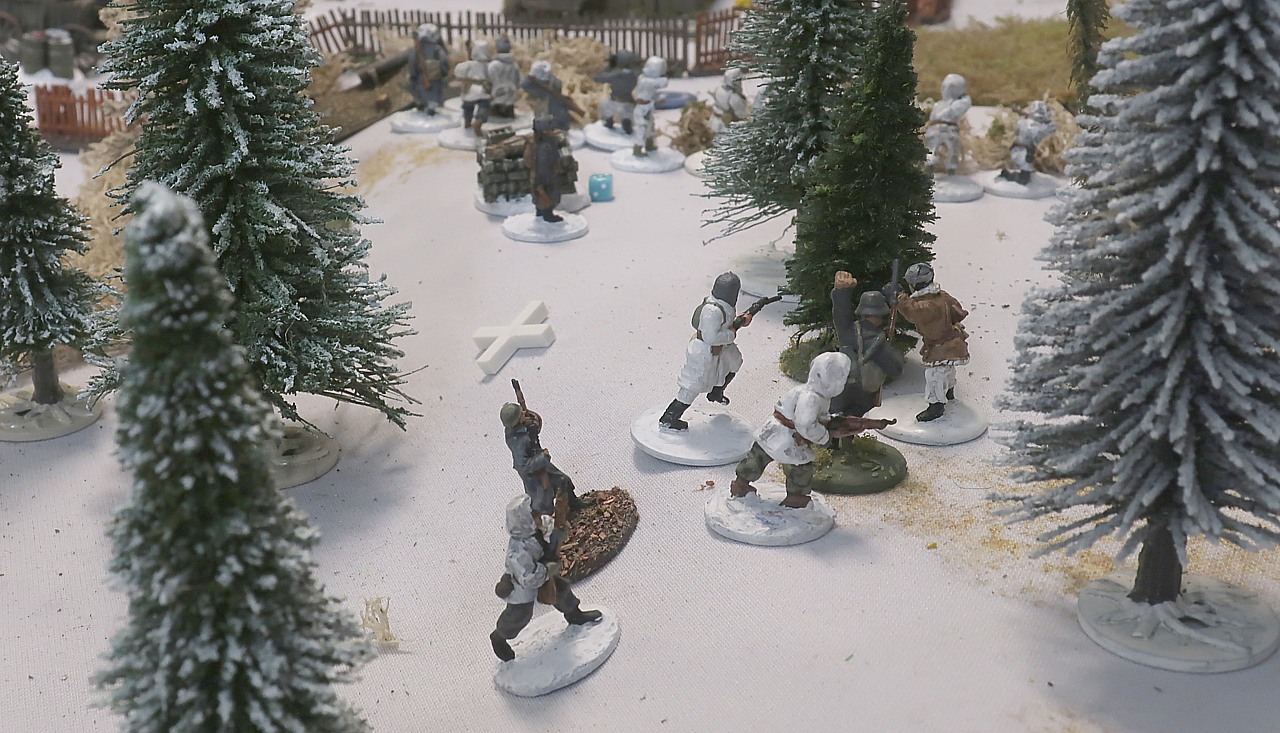
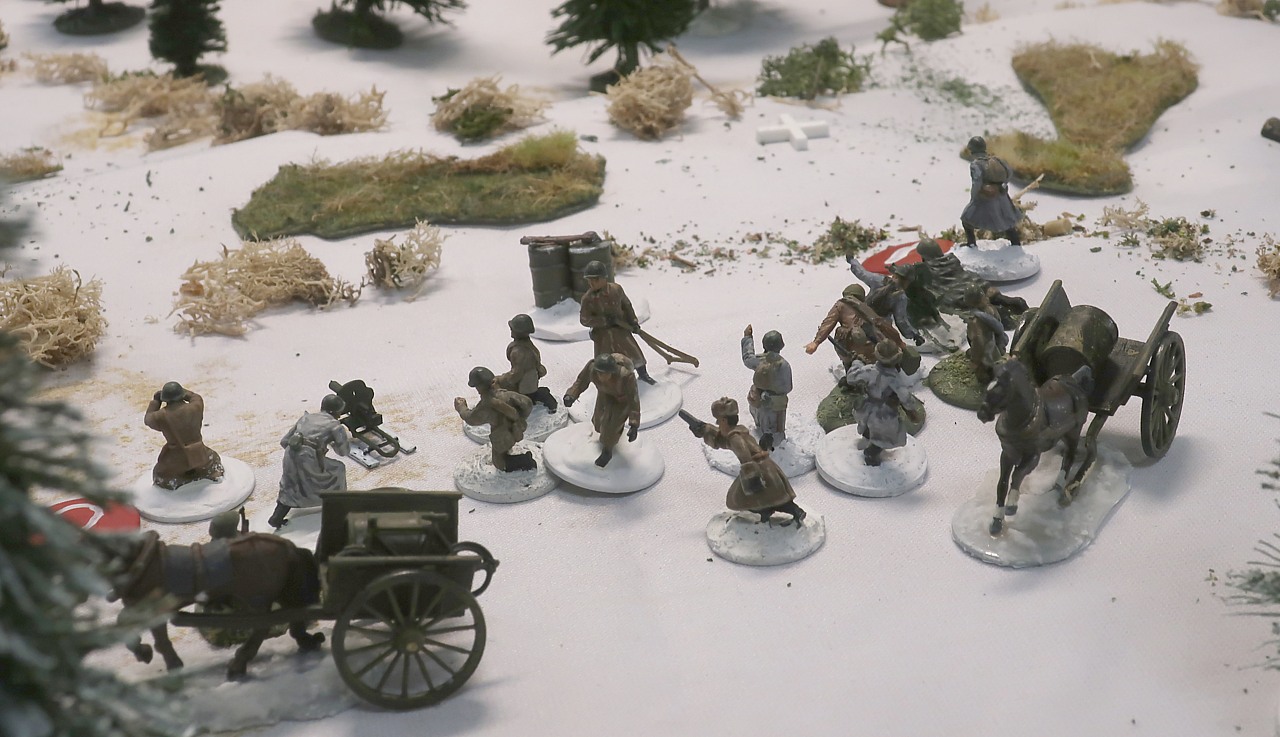
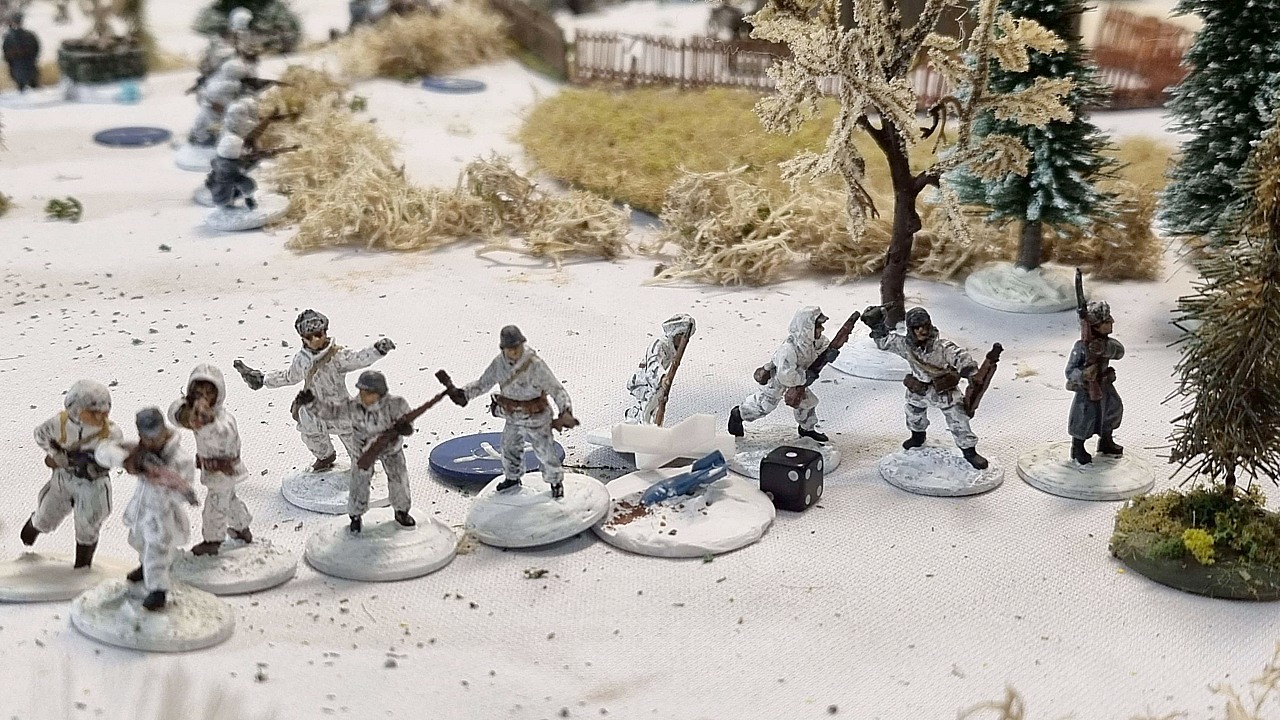
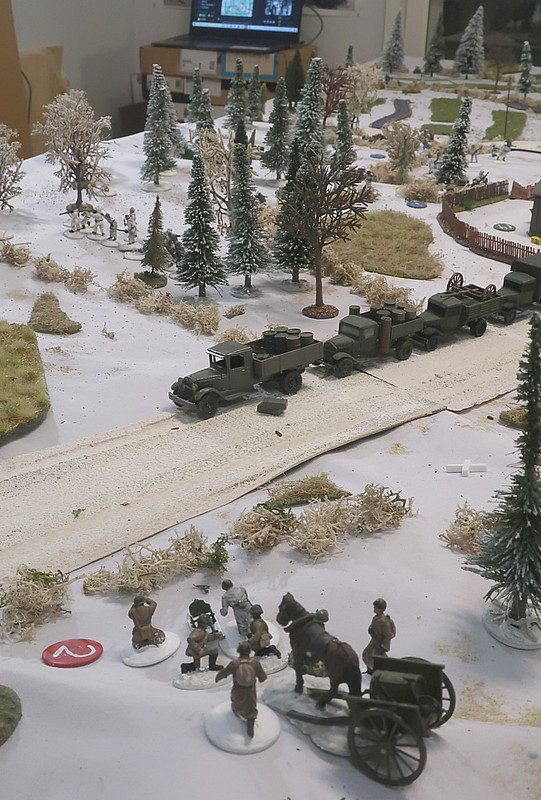
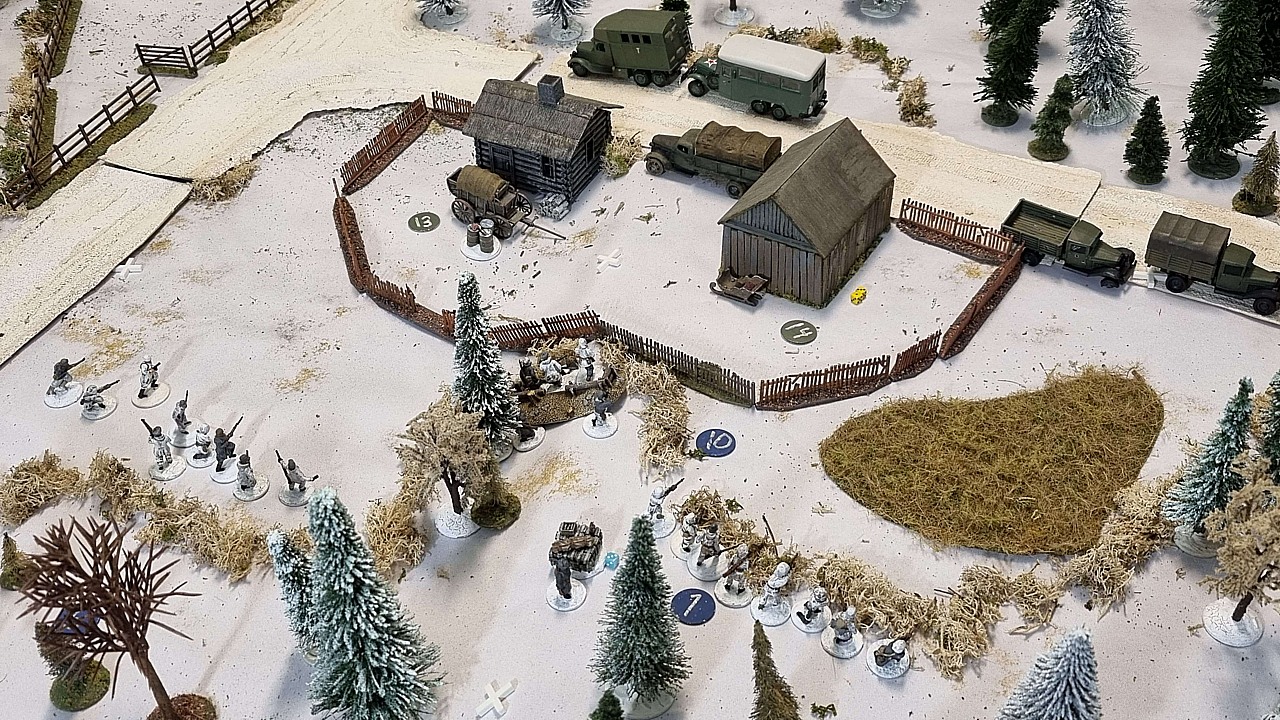
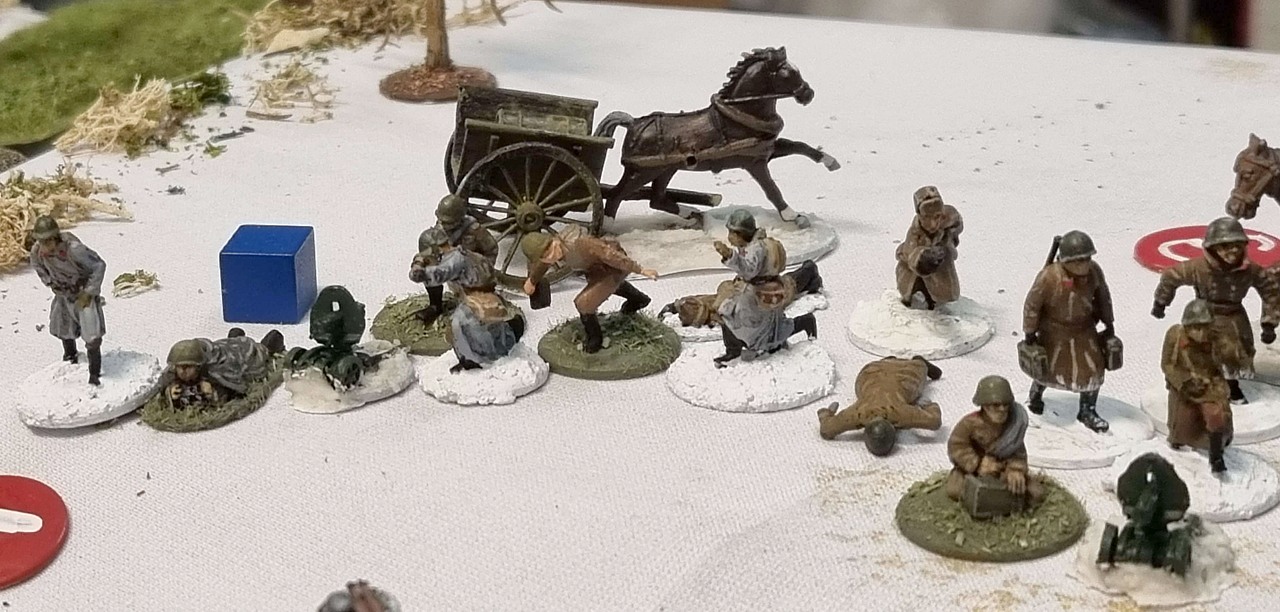
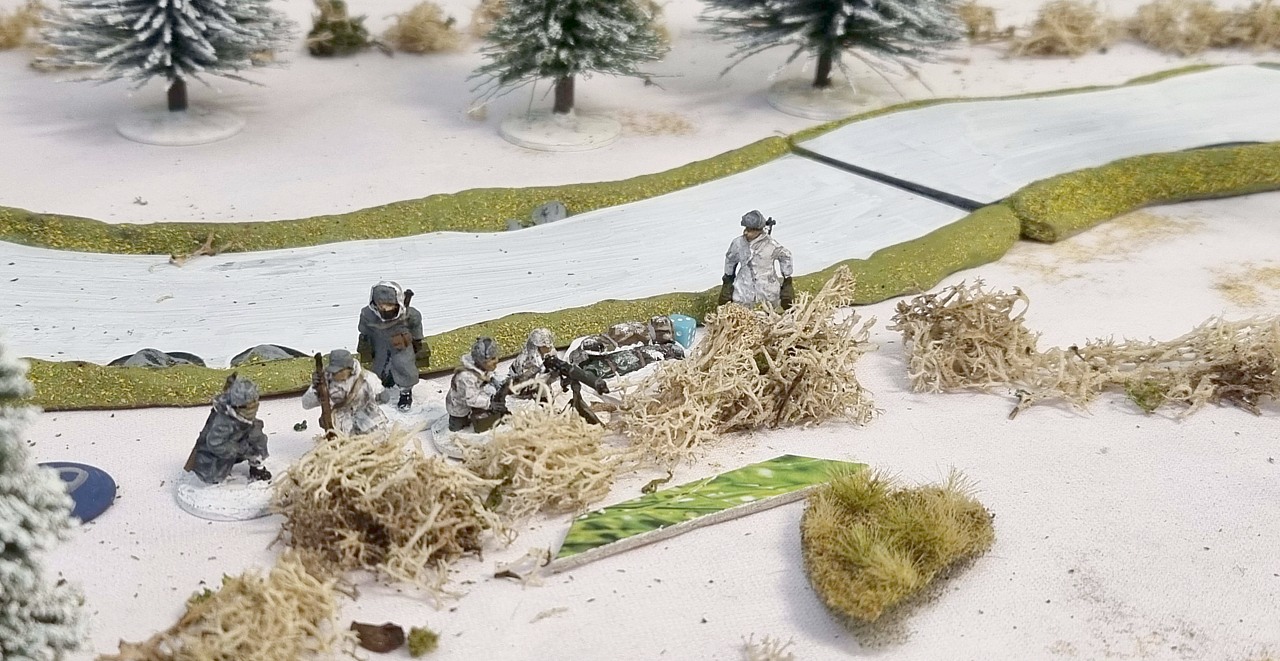
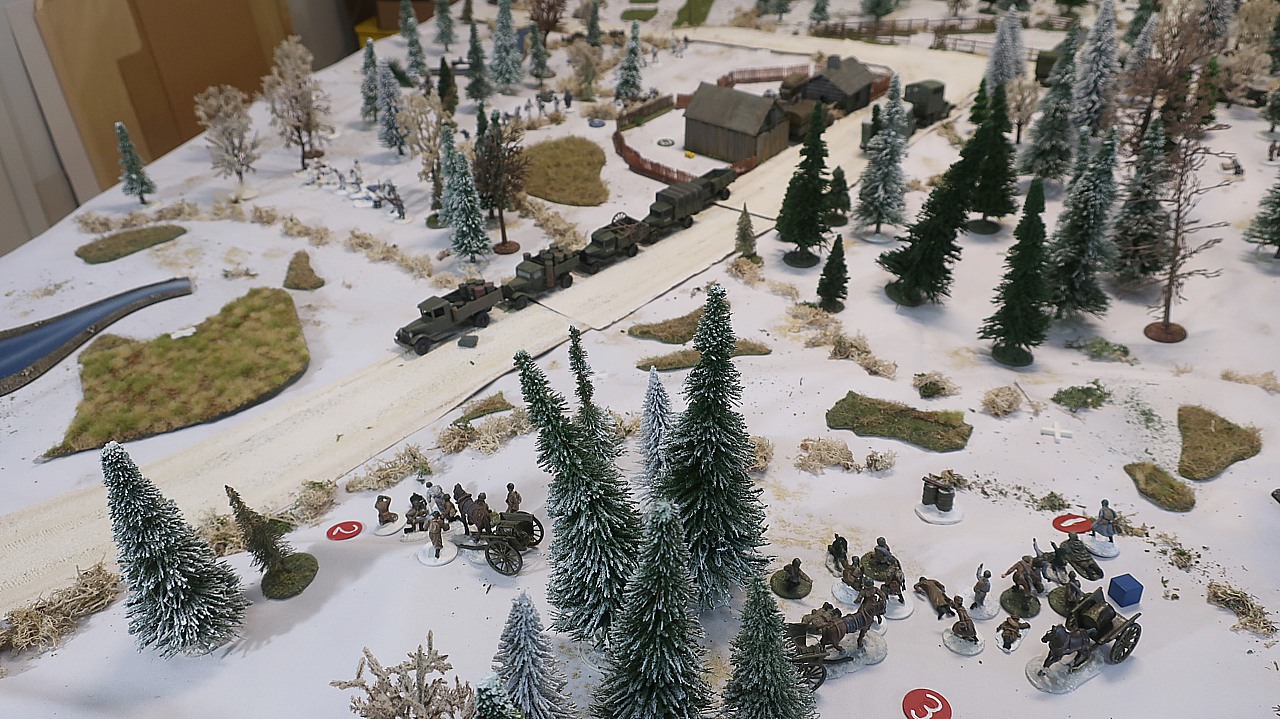
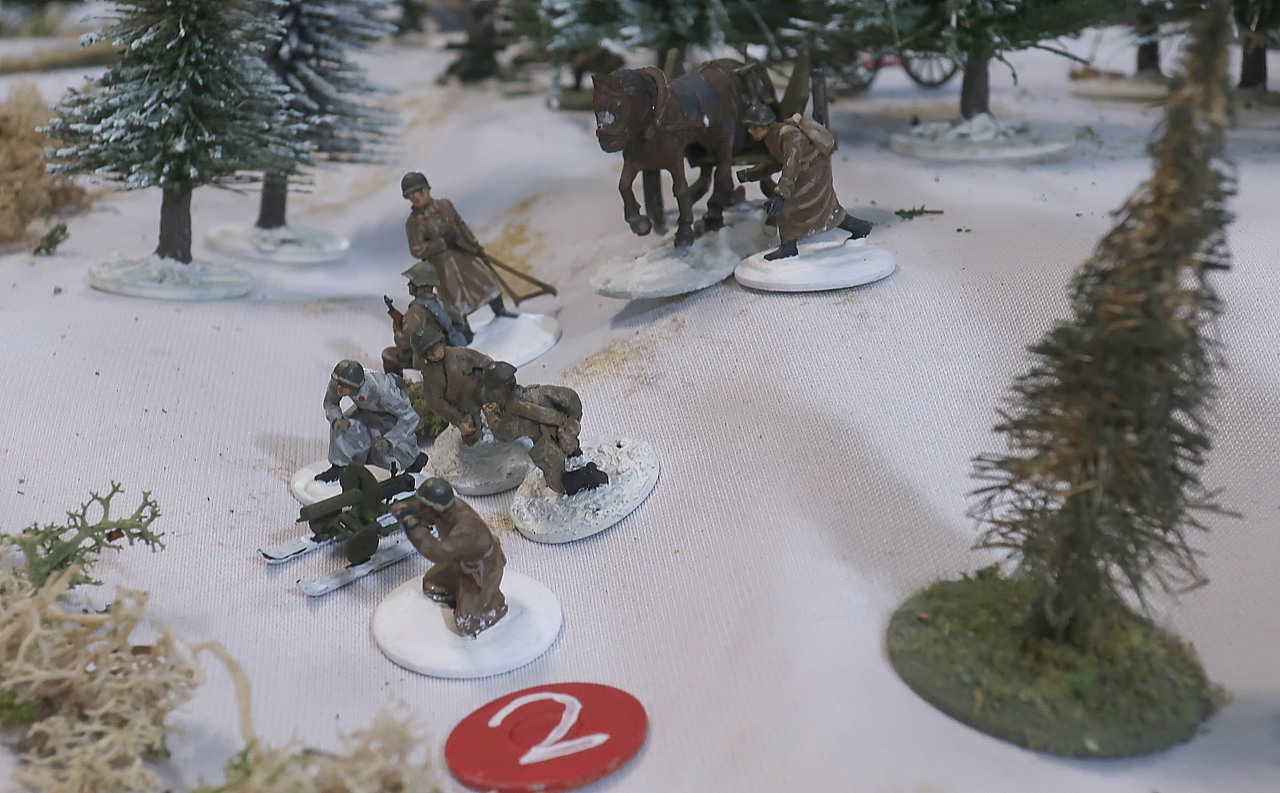
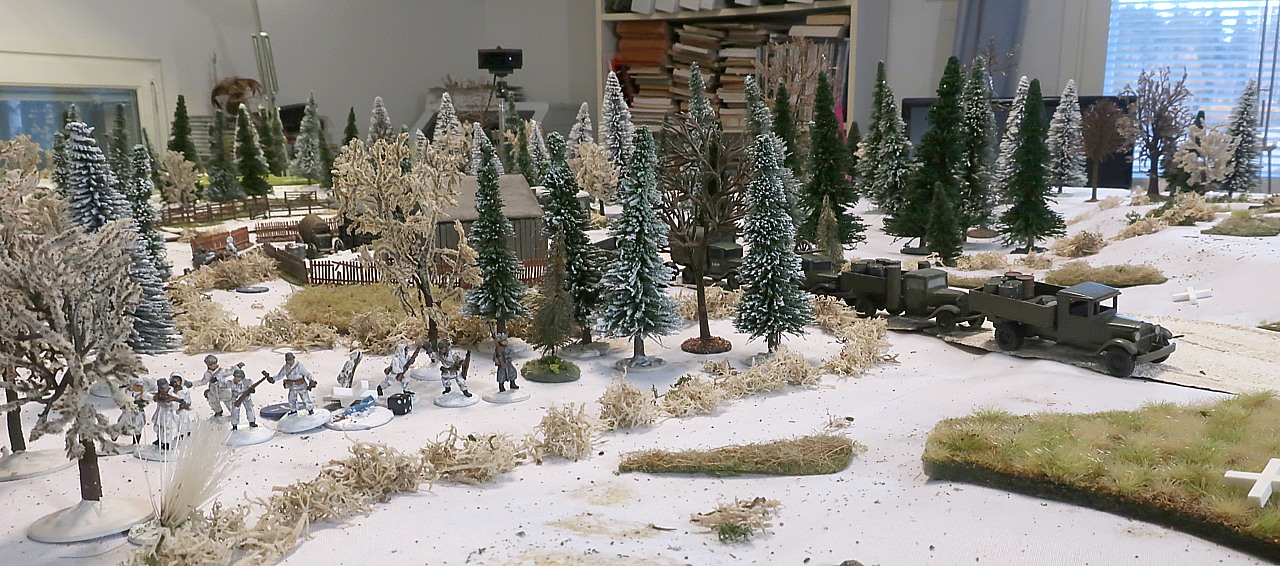
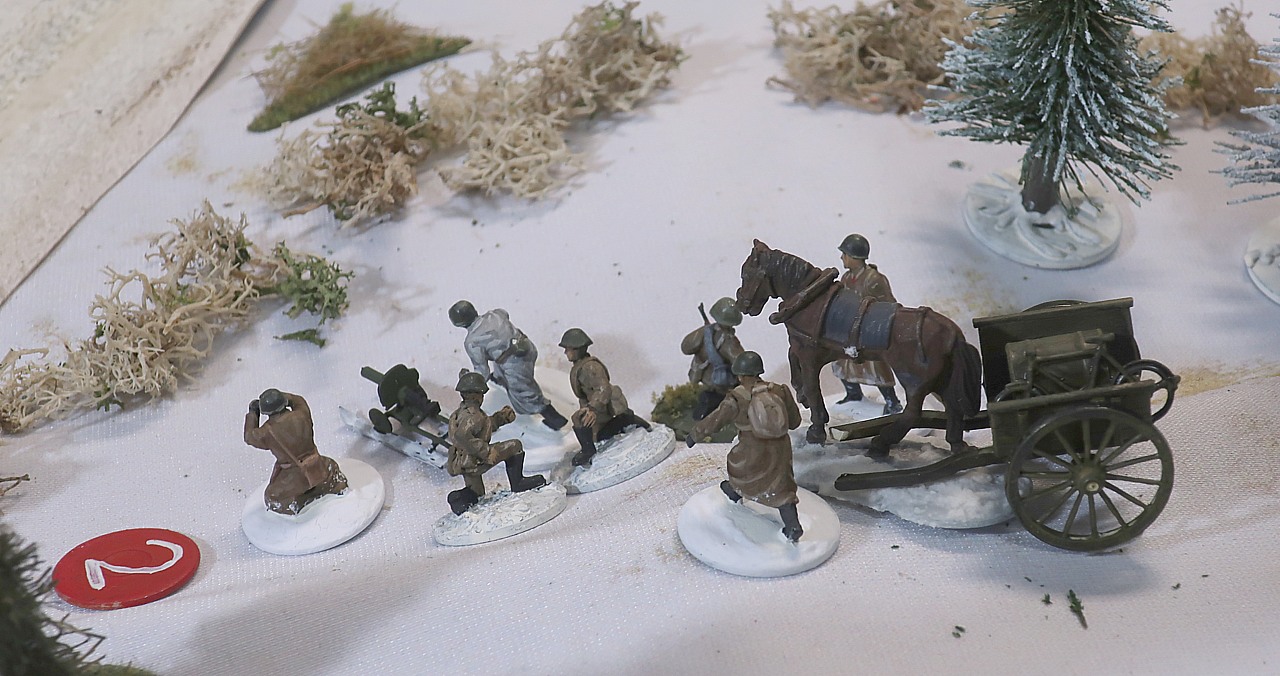
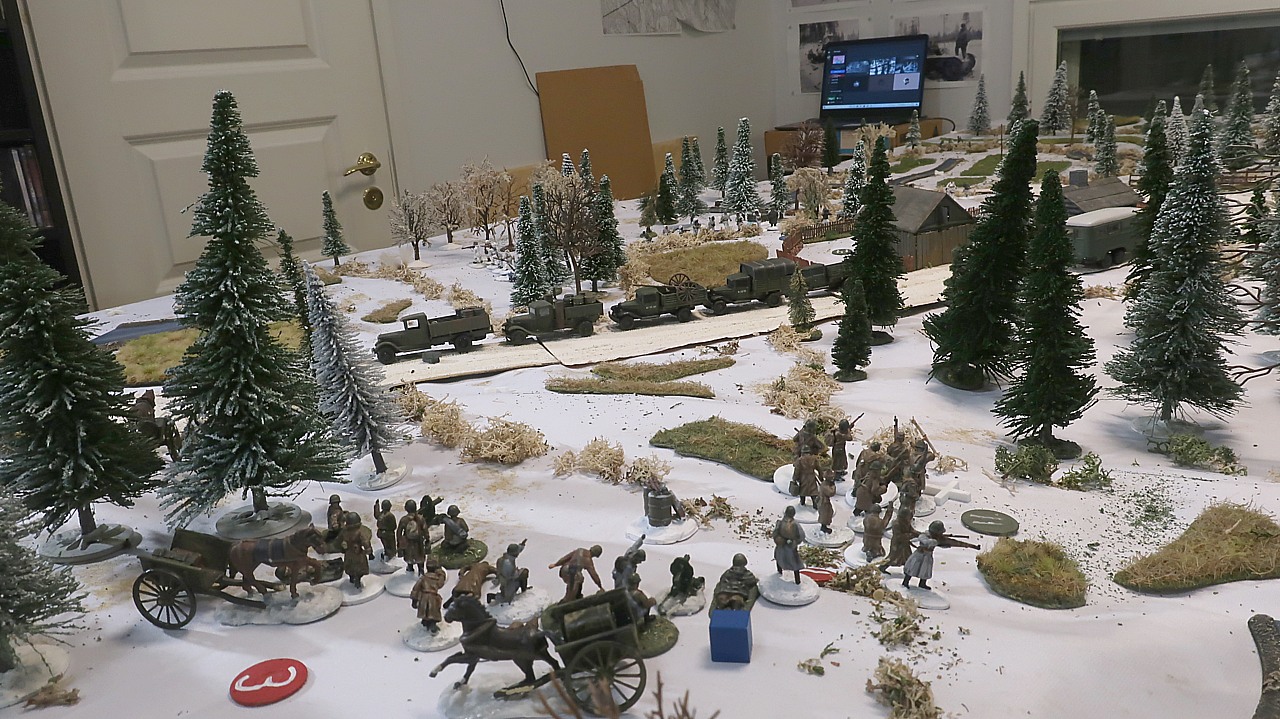
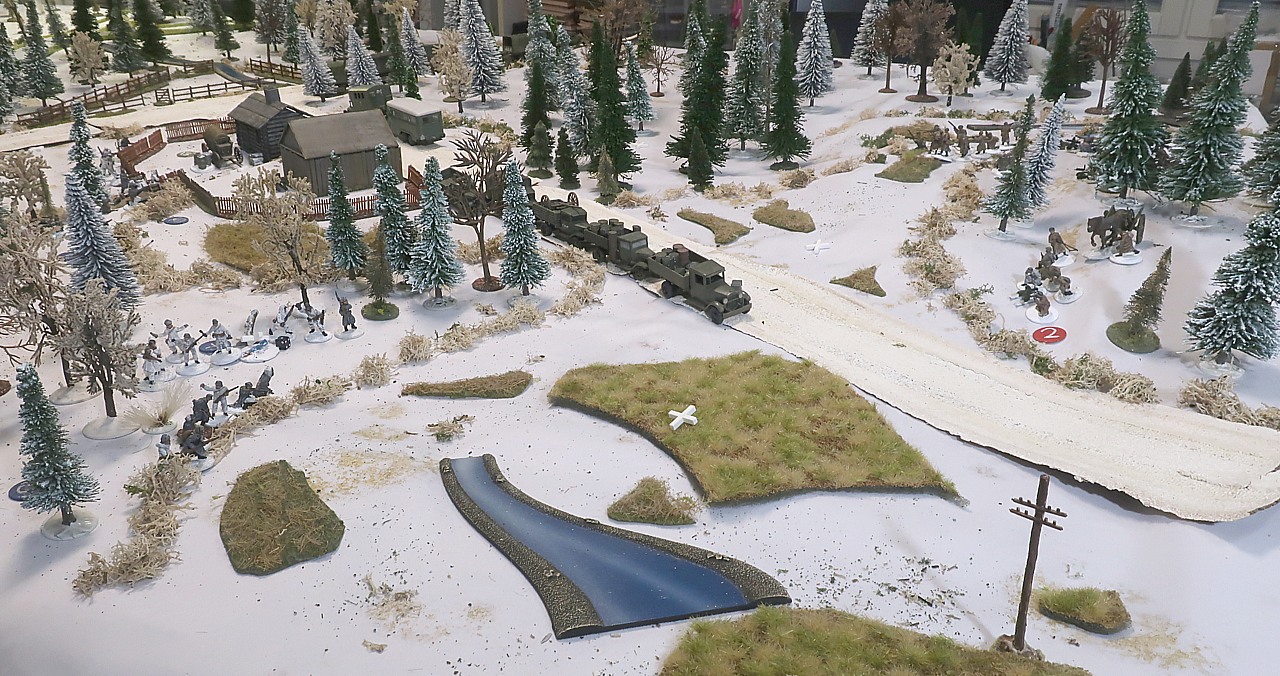
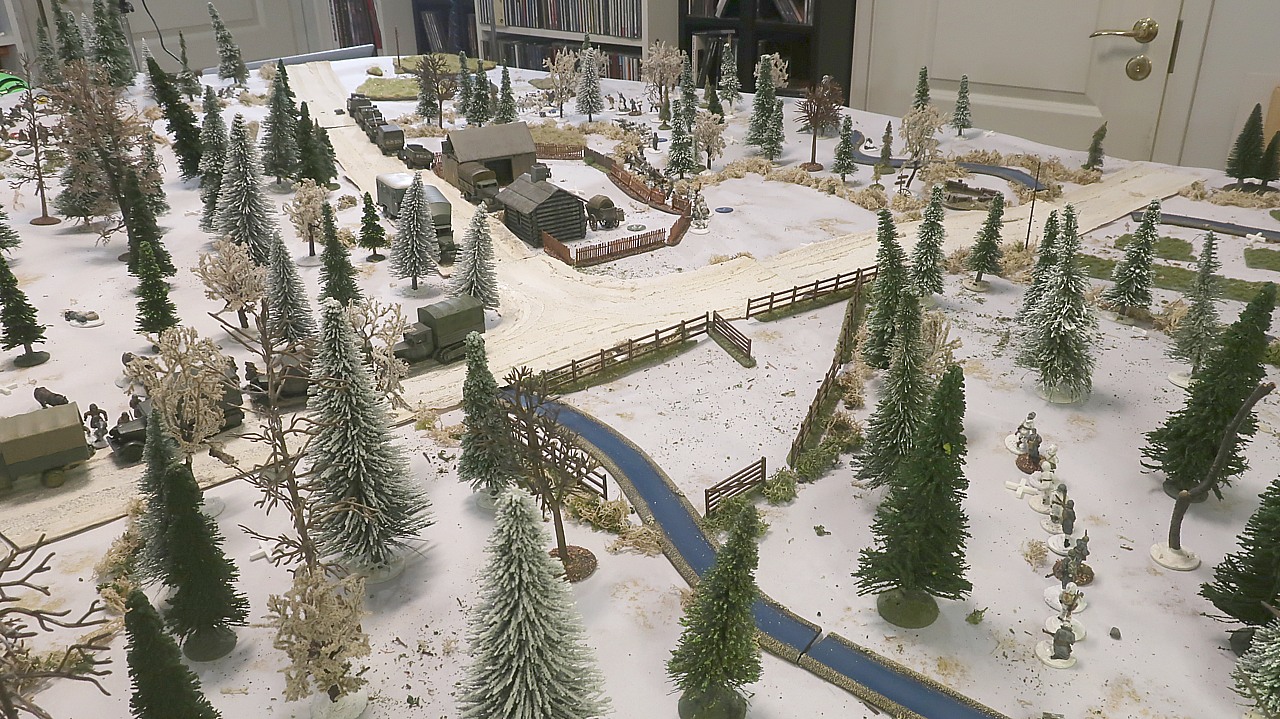
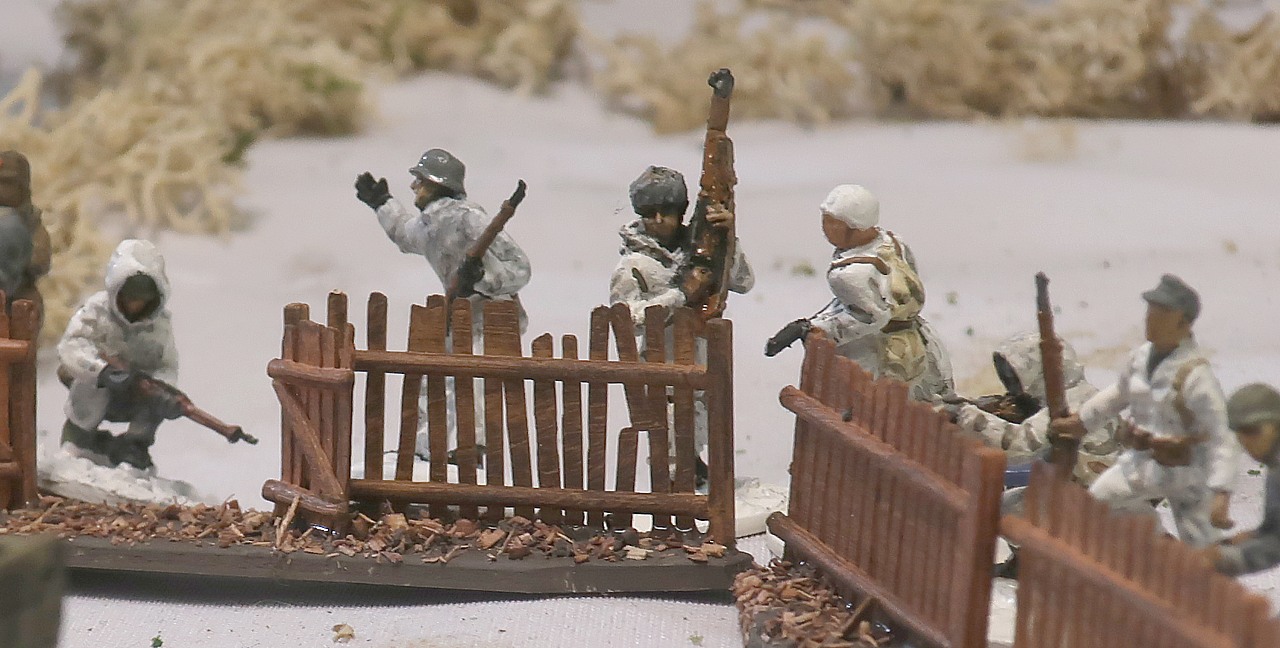
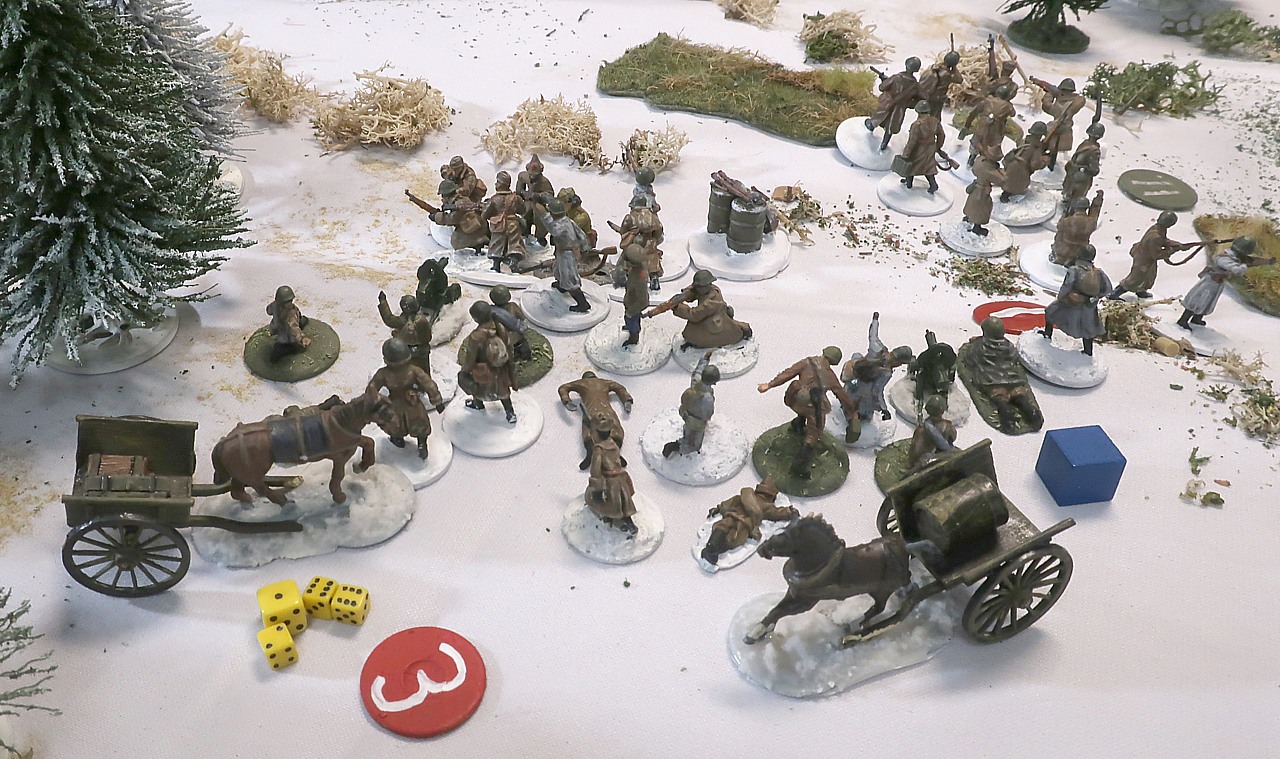
At the forest's edge, two machinegun sections wheel their
tchankas into view. They grab the heavy Maxim machineguns off the carts and set them up.
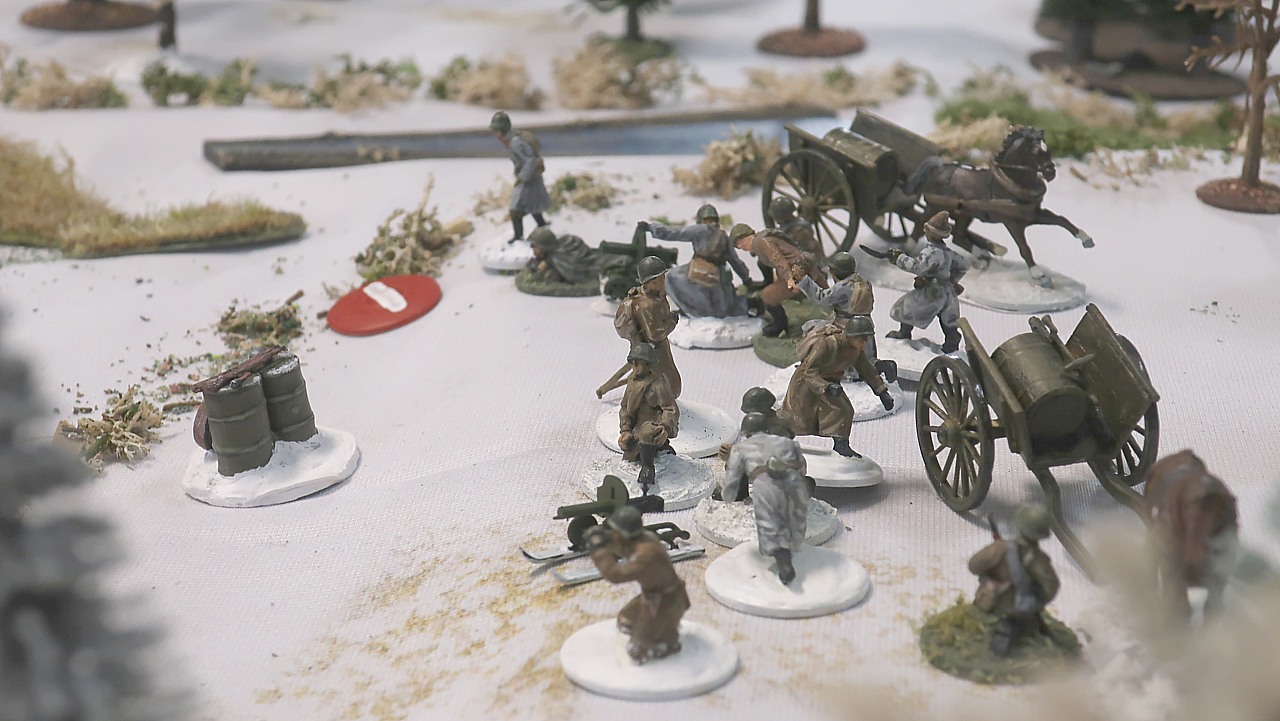
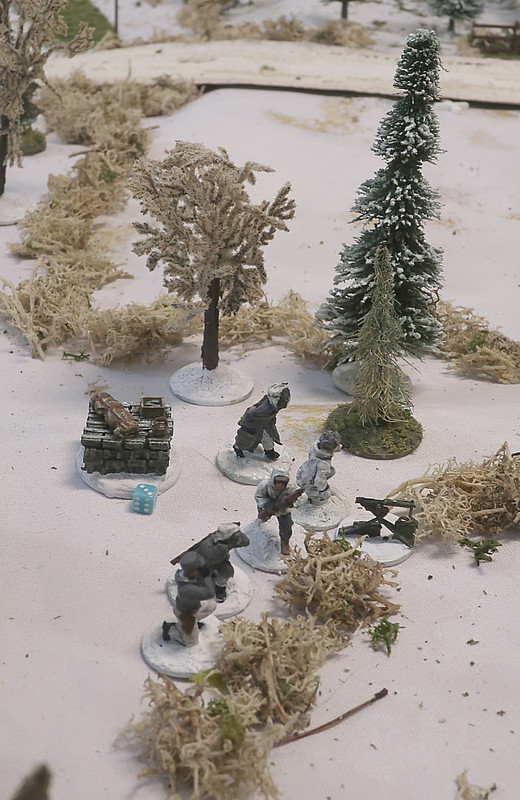
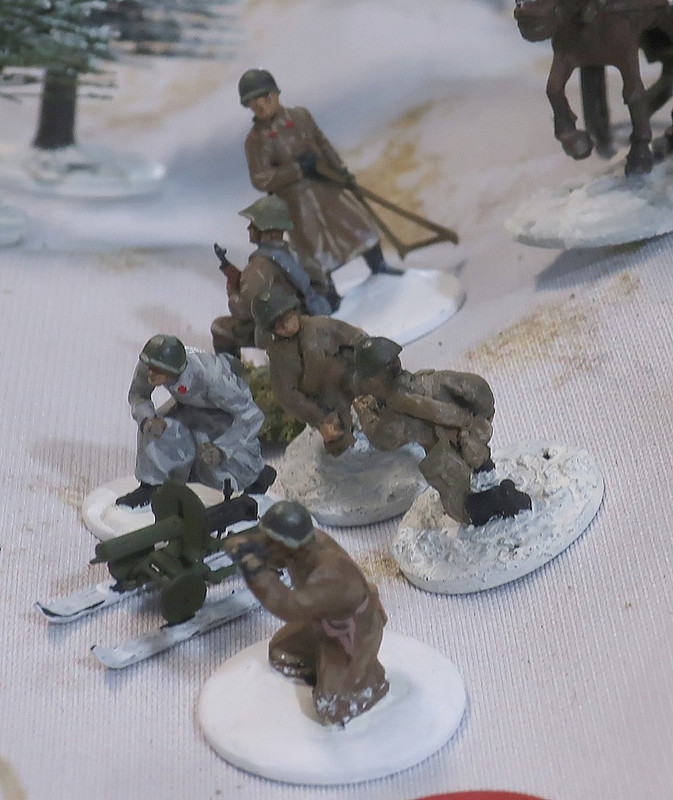
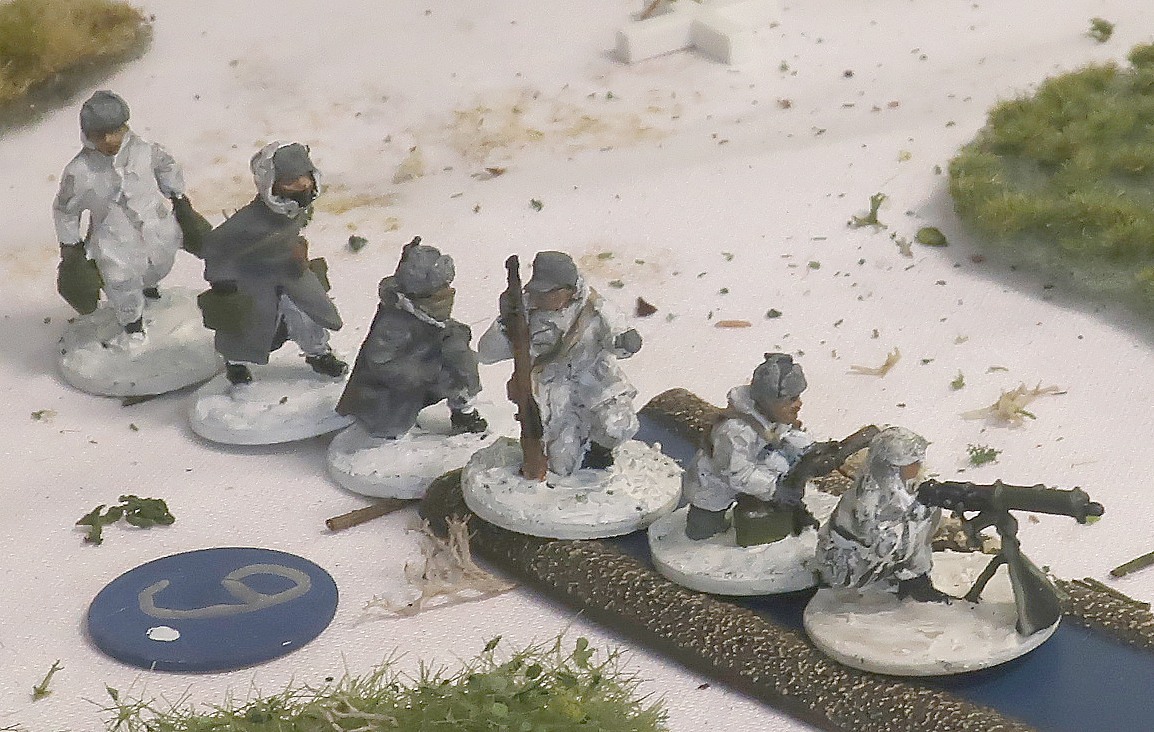
John's MMG section number one – in the background in this picture - are heroes, the
Boys from Kolkhoz Niva. This MMG crew are all from that prosperous collective farm. Their skill in co-operation – so often seen in farm work in the lush Vologdan fields they call home – is exhibited in their excellent marksmanship with their Maxim-designed tool of Socialist Revolution. As long as at least three Boys survive they have a Firepower of 13 when using their MMG. John has also played the
Diehards campaign card, which makes them immune to shock for this battle.
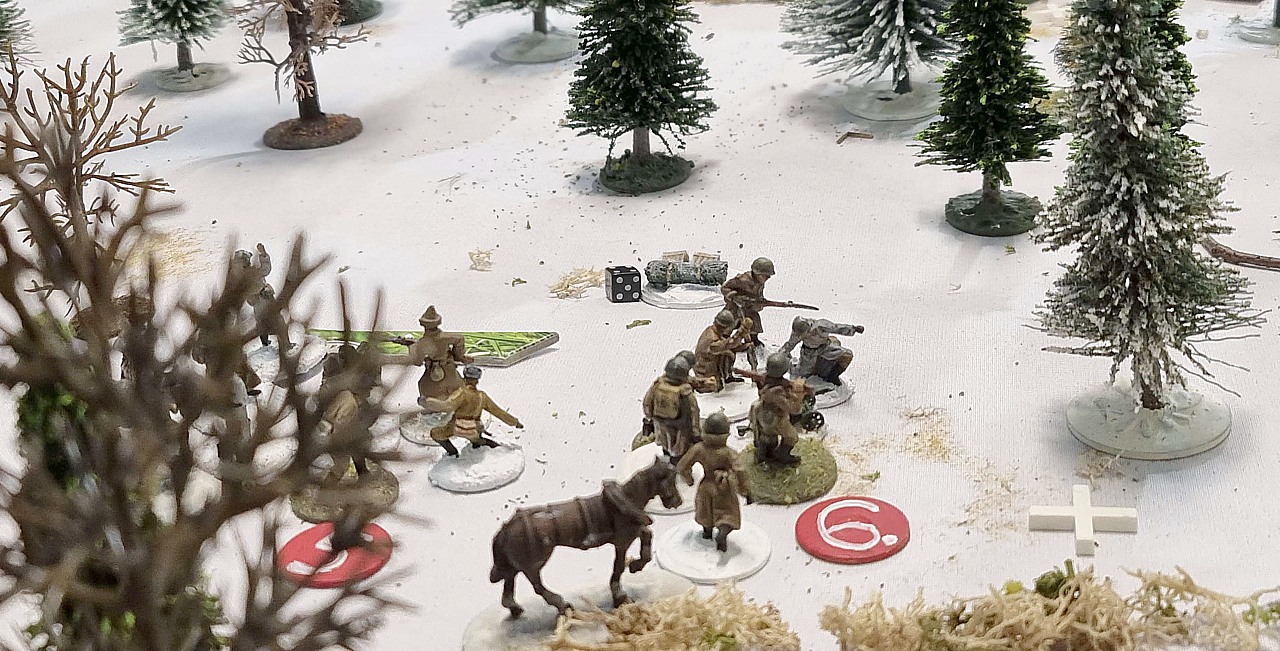
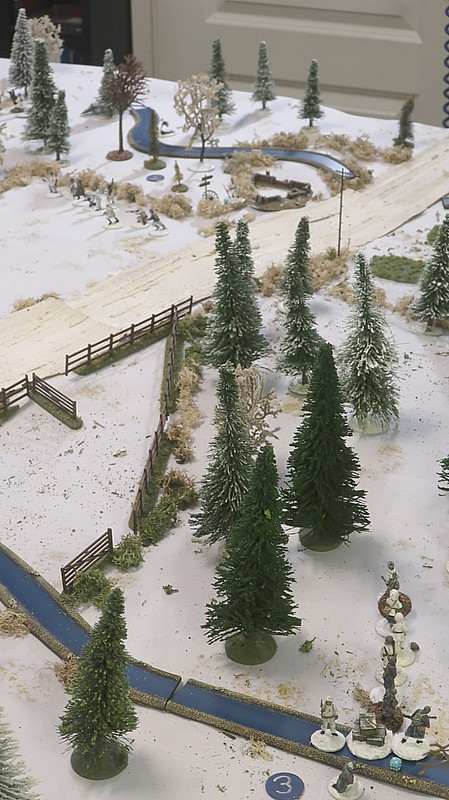
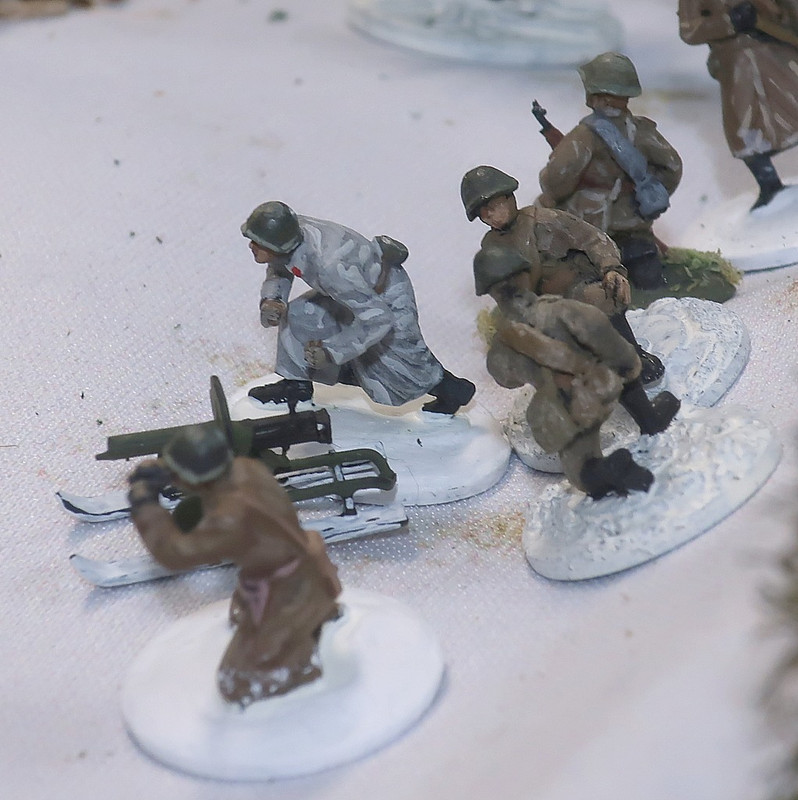
In the northern forest, a section of Janne's MMG gunners seploy and go on overwatch.


Meanwhile, Mikko's second rifle section have reached the edge of the forest closest to the barn.
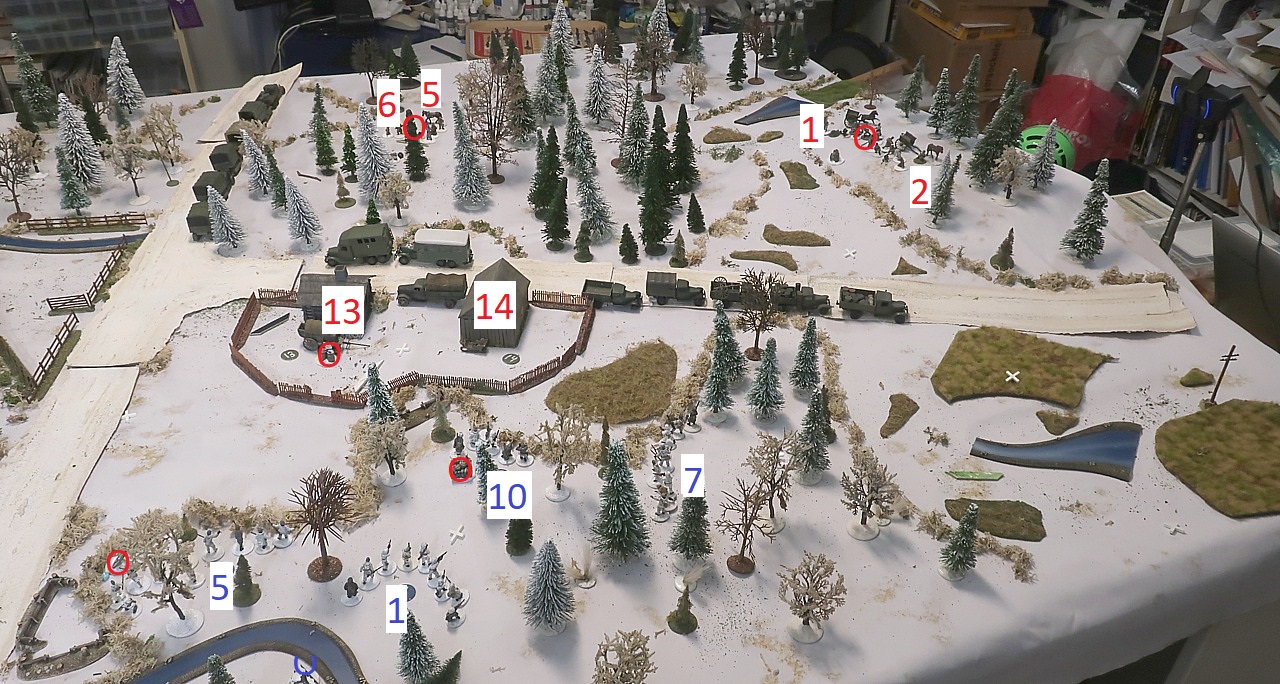
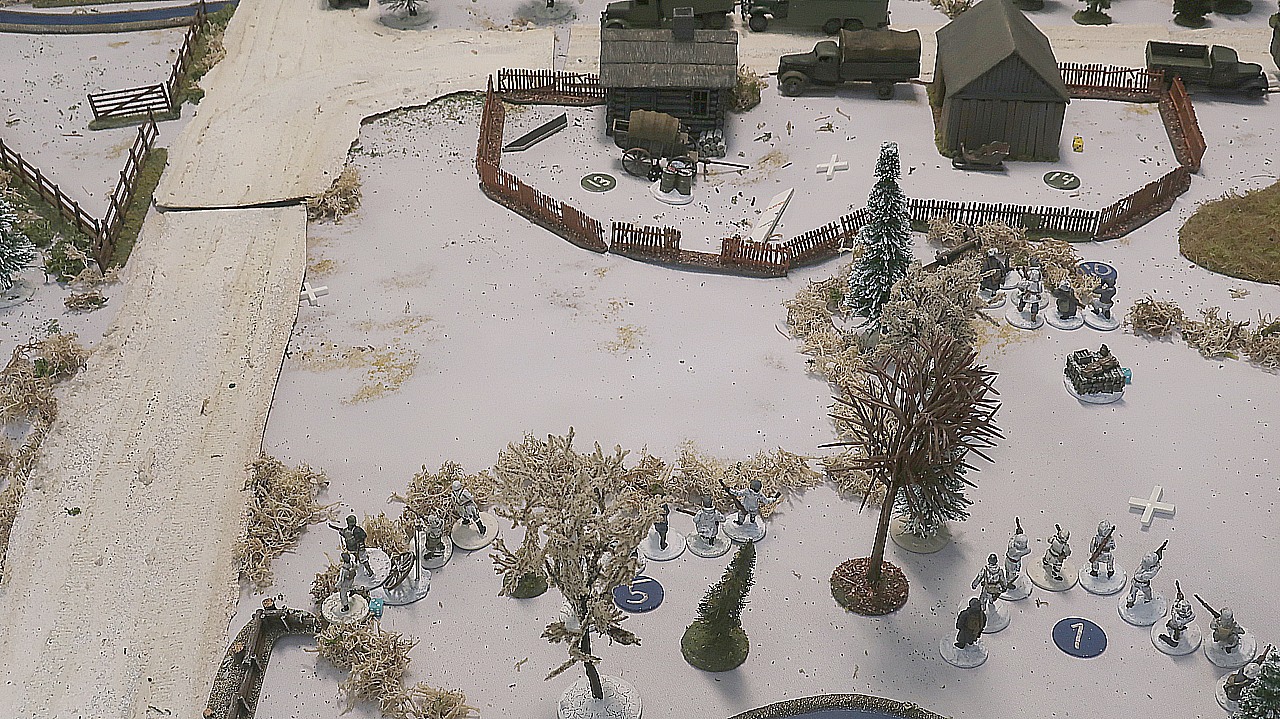
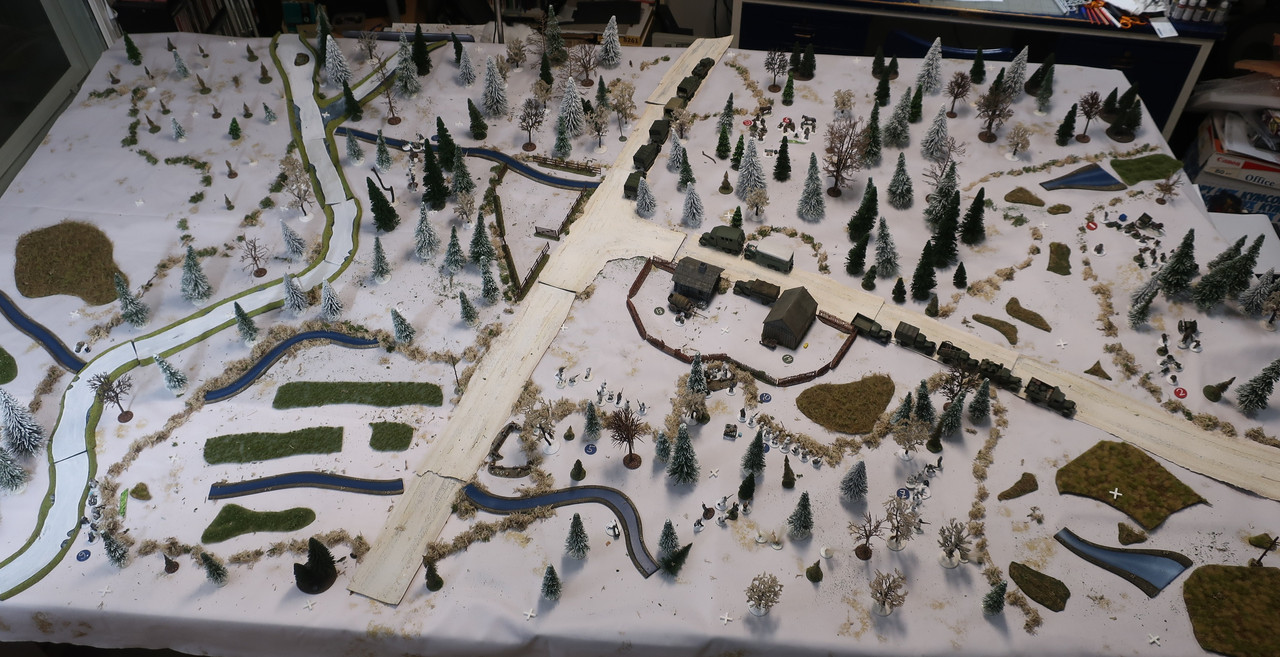
THE FINNS, in Blue:
3rd Platoon (Jarkko):
1 - 1st rifle section
4th Platoon (Mikko):
5 - 1st rifle section, with platoon sergeant
7 - 3rd rifle Section
10 - MMG section from 2nd MMG platoon (Mikko)
THE SOVIETS, in Red:
1st MMG Platoon (John):
1 - 1st section
2 - 2nd section
2nd MMG Platoon (Janne):
5 - 1st section
6 - 2nd section
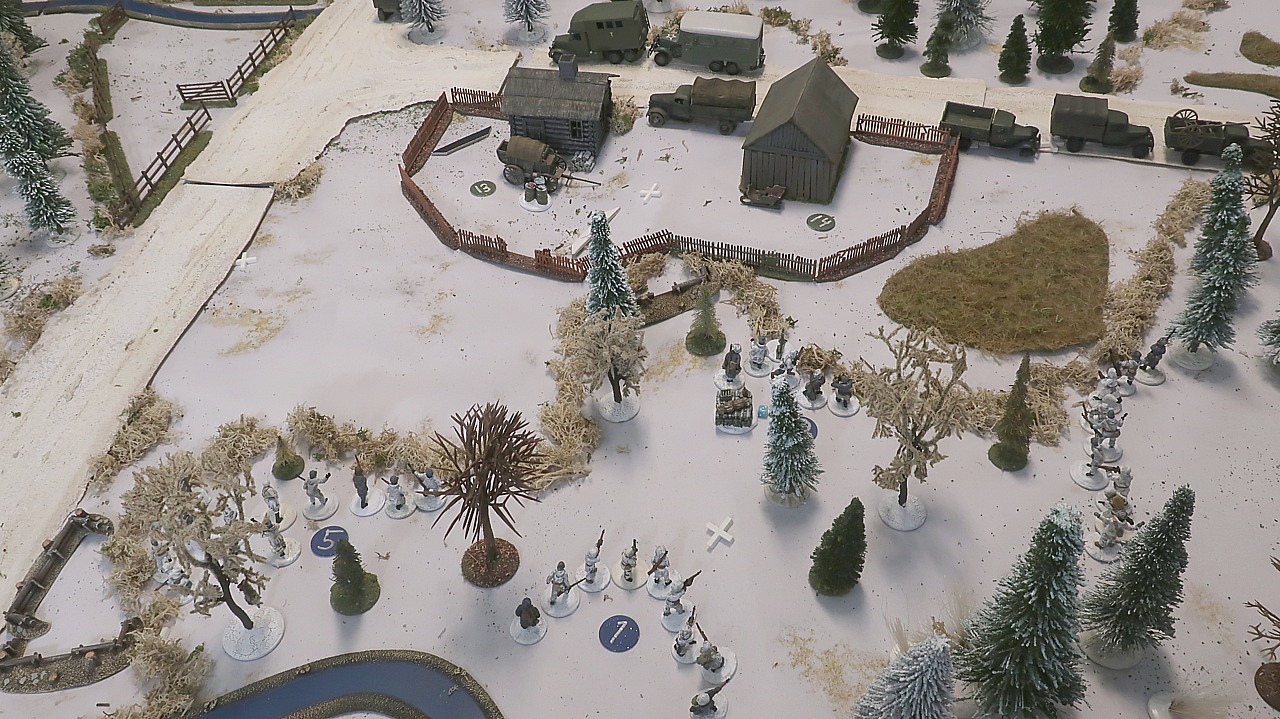
13 - 62 6th Telephone and Semaphore Section (Team)
14 - Workshop 1

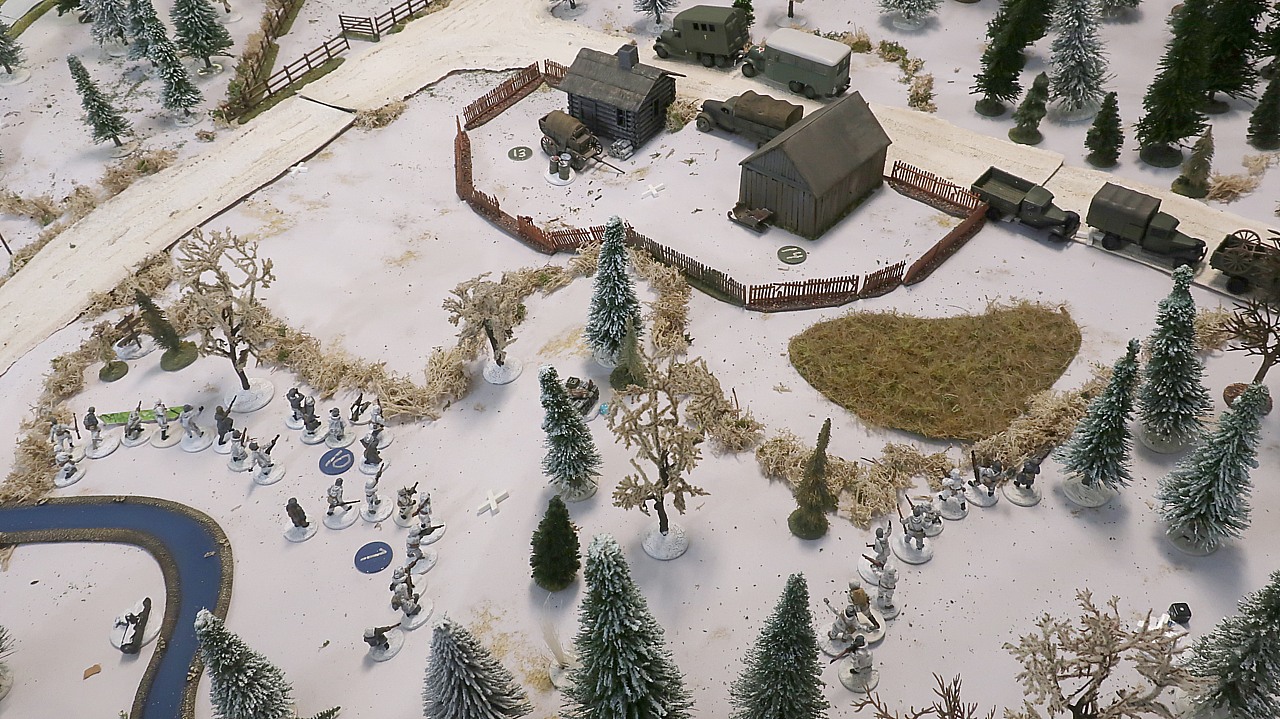
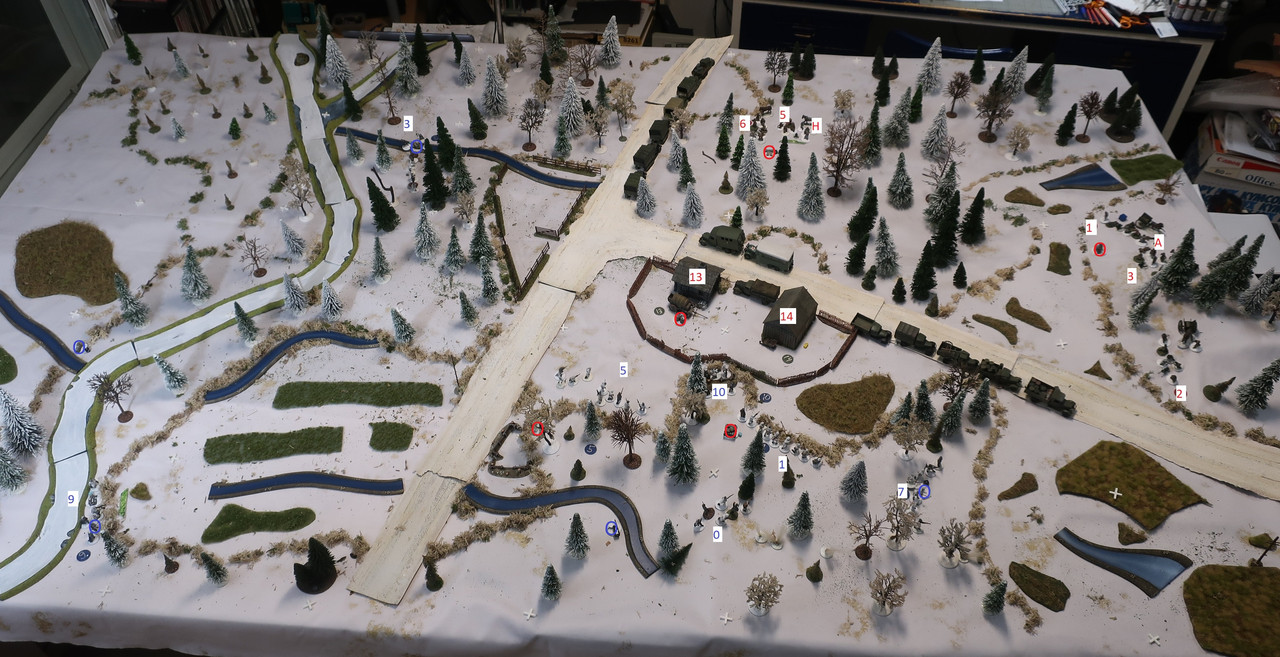
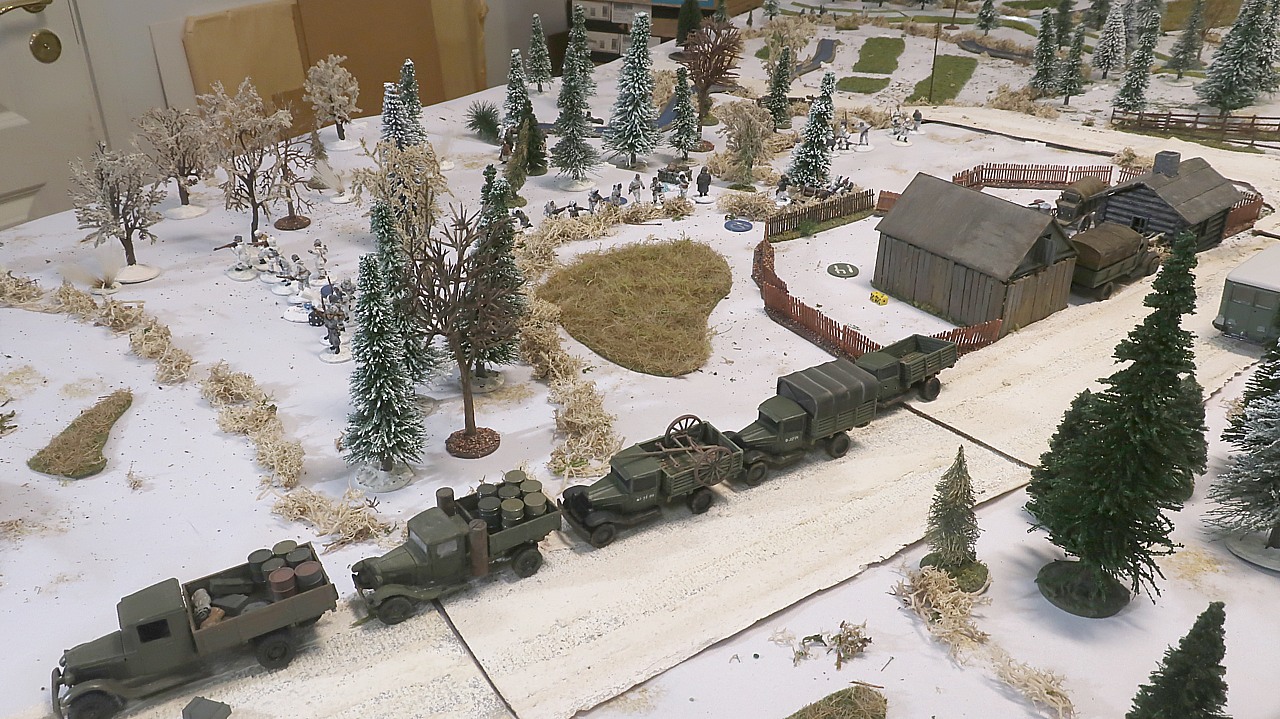
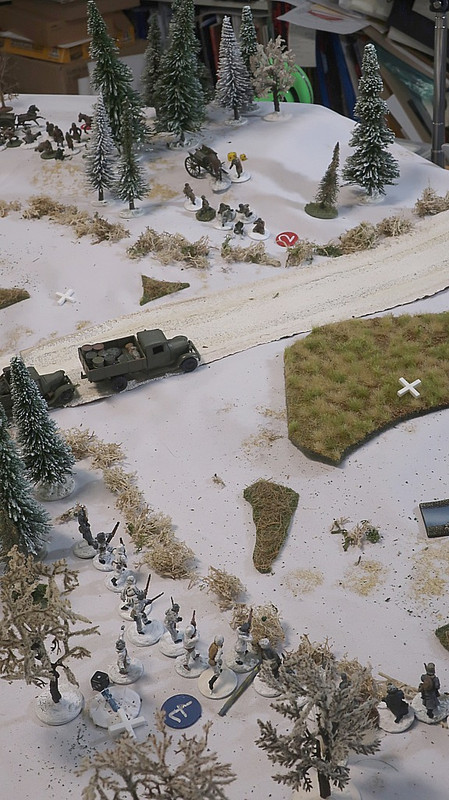
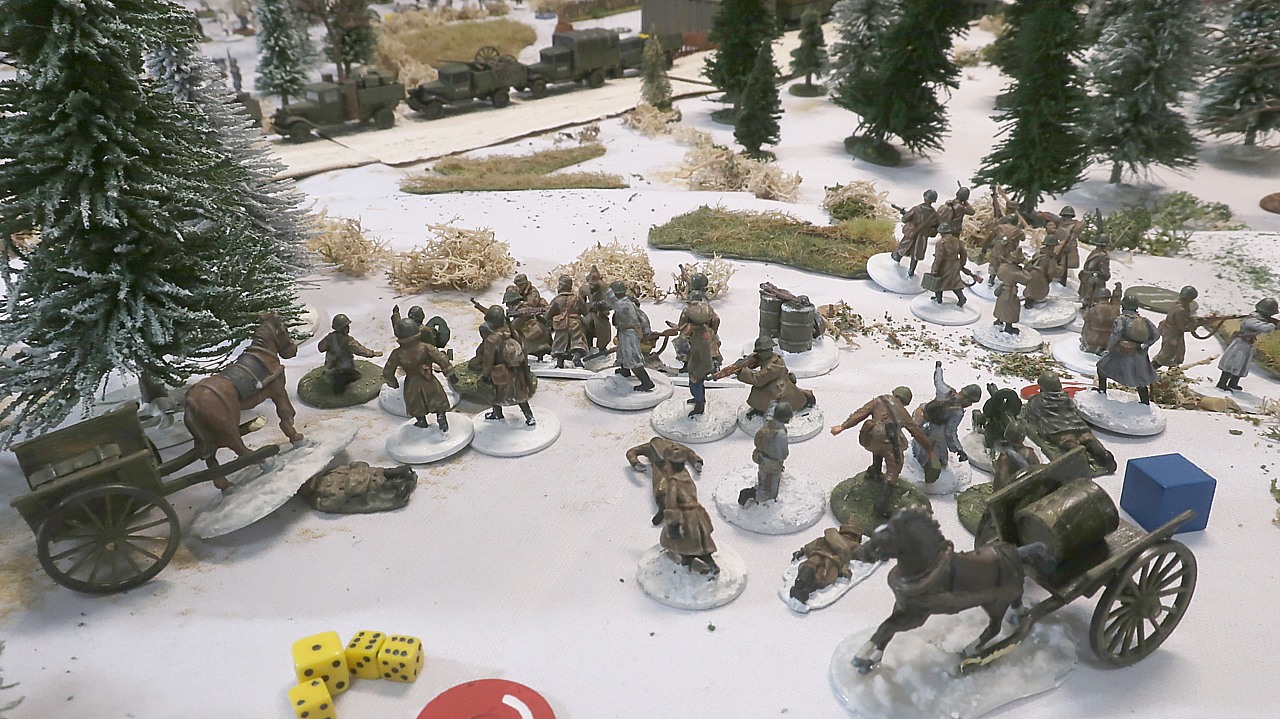
Jarkko's 1st section reaches the edge of the forest. As I'm the only one physically at the table, the rest of the players being online, it is my job to point out lines of sight, but here I neglect to notice that Jarkko's men can in fact see some of John's machinegunners, despite the distance and the intervening trucks.

Jarkko then deploys his company commander, Lieutenant Avela, along with his messenger team. Here I make my second mistake of the evening. Because Avela is a Ranking Leader, he cannot be deployed until two sections of each of his platoons have been deployed, and at this point only one of Jarkko's section has been deployed.
Ltn Avela is a fine leader and in fact if he survives this campaign, he will end his career as a Major General sometime in the late Sixties. His arrival boosts both the Finnish platoons' Force Morales to 11.
Then it is the Soviets' phase...
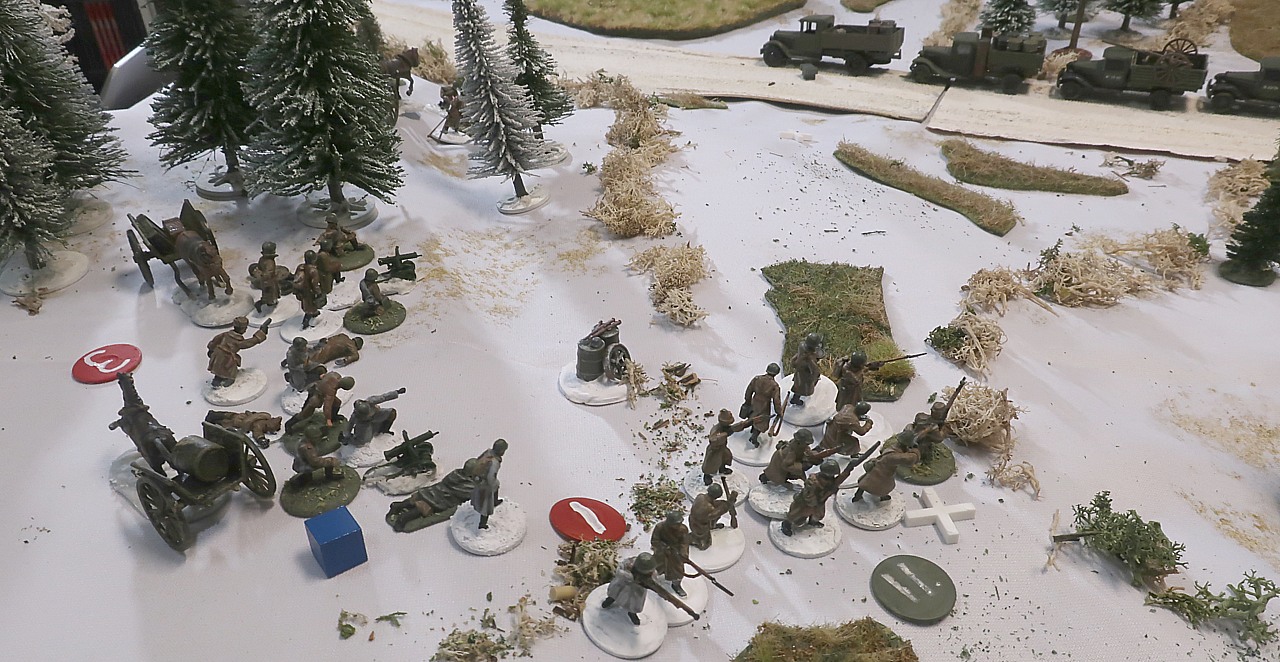
The two MMGs open fire at Jarkko's troops on the other side of the marsh... If the Finns have wondered where all the Russian machineguns are, well... they've found them!
John's company commander arrives to direct the battle... this raises John's platoon's Force Morale to 10 and that of Janne to 11.


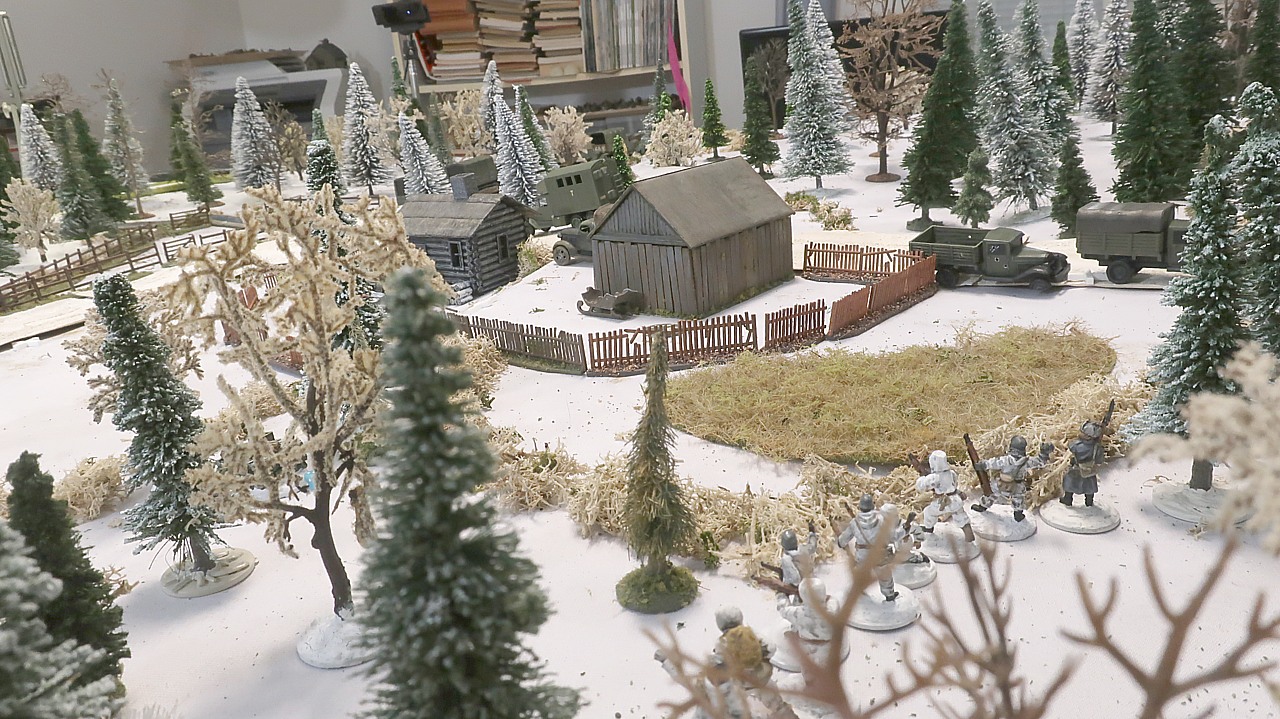
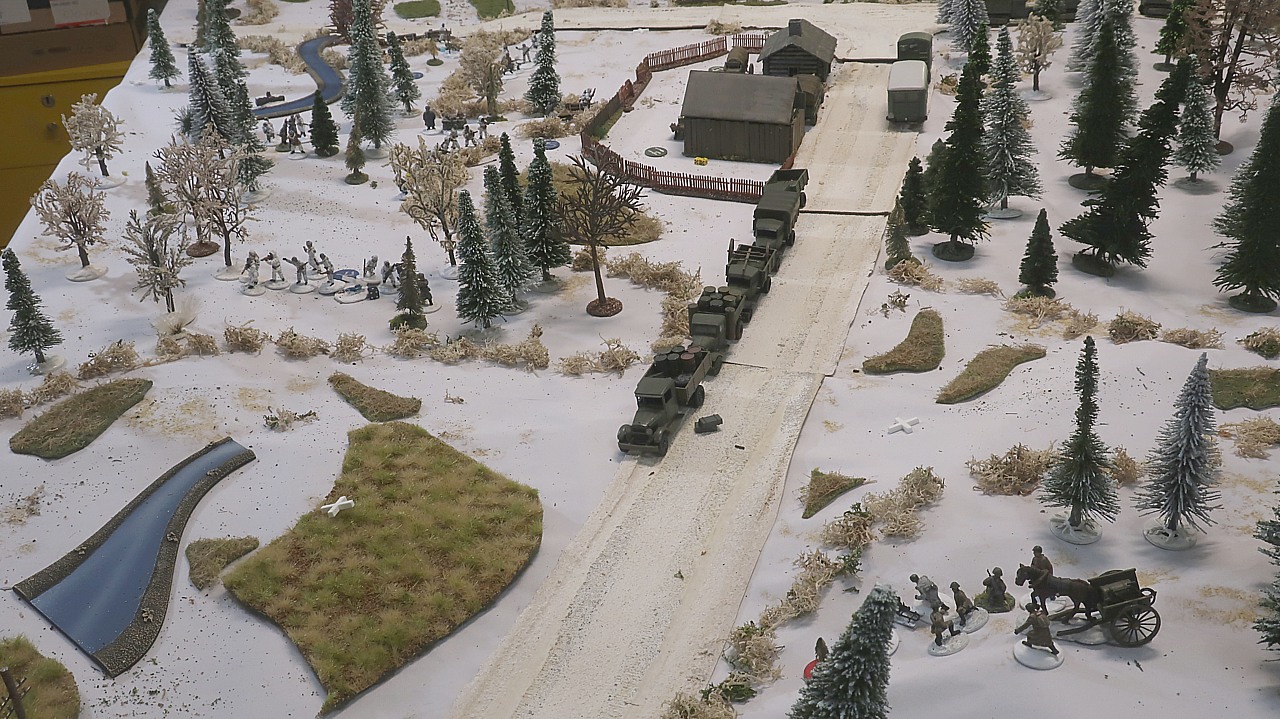
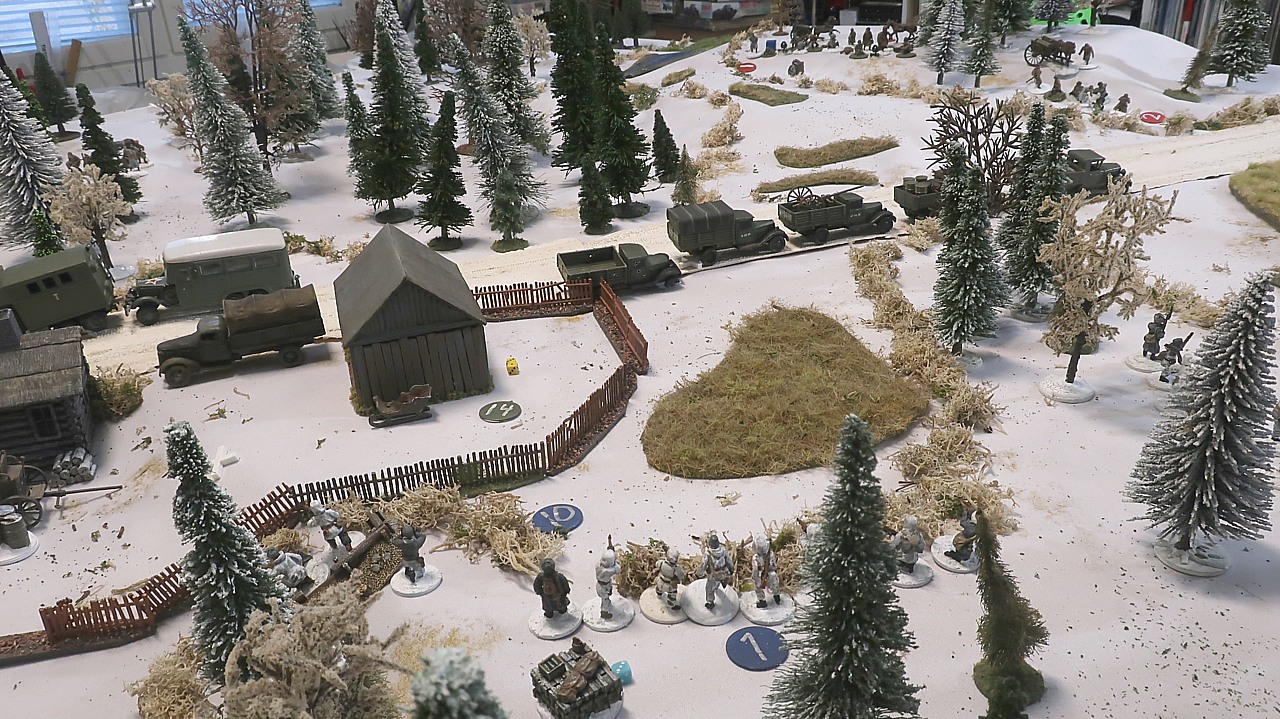
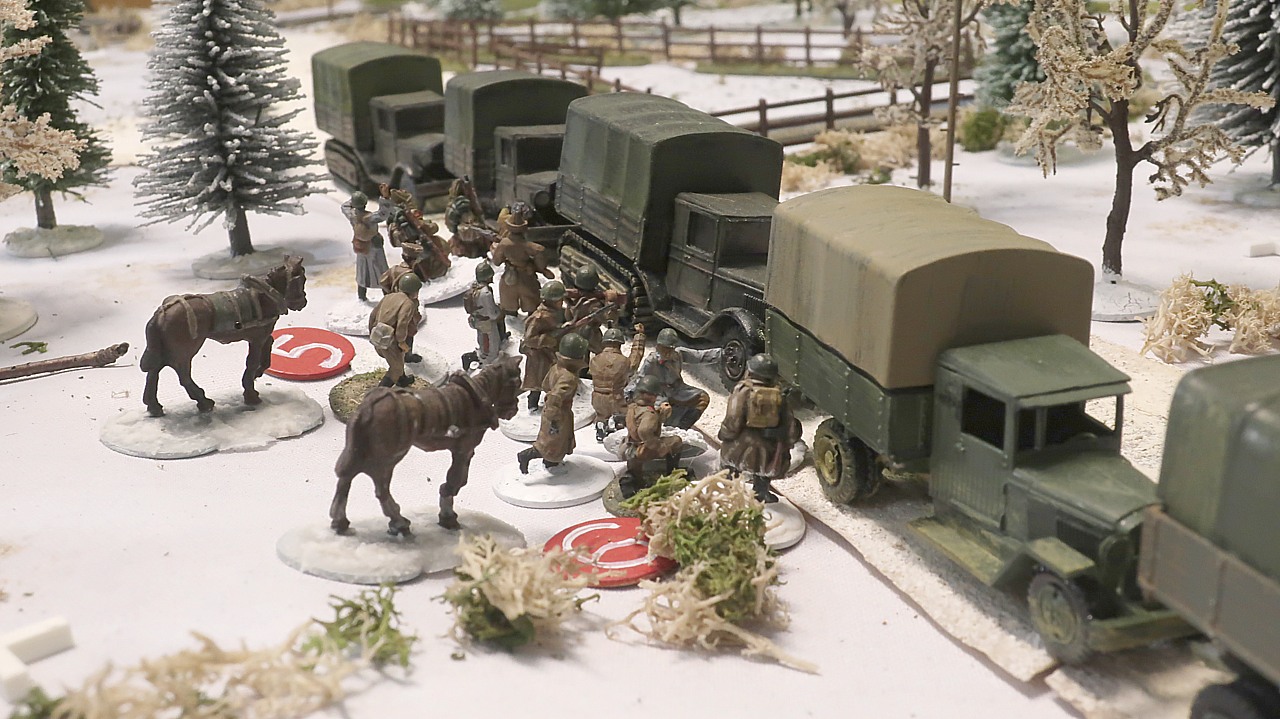
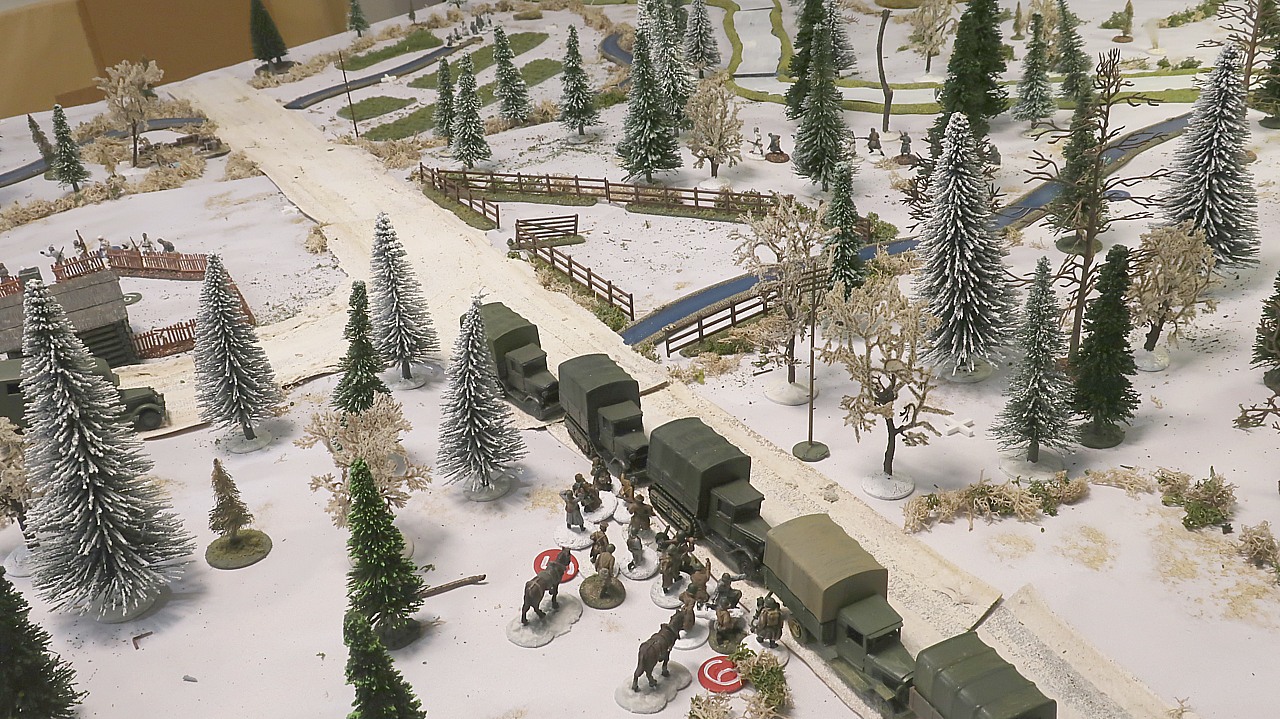
John moves one of his machineguns south, to the southern end of the eastern woods.
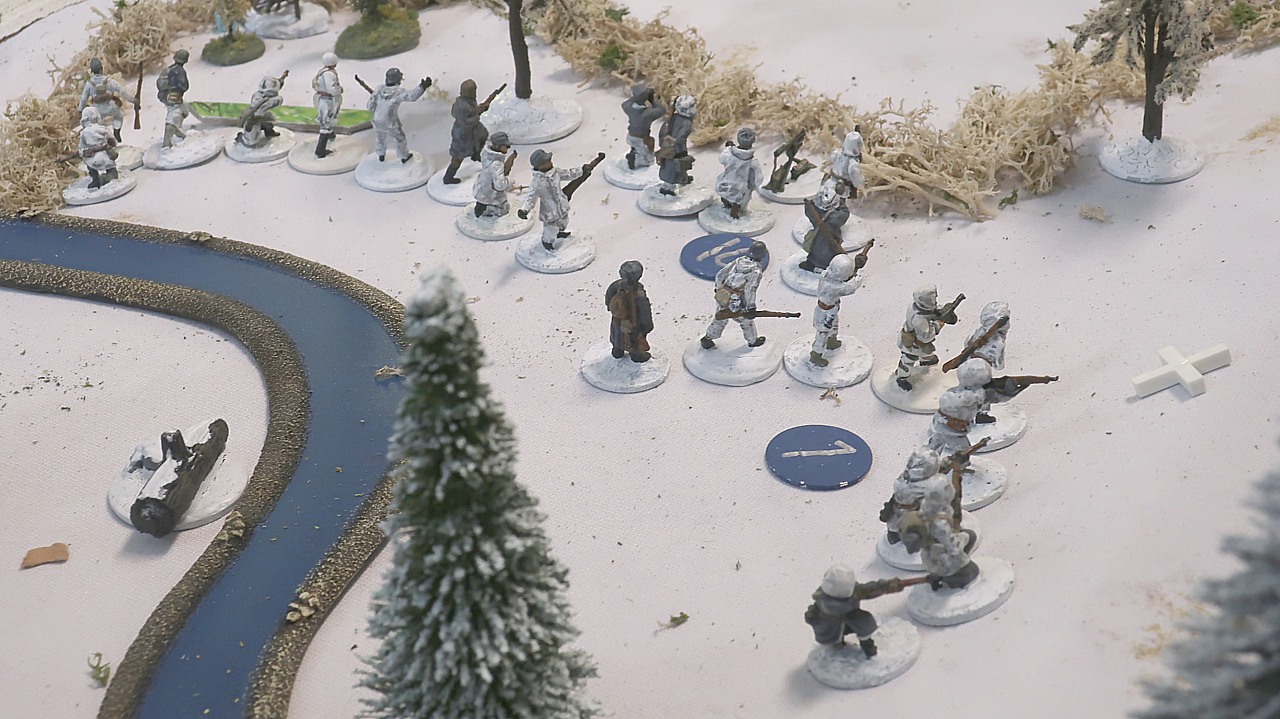
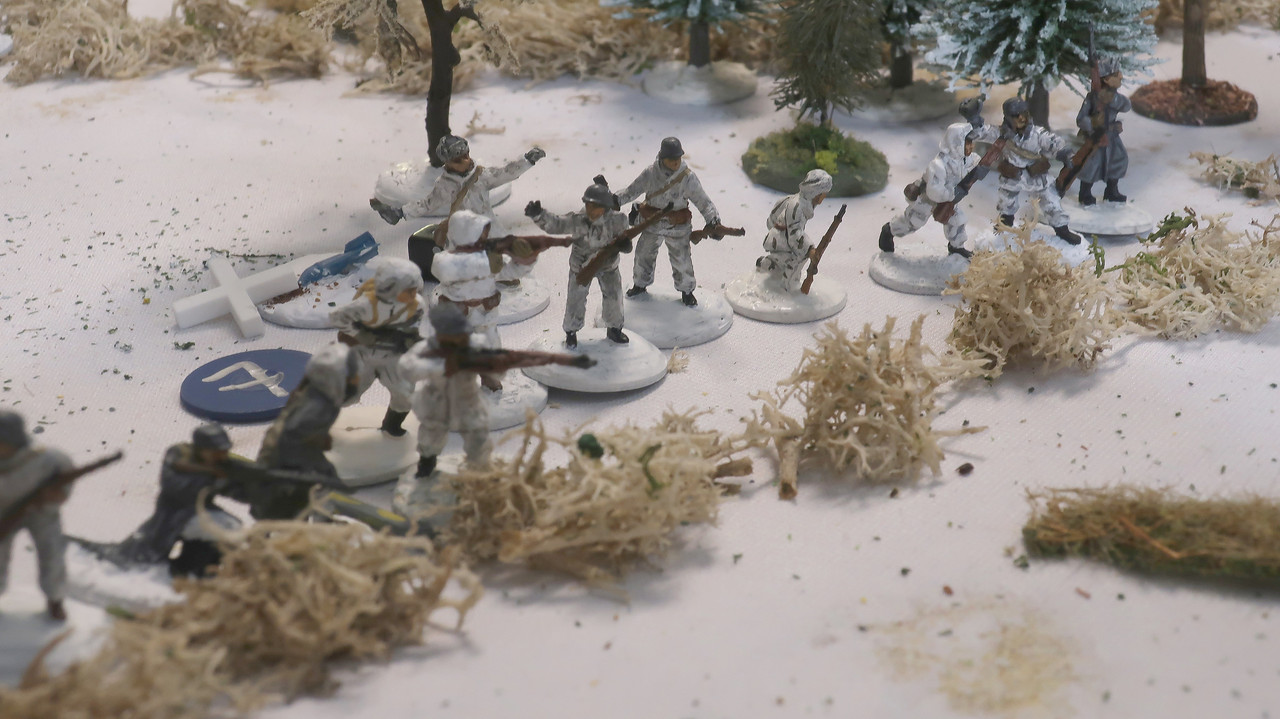
Mikko moves his 2nd rifle section back to the jump-off point, to prevent their approach...
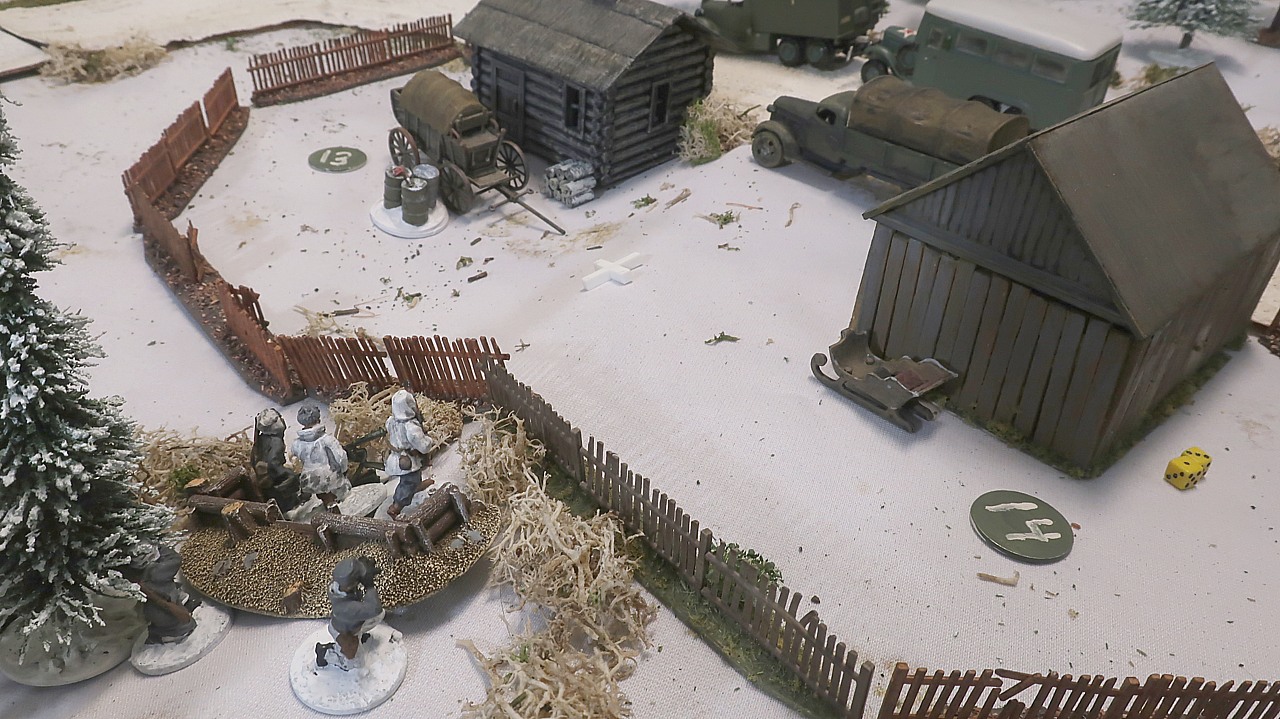
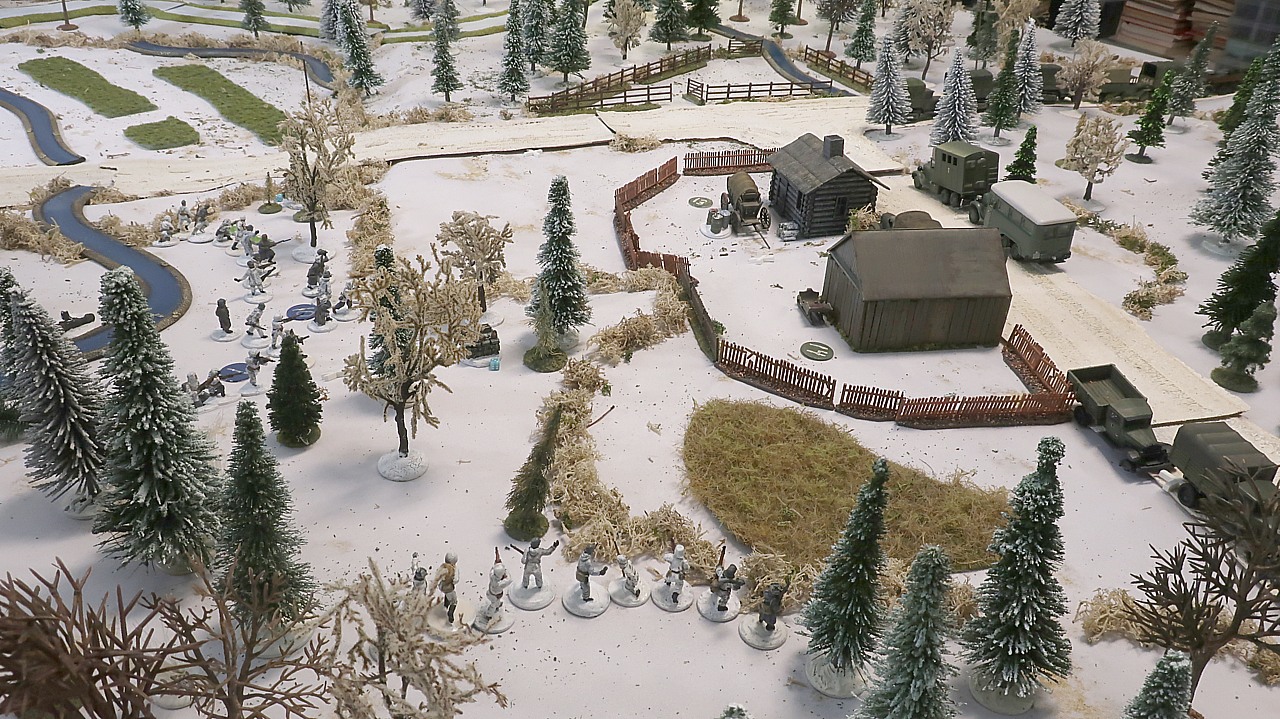
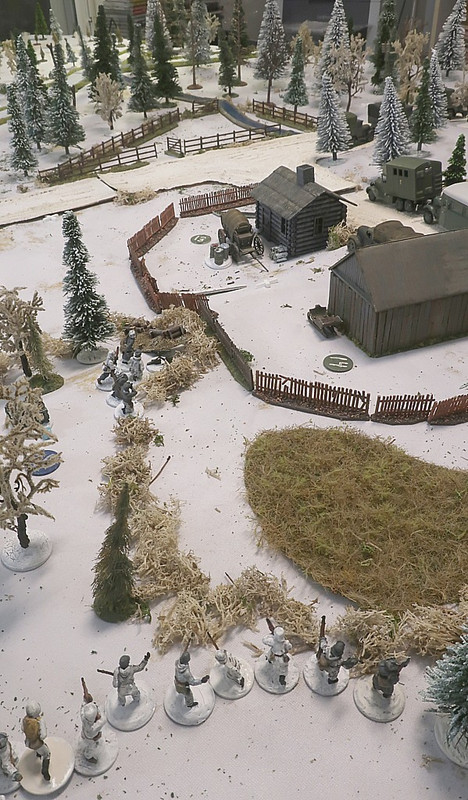
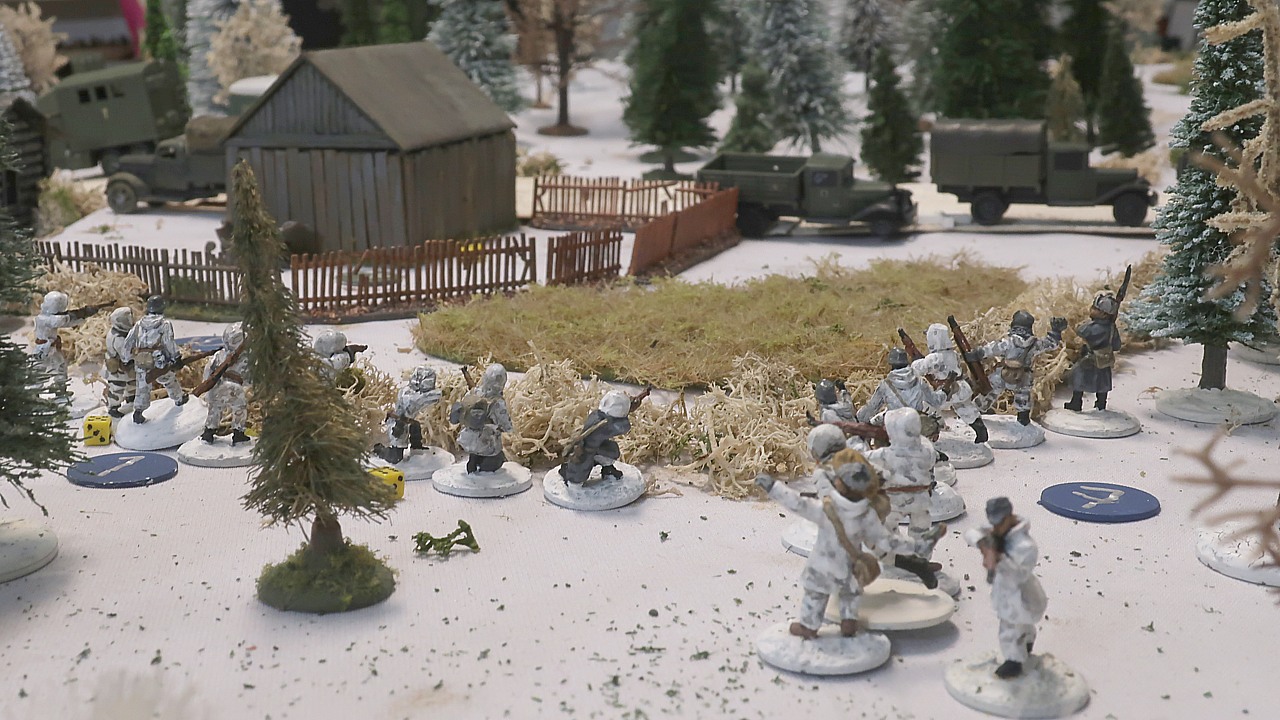
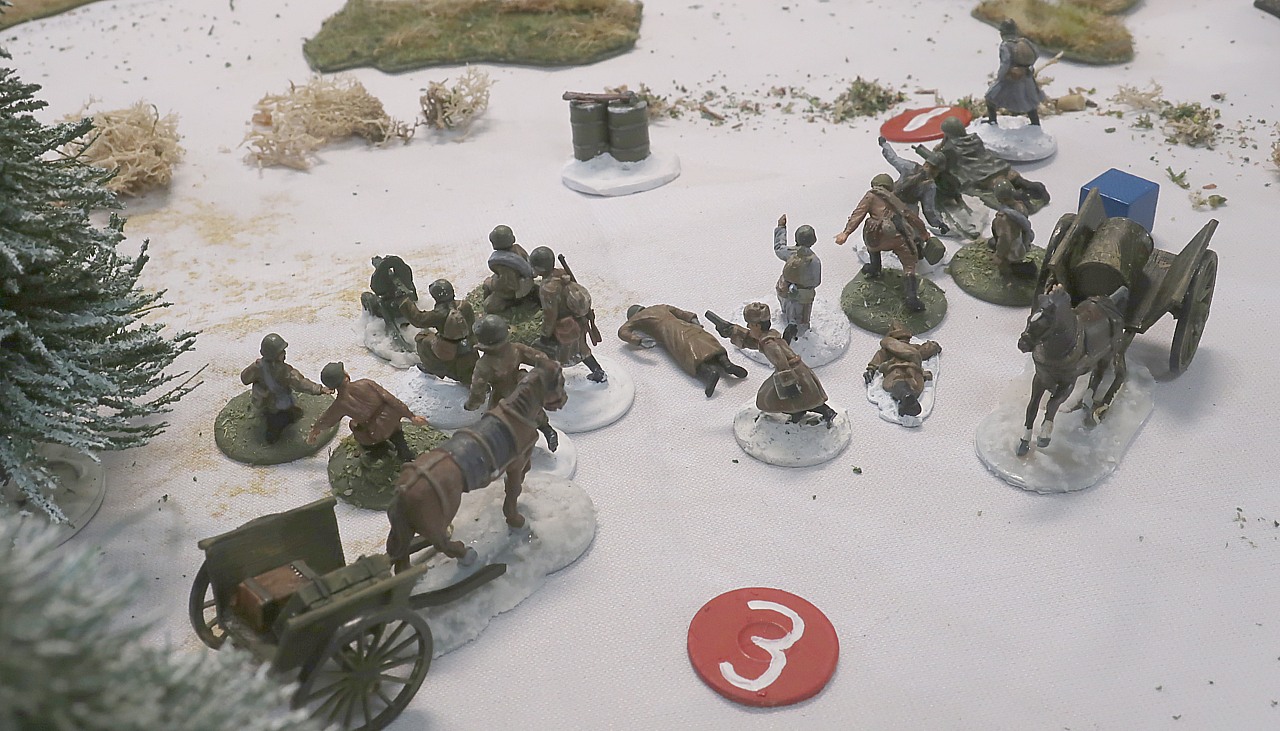
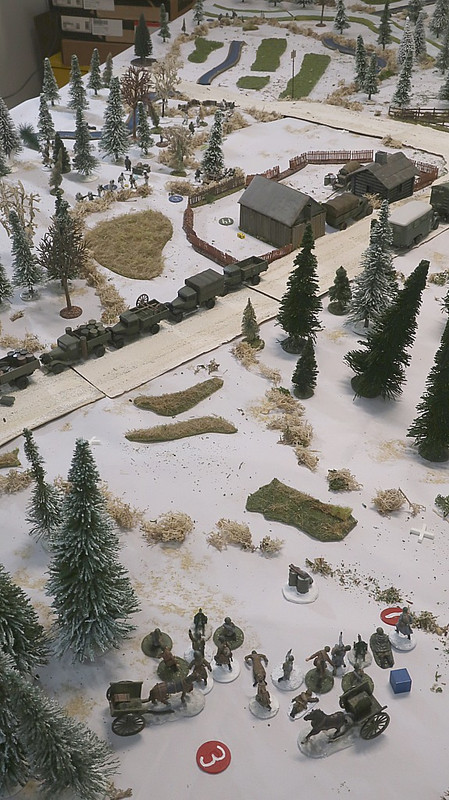
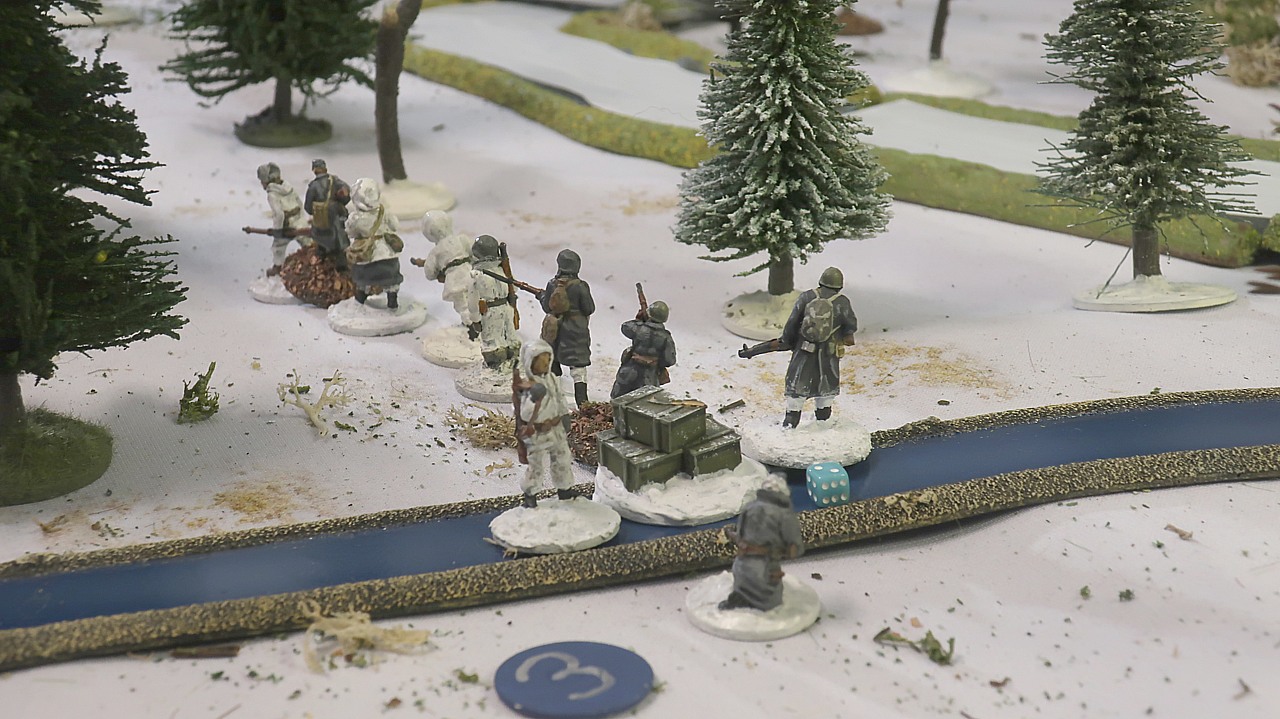
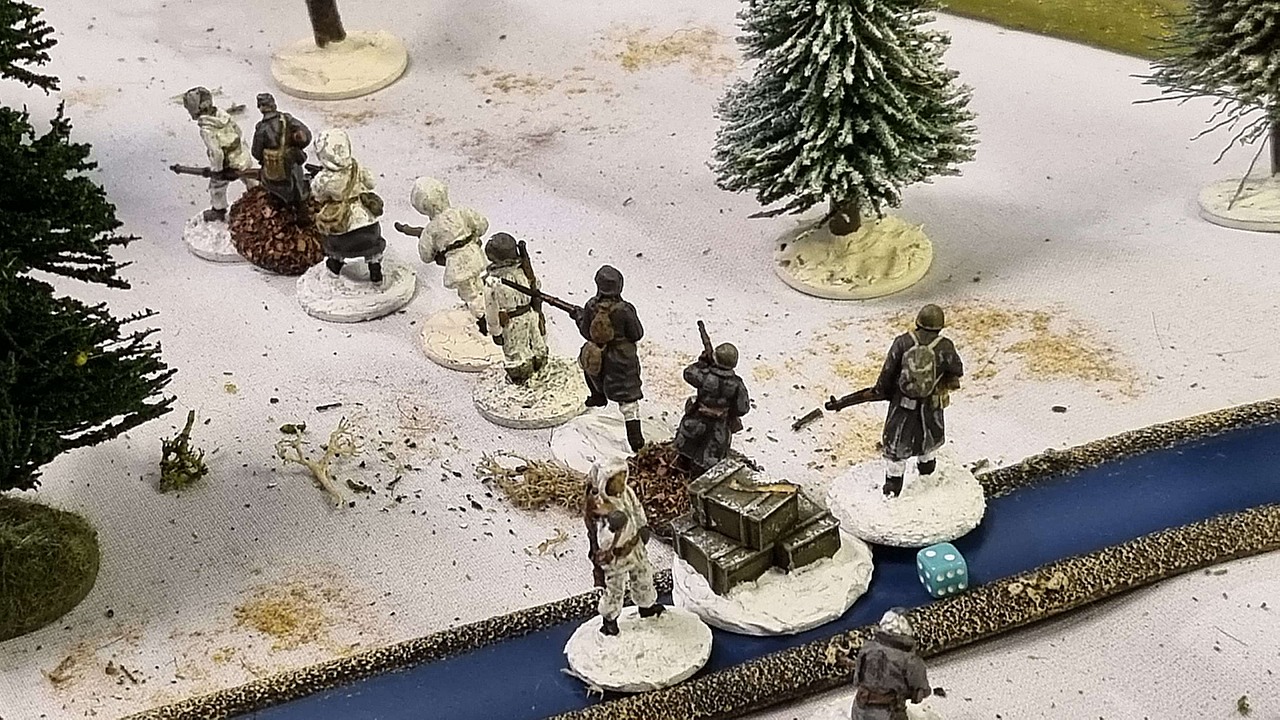
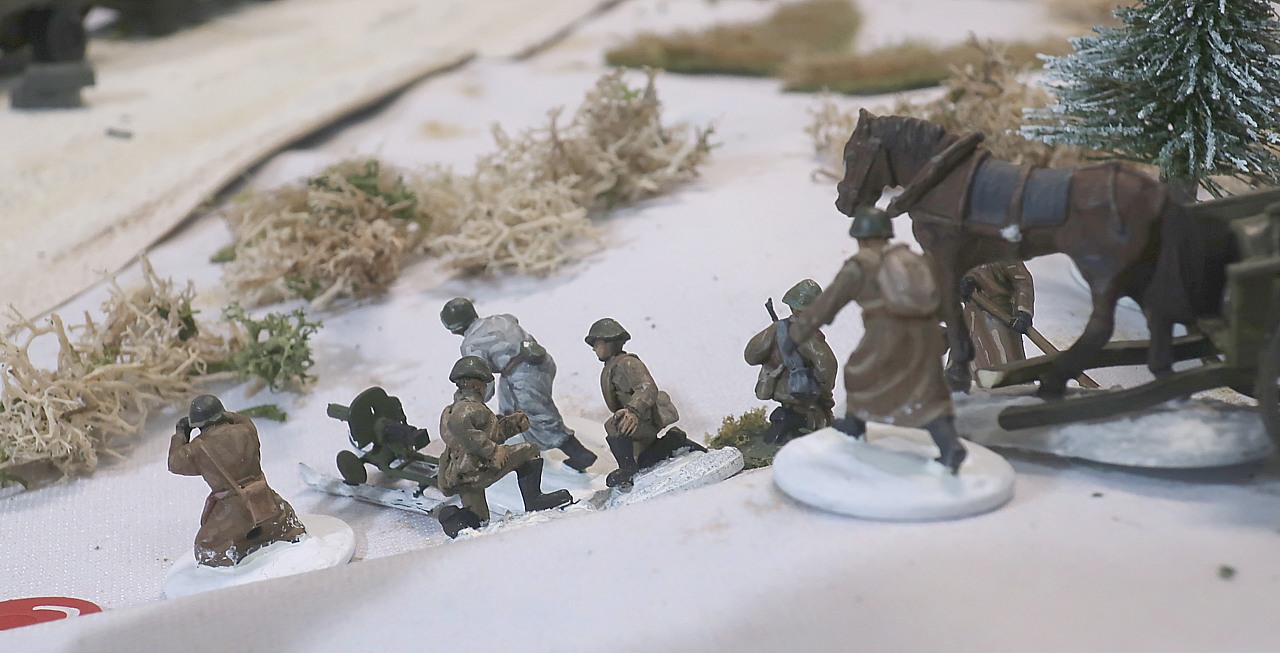
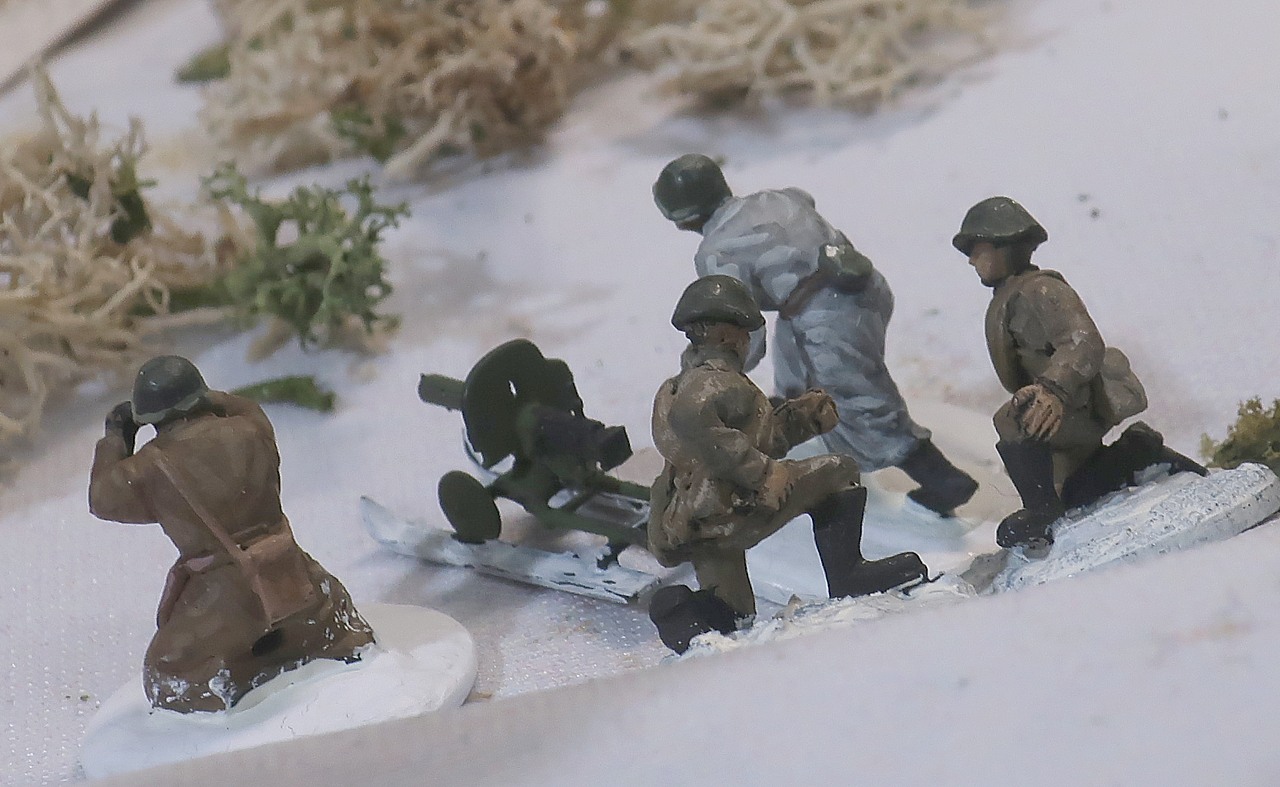
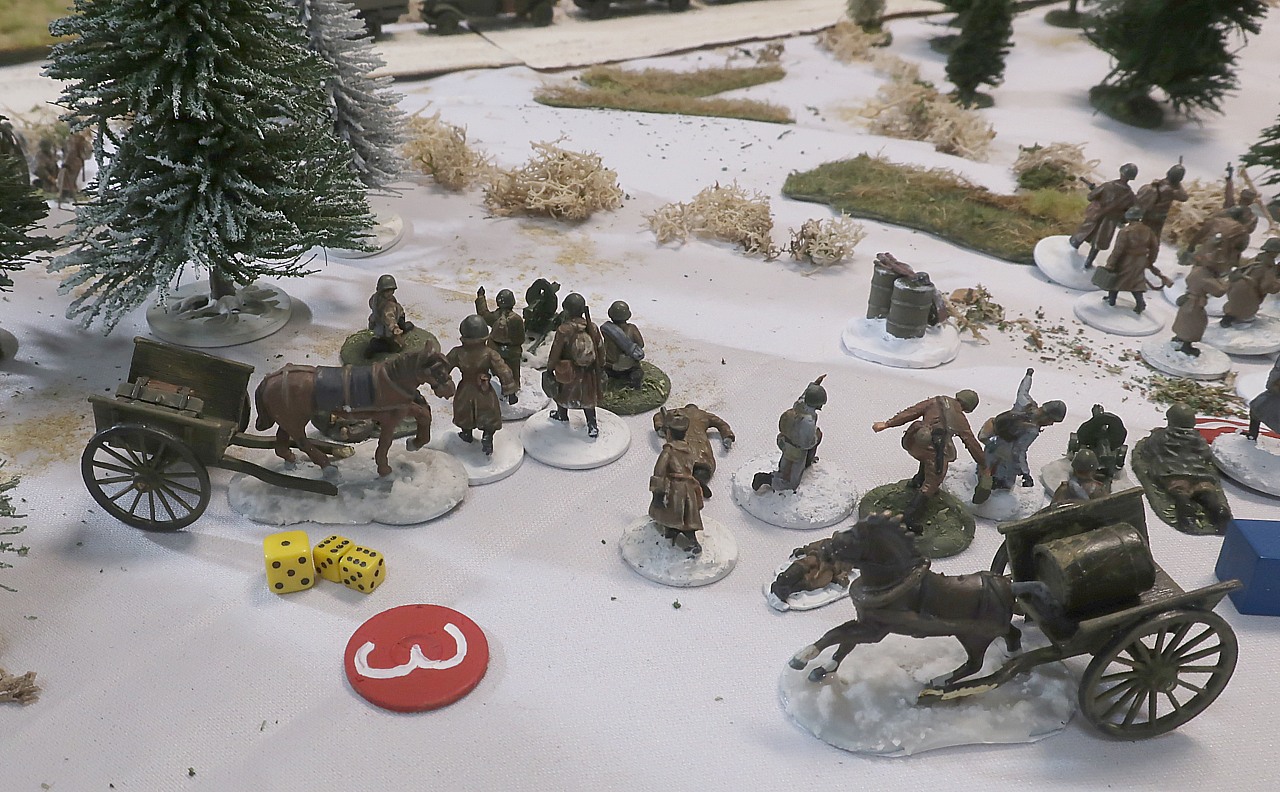
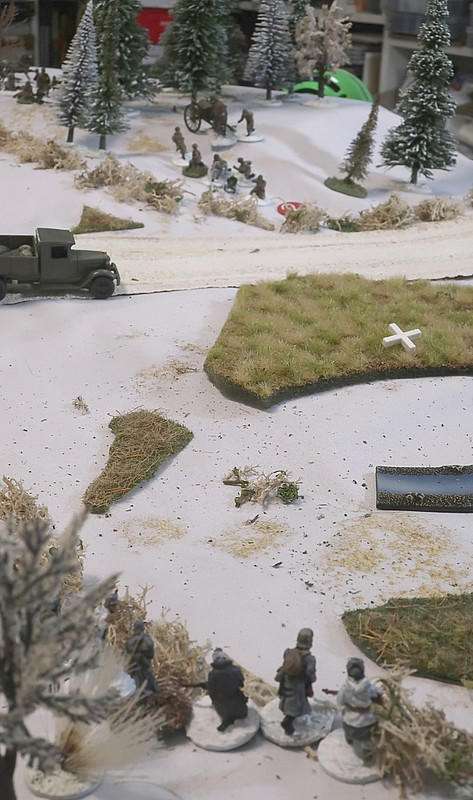
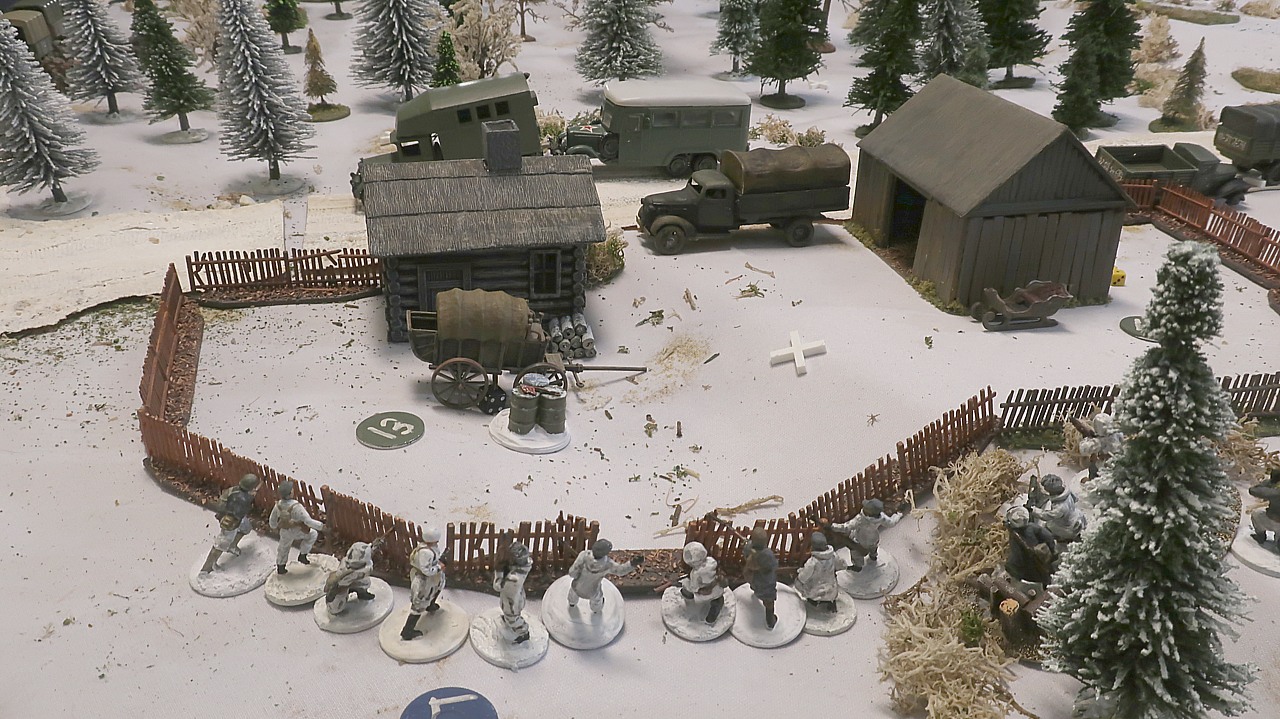
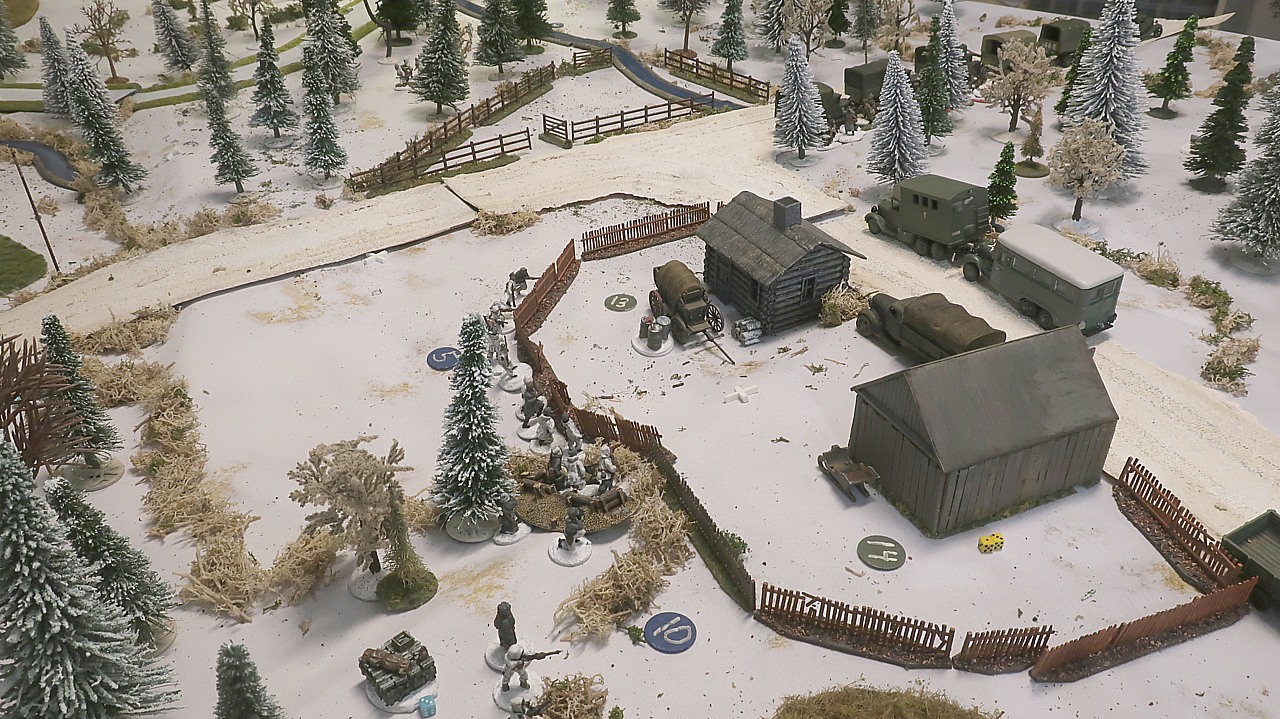
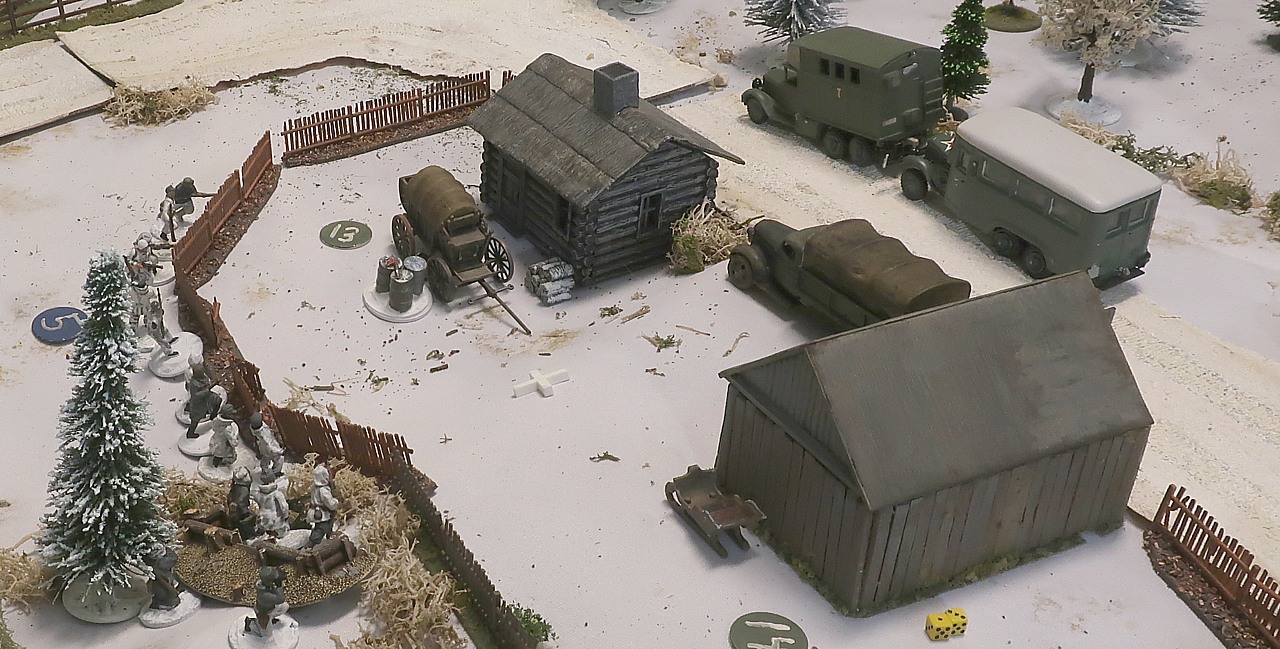
At the farm, Mikko's MMG team #10 reach the Soviet trench and occupy it. They have no line of sight to the Red Army workshop personnel in the barn, but as they are six inches away from them we figure they must be able to hear them. They open fire at the barn and perforate it full of holes... the master second in command of the workshop is killed and the rest get two points of shock...

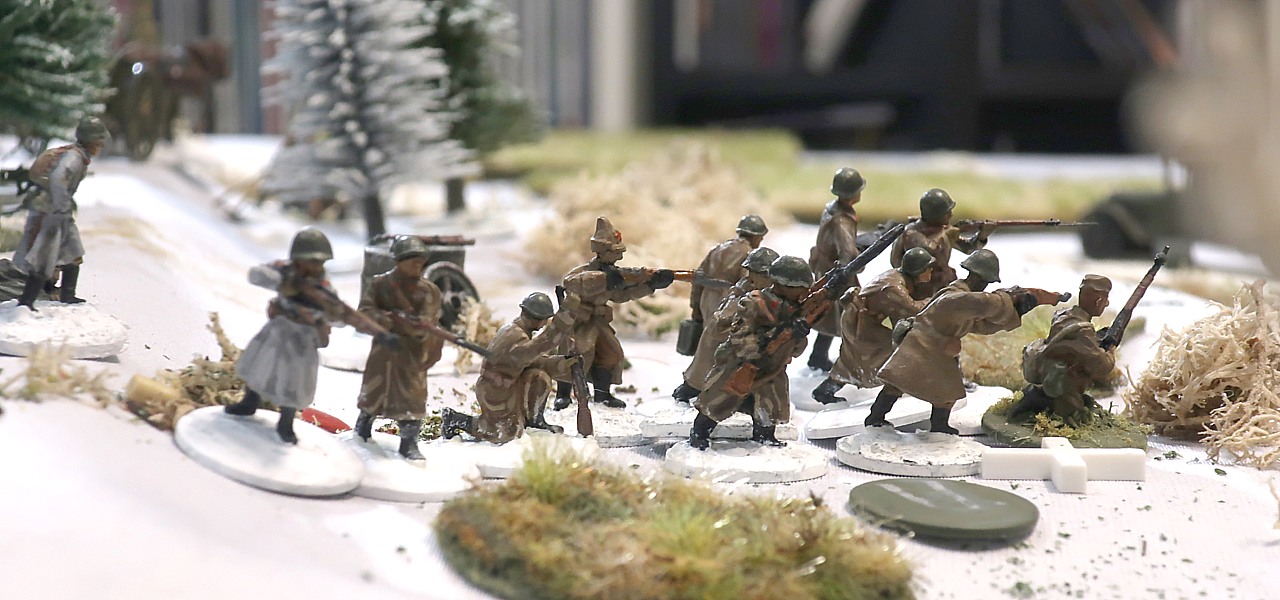
With the Russians under fire, Mikko sends his infantry section to advance toward the jump-off point...

…unfortunately they're not very excited about this and only advance four inches.
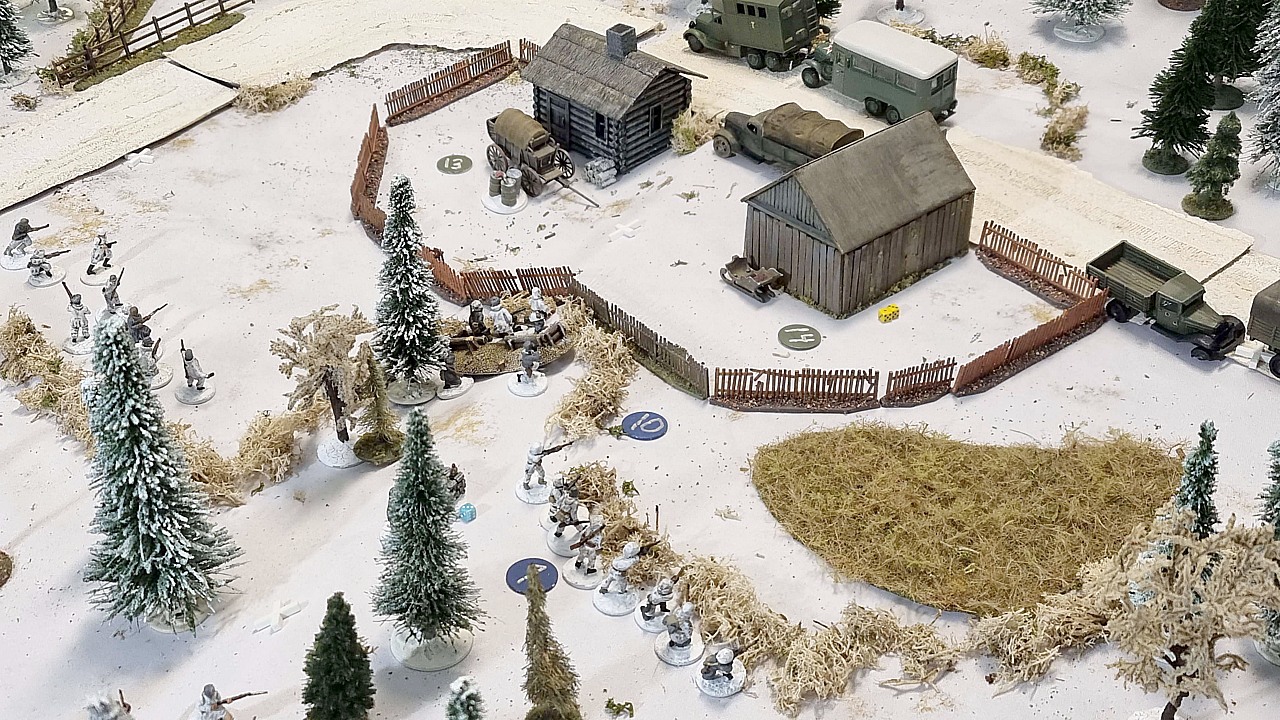
This leaves them in a very uncomfotable position... Janne's Soviets could deploy any moment now and catch the section out in the open...

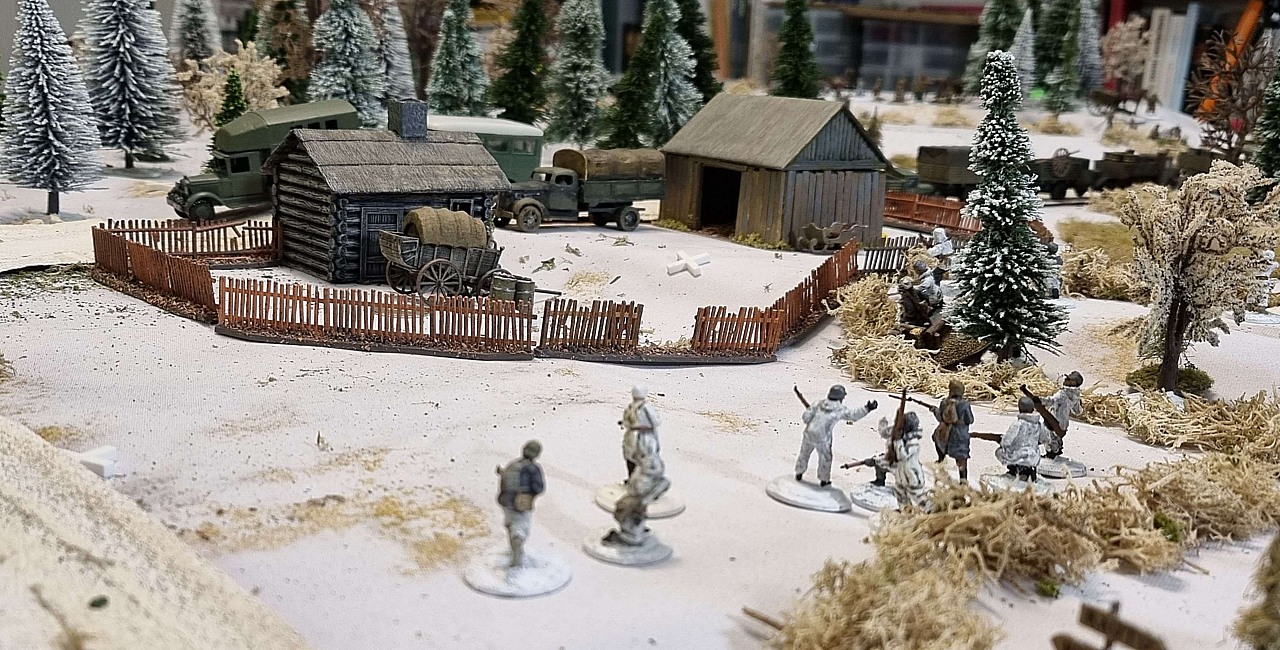
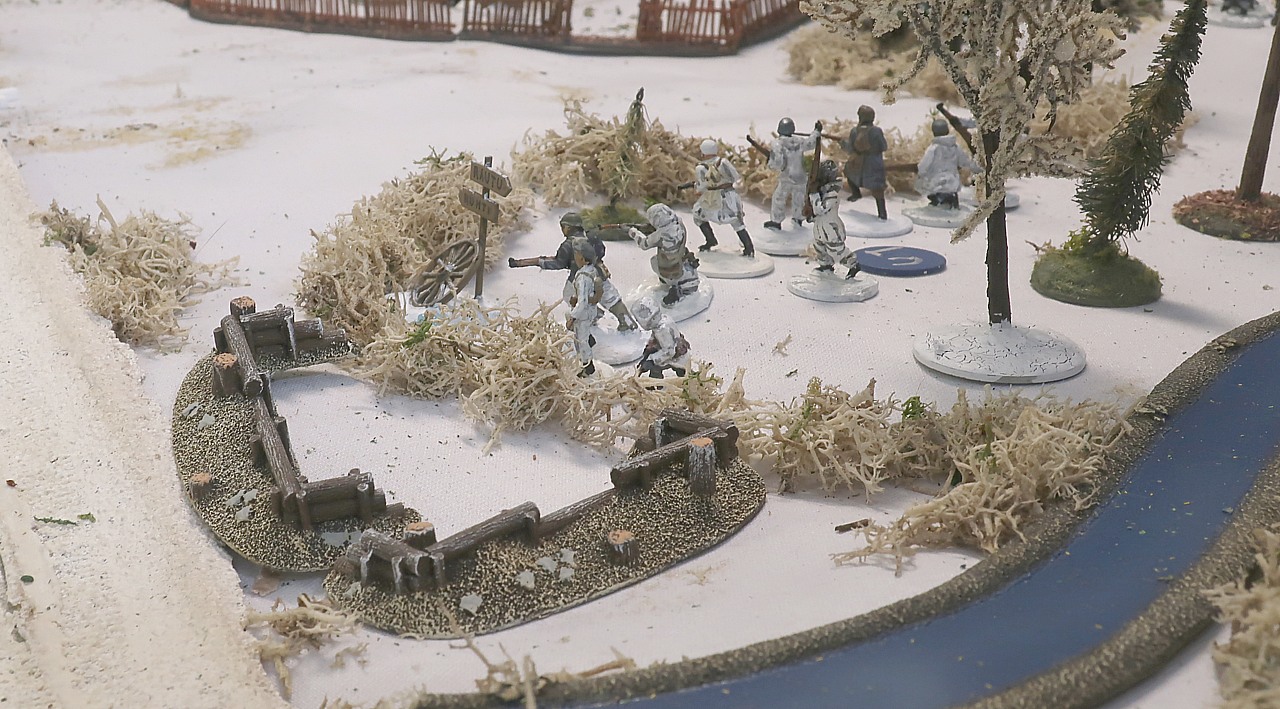
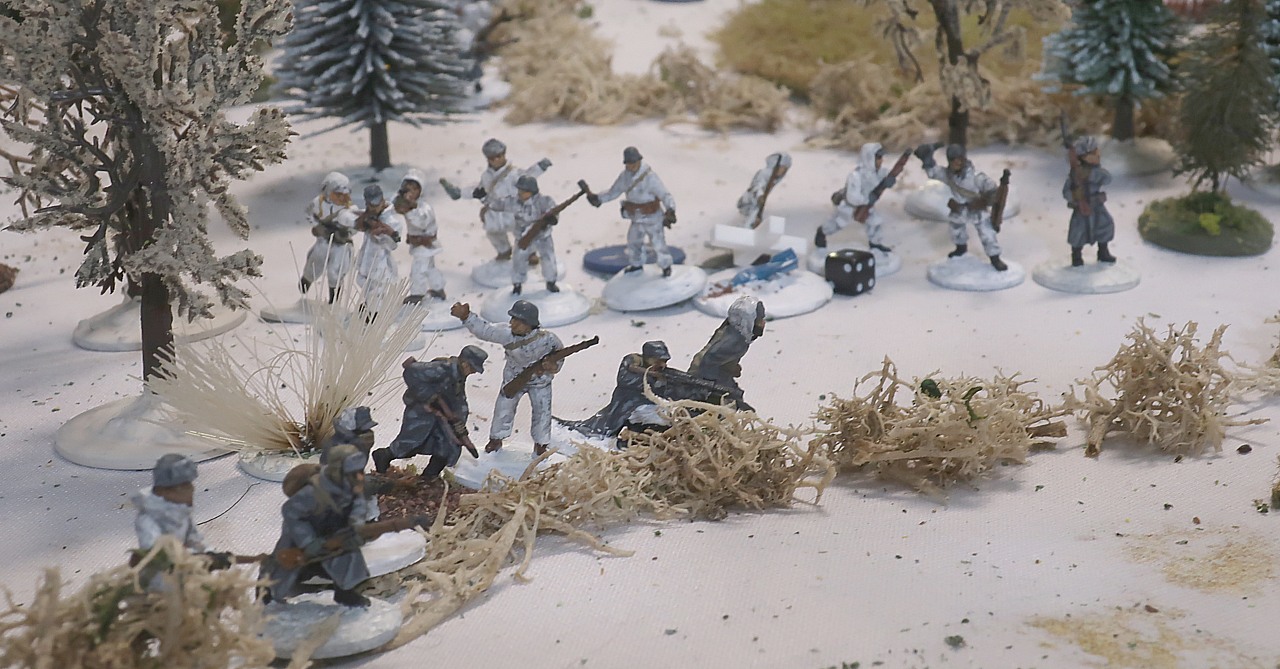
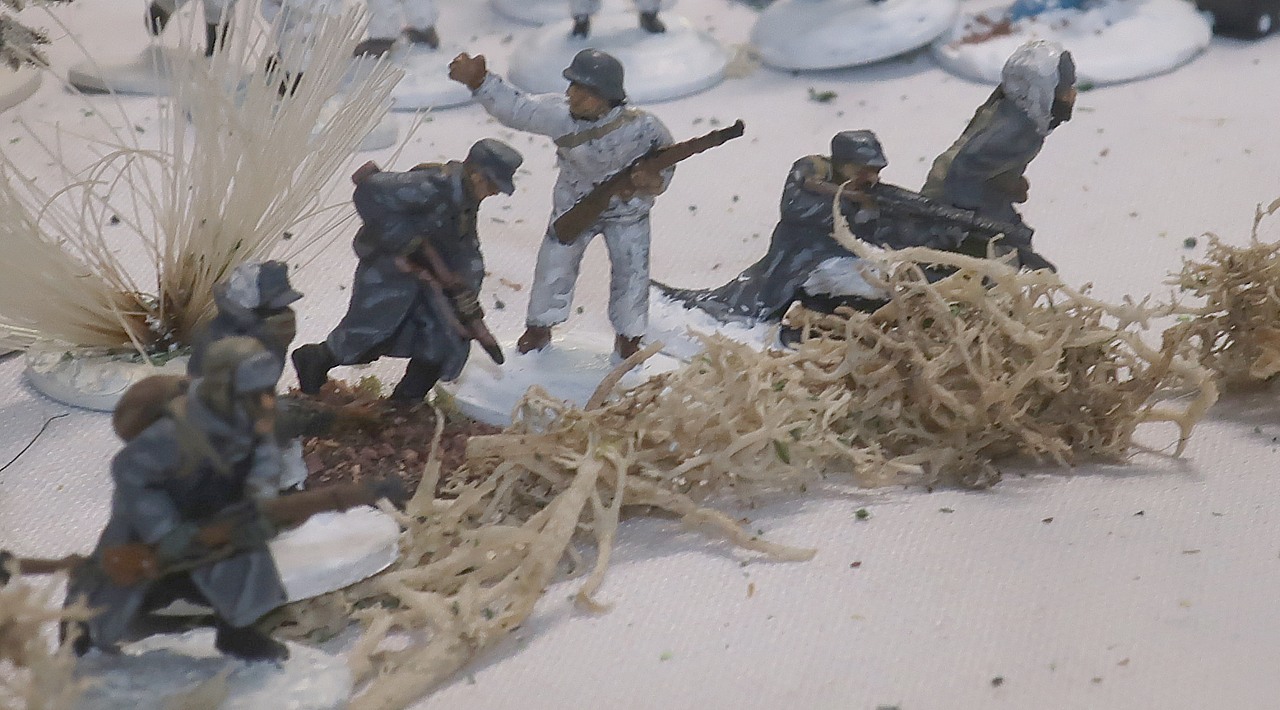
In the western woods, Jarkko deploys his second rifle section...
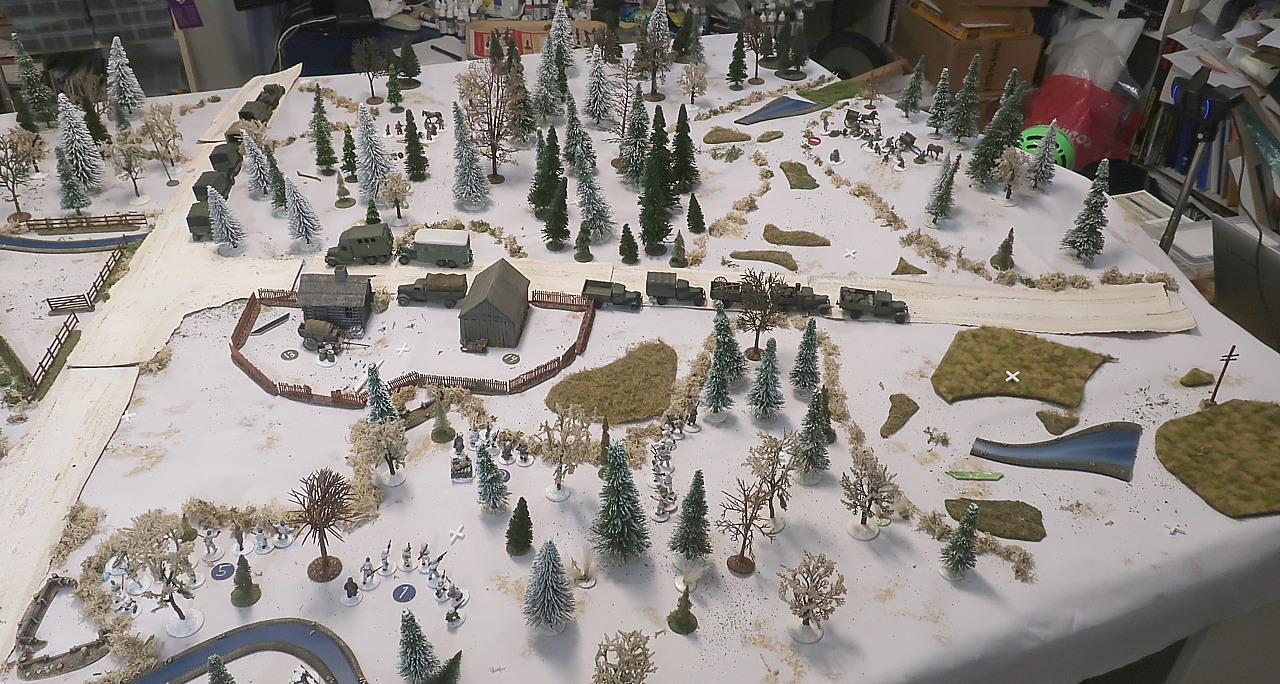
And then it is two weeks later and we continue the battle. Janne is again not with us so John plays both Soviet platoons.
THE FINNS, in Blue:
0 Ltn Avela and his messenger team (JL + 4 messengers) (Jarkko)
3rd Platoon (Jarkko):
1 - 1st rifle section
3- 3rd rifle section
4th platoon (Mikko):
5 - 1st rifle section, with platoon sergeant
7 - 3rd rifle Section
9 - MMG section from 1st MMG platoon (Jarkko)
10 - MMG section from 2nd MMG platoon (Mikko)
SOVIETS, in Red:
A - Company Commander
1st MMG Platoon (John):
1 - 1st section
2 - 2nd section
3 - 3rd section
2nd MMG Platoon (Janne):
H - Platoon leader
5 - 1st section
6 - 2nd section
13 - 62 6th Telephone and Semaphore Section (Team)
14 - Workshop 1
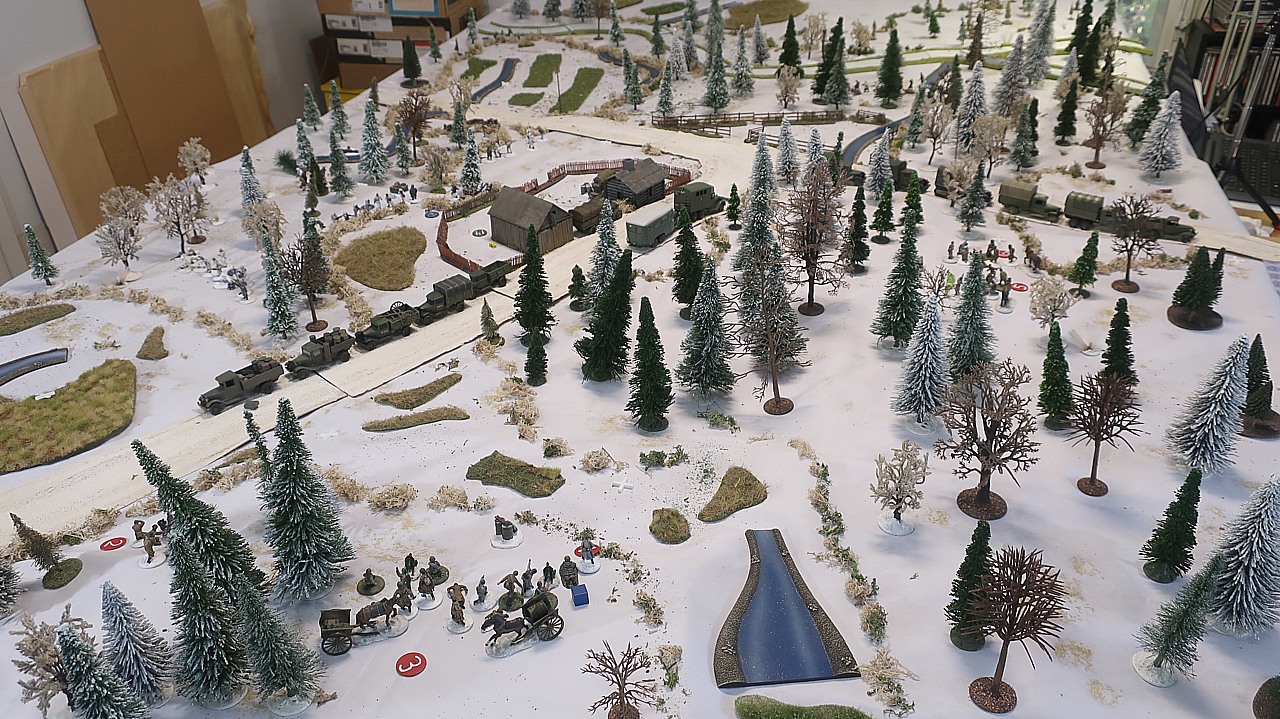
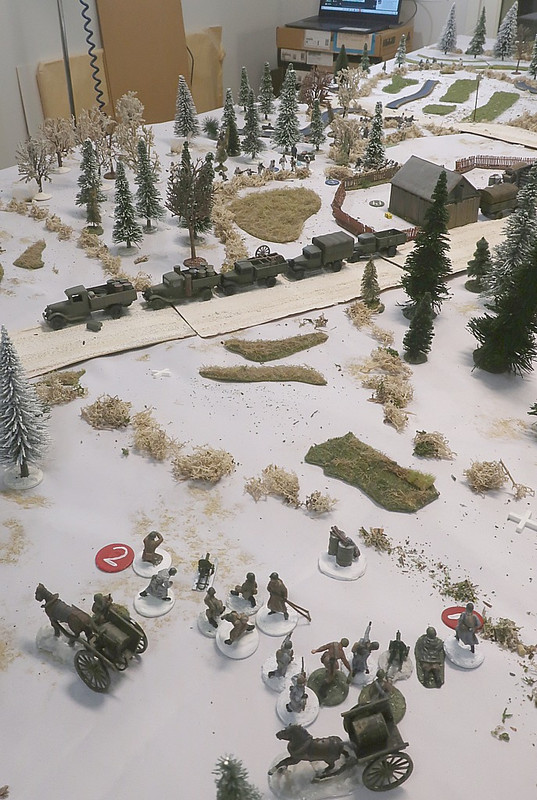
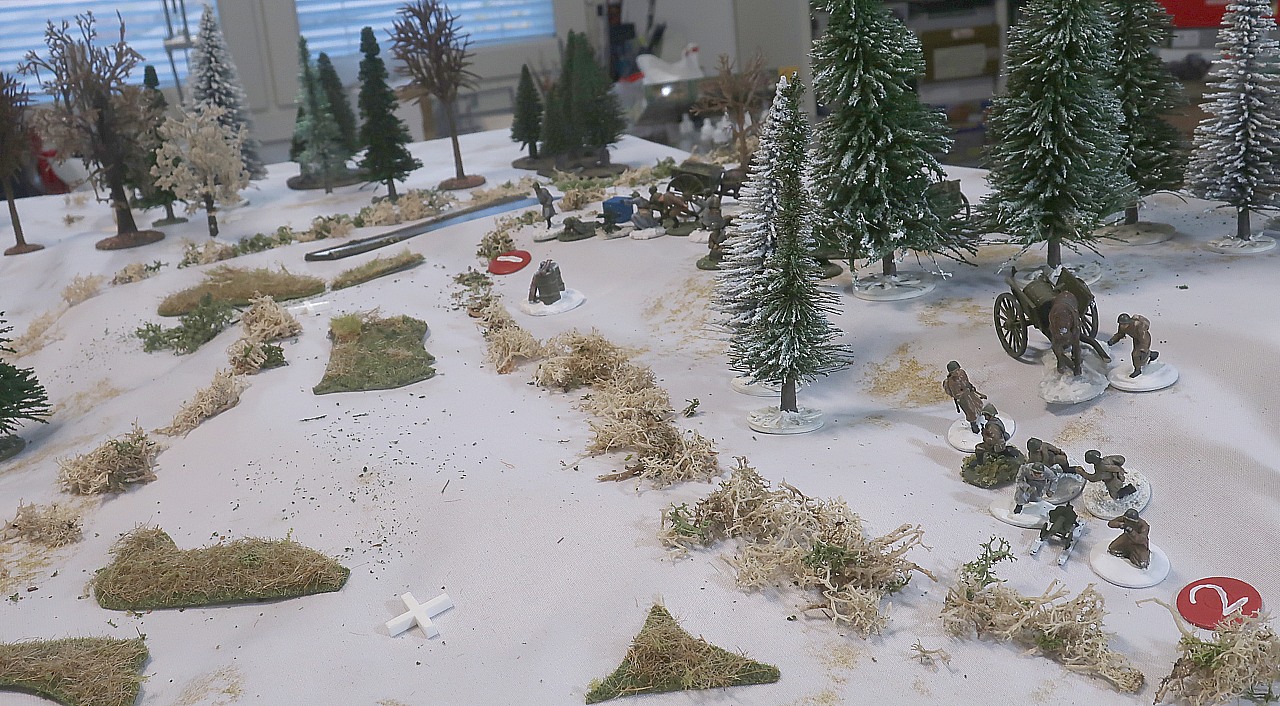
We begin with a Soviet phase. John continues his firefight with the Finnish forces...
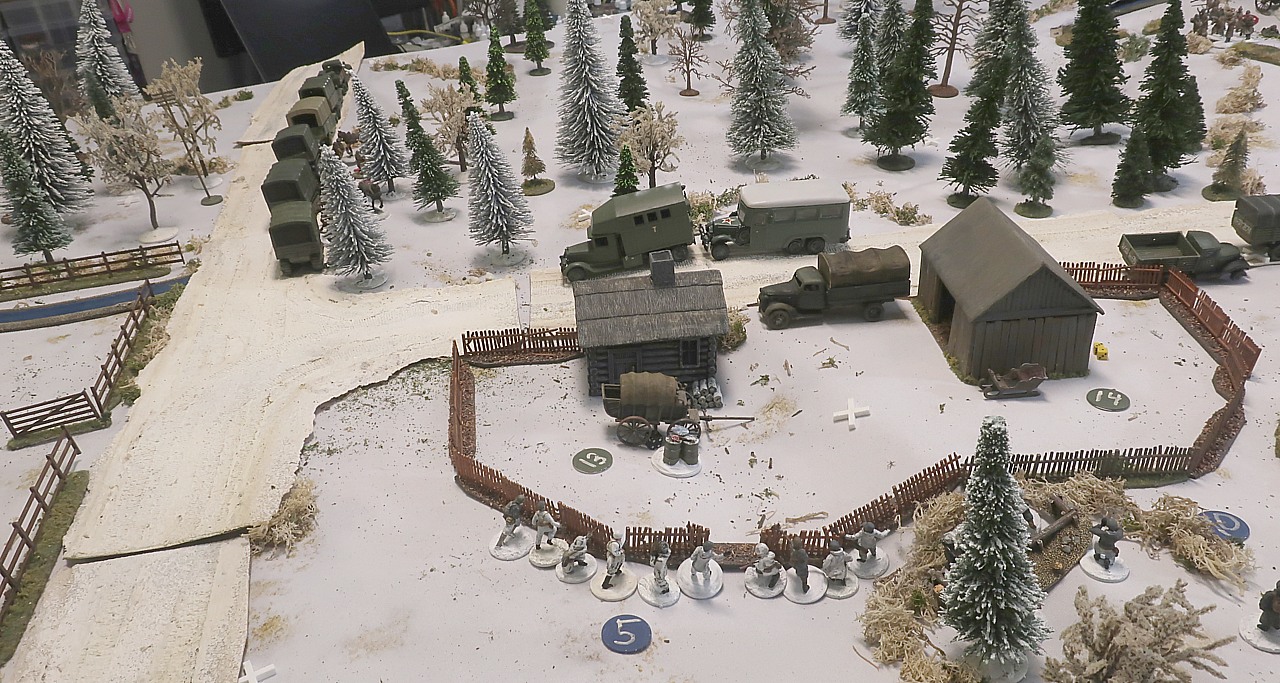
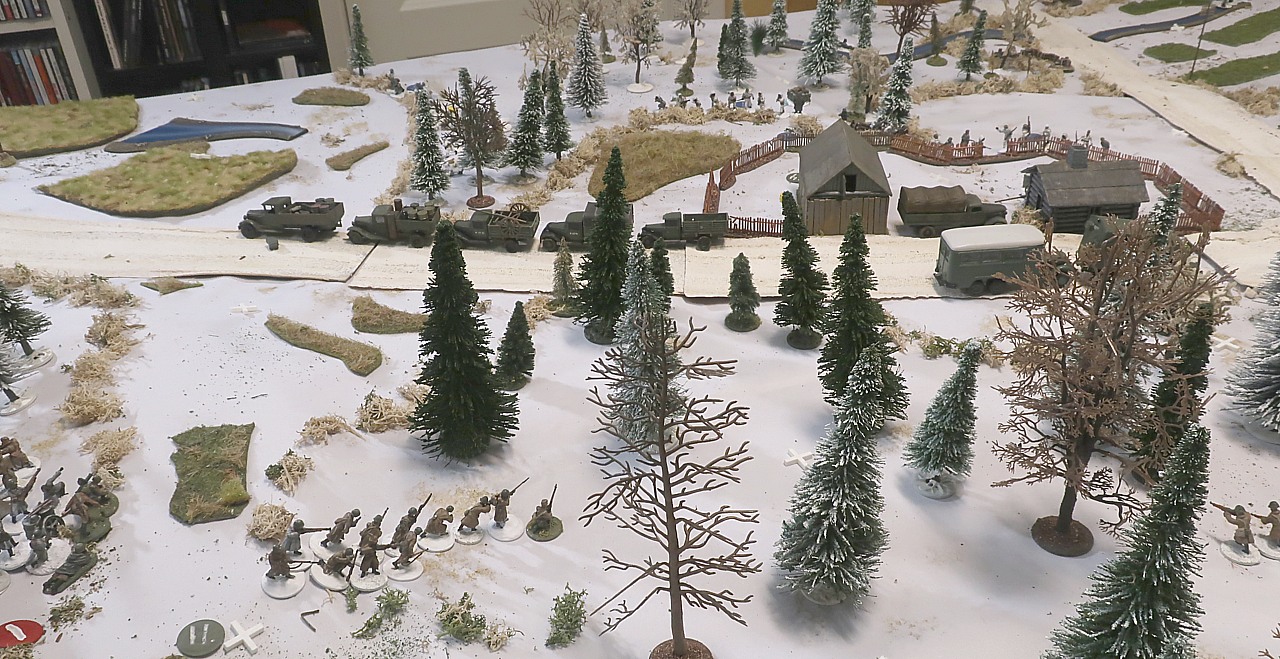
Located on the hill at the eastern end of the table, John's MMG platoon has fairly good visibility towards the Finnish positions despite the row of trucks... he now has three MMG sections deployed. Section number two should be able to hold its own against Mikko's rifle section, while John's sections one and three should be able to overpower the other Finnish forces with their considerable firepower...

At the southern side of the hill, MMG section #2 can just see a couple of men of Mikko's rifle section...
They fire at the two Finnish infantrymen they can see, but to no effect...
At this point in the game the Soviet platoons are still surprised and will continue to be so for at least another four phases, or until the end of the Turn.
John's platoon has a Force Morale of 10, while Janne's has FM 11. The Finns are also at FM 11. Mikko has a full CoC die.
The gunners on the northern slopes of the hill send long bursts of tracers at Jarkko's first section...
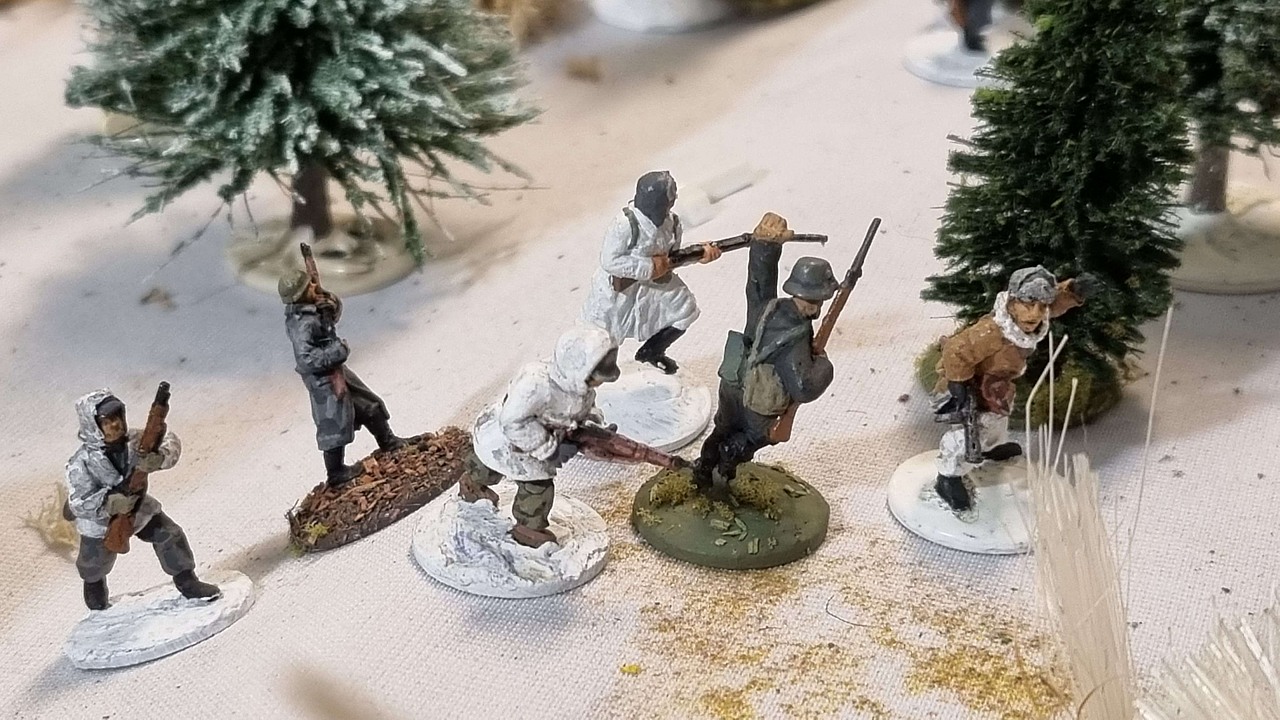
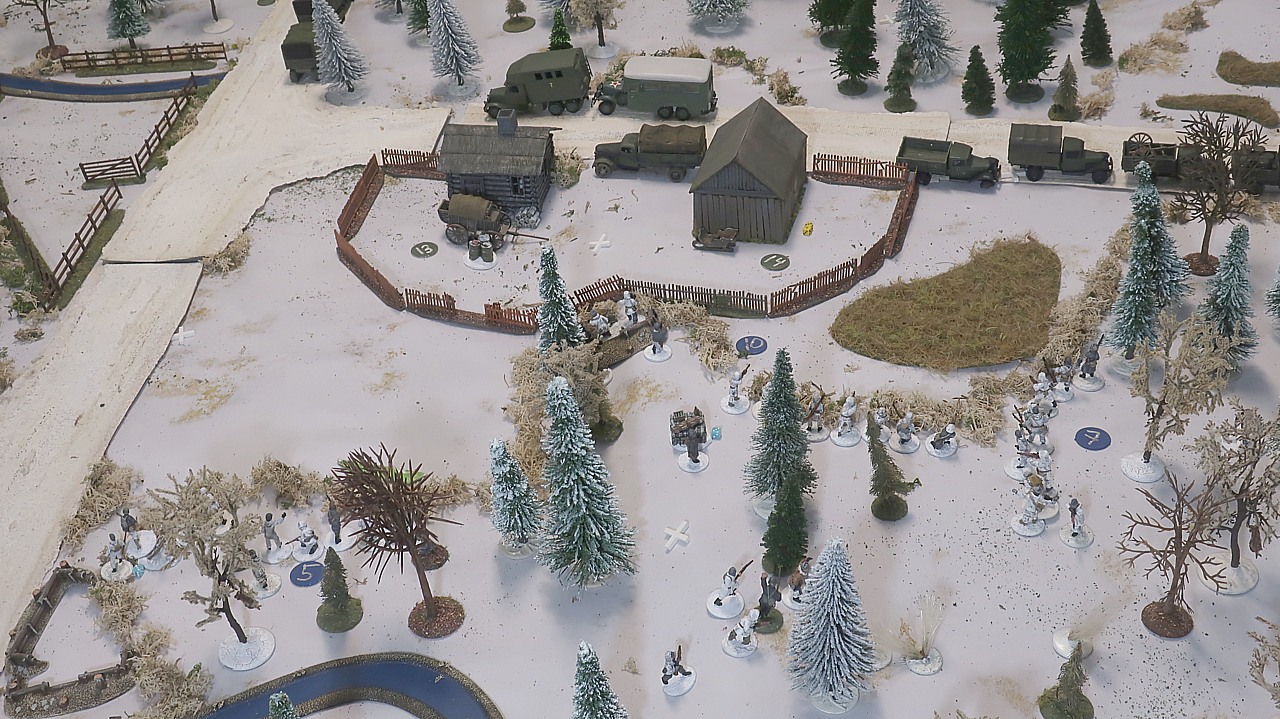
John deploys his infantry section #11. This is a support section. He has trouble fitting the men onto the table so that they do not block the line of sight of the machineguns...

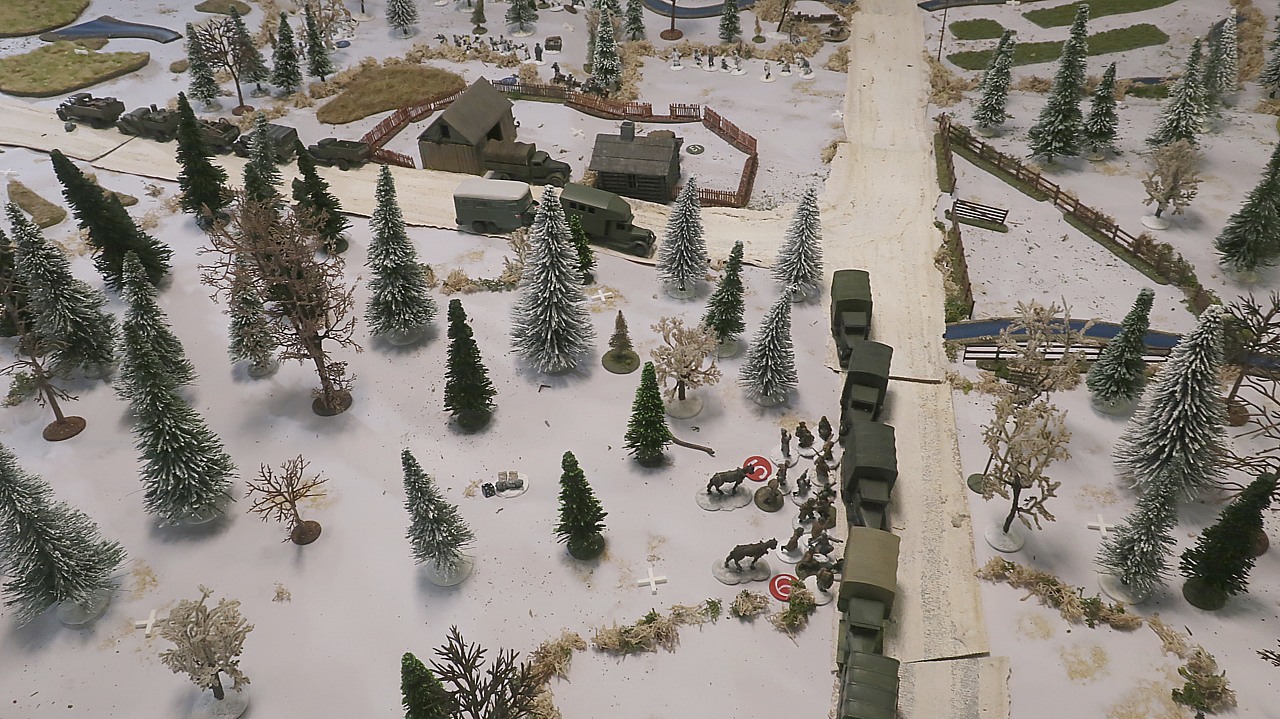
Closer to the farm, Janne's gunners are still behind the trucks, keeping an eye towards the west...
From here they can prevent Jarkko's second rifle section from flanking them.

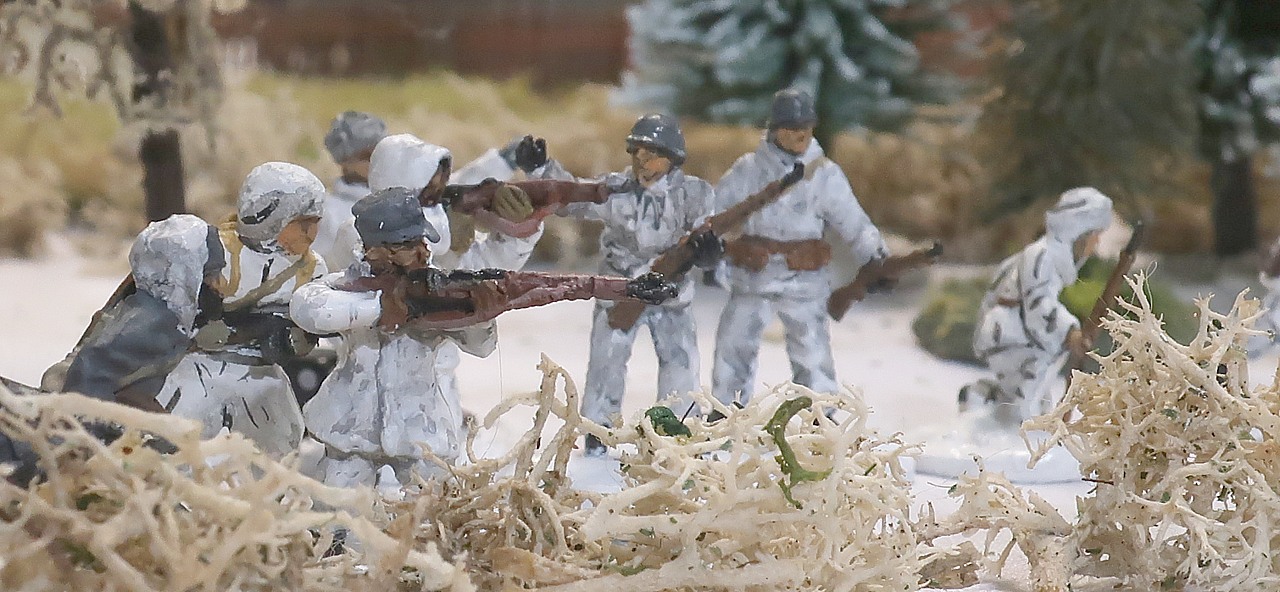
It is then the Finns' phase. Mikko's MMG peppers the hill with bullets and causes three points of shock on the Red Army MMG section there.
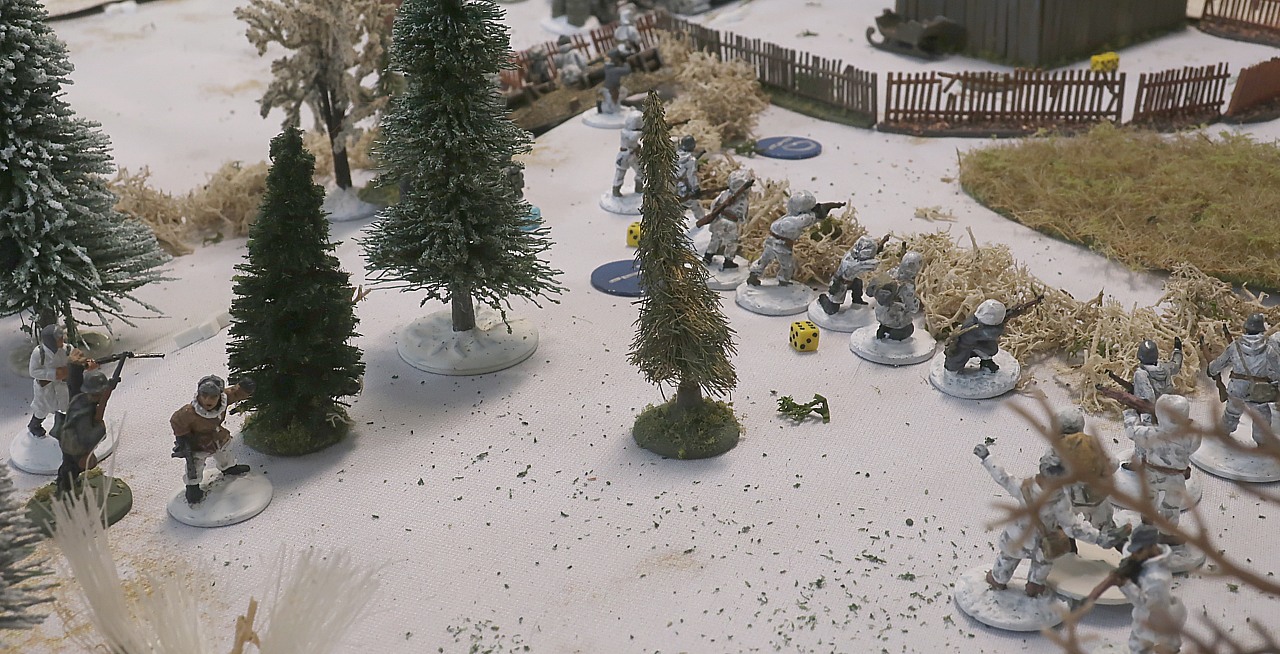
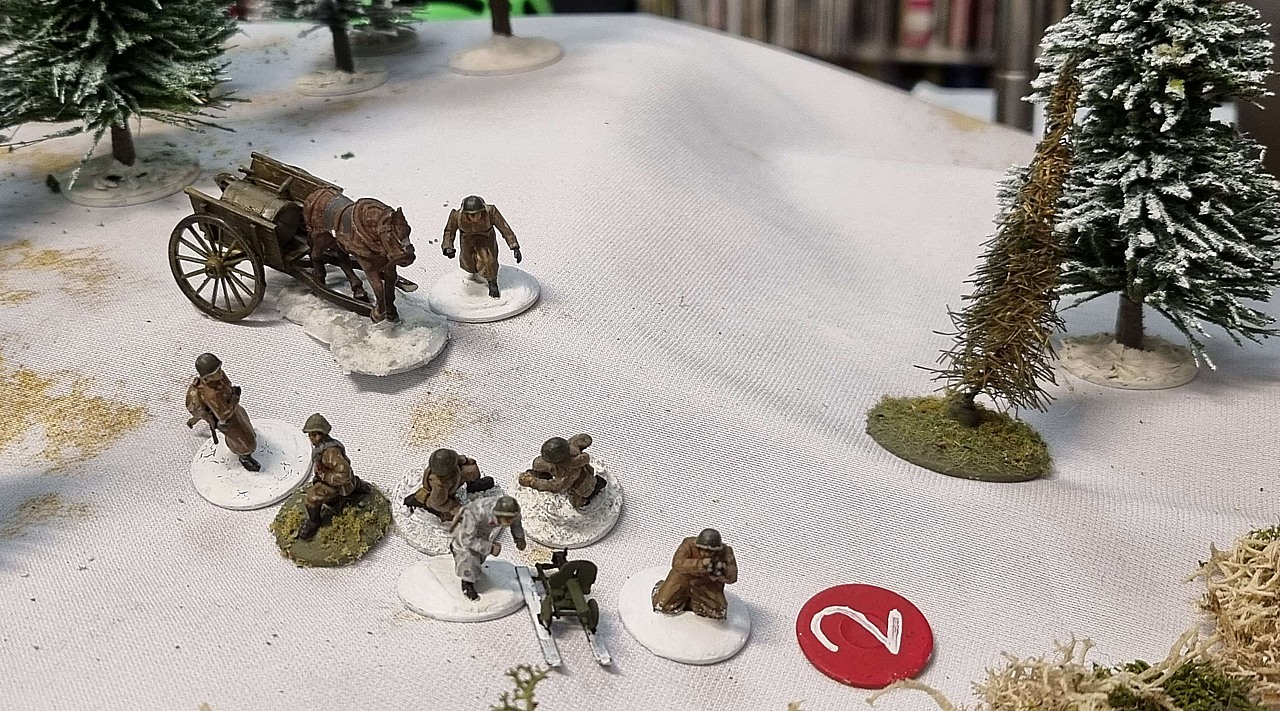
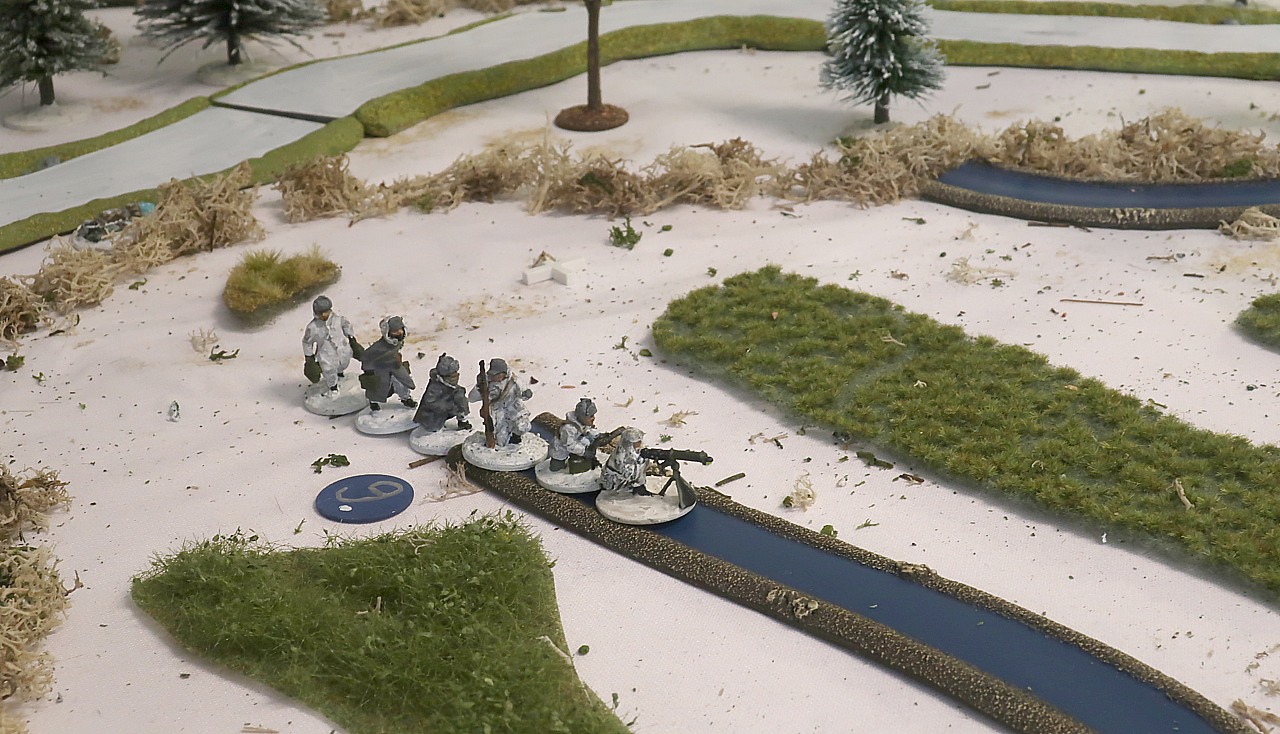
Mikko deploys an LMG section at the woods' edge...
They target John's MMG section #2...

Though a Finnish LMG section has only rather limited firepower (FP 9 in fact), they manage to inflict three shock on the machinegunners...
Mikko then moves his rifle section forward while shooting at half firepower...
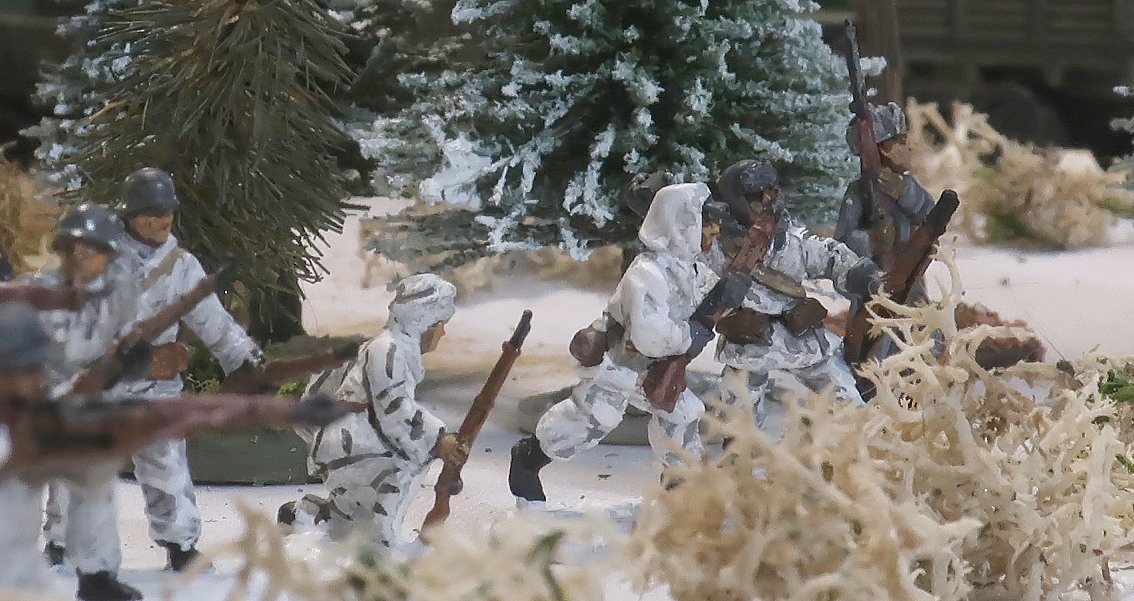
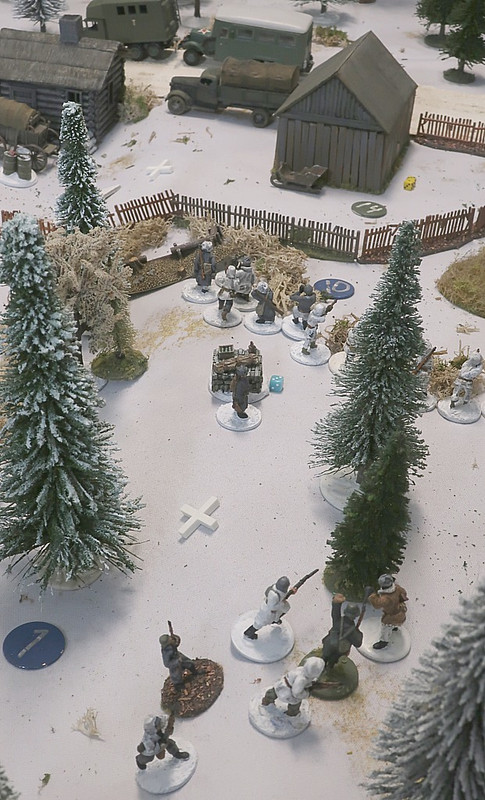
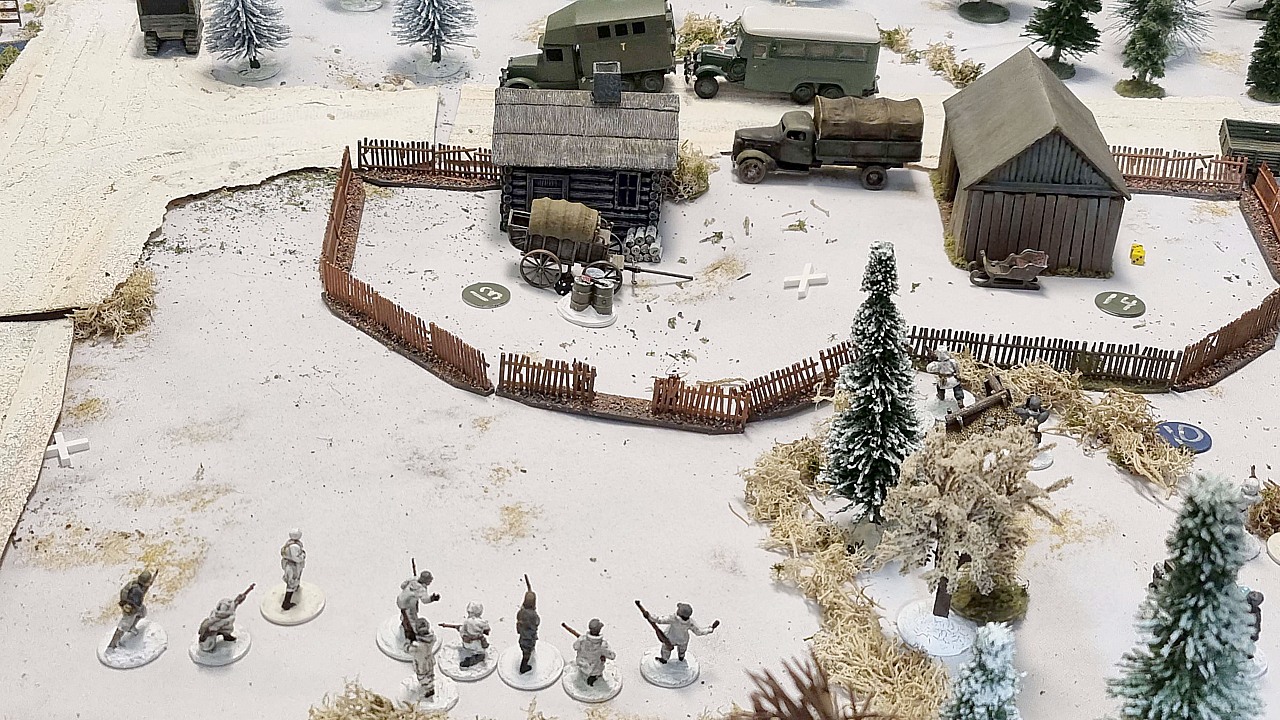
Meanwhile, at the farm, Mikko's men reach the fence and block the Janne's jump-off point there.
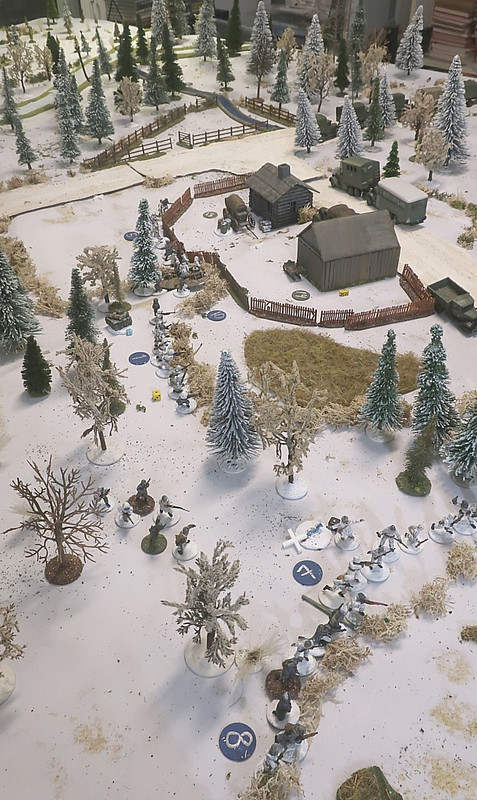
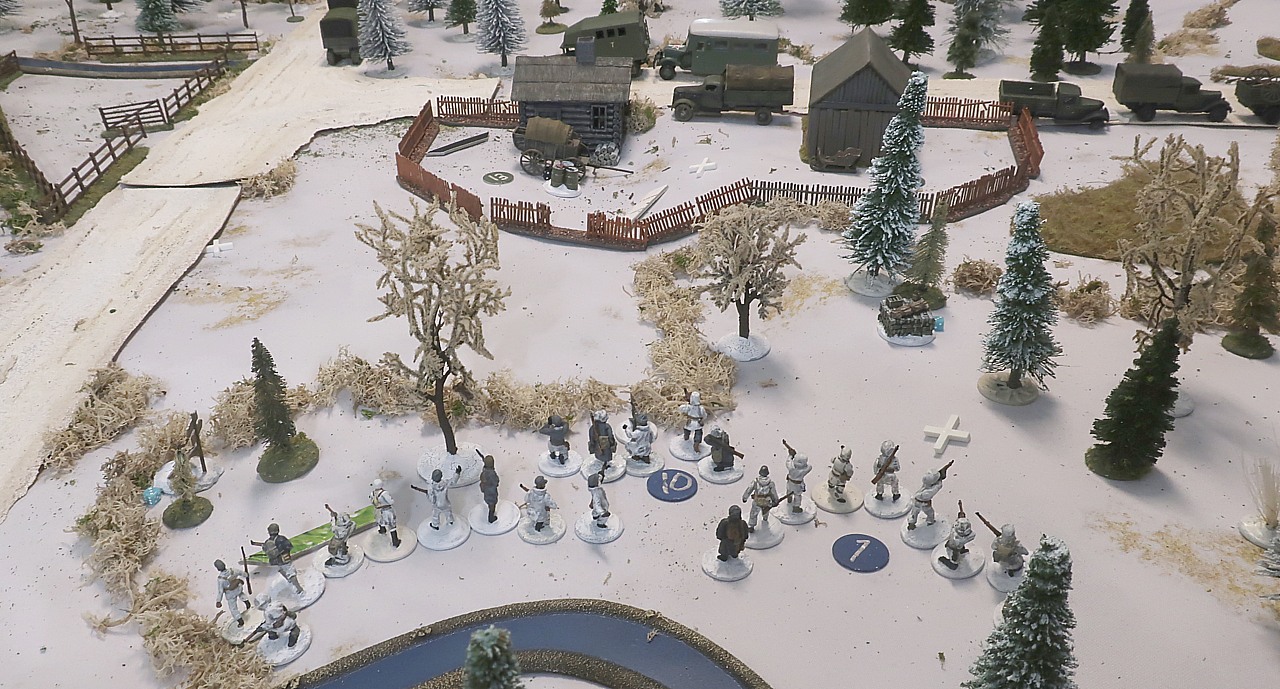
Jarkko moves Ltn Avela and his messengers towards Mikko's men...
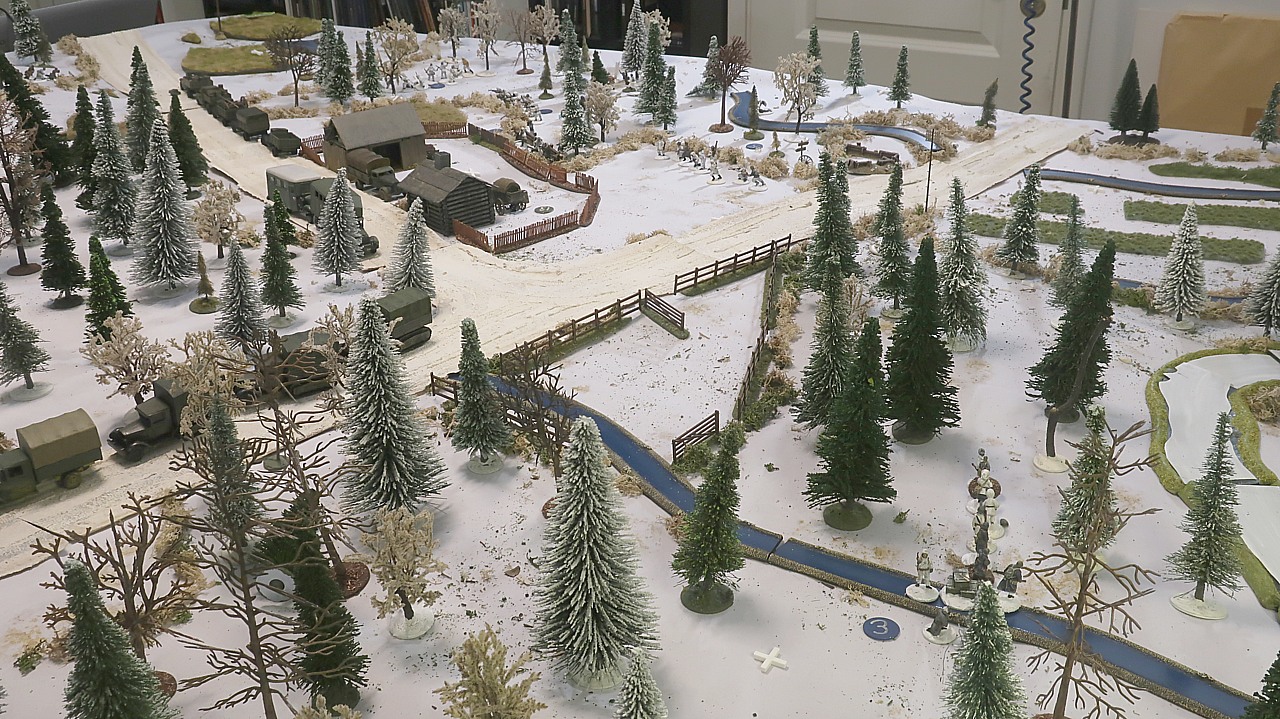
And in the west, he moves his MMG team – now unable to support Mikko's assault on the farm – onto the marsh, where they intend to take cover in one of the many ditches there...
...and in the woods he continues his second rifle section's flanking maneuver...
Here their route keeps them well away from Janne's two machineguns, who are just waiting for them behind the parked Divisional trucks.
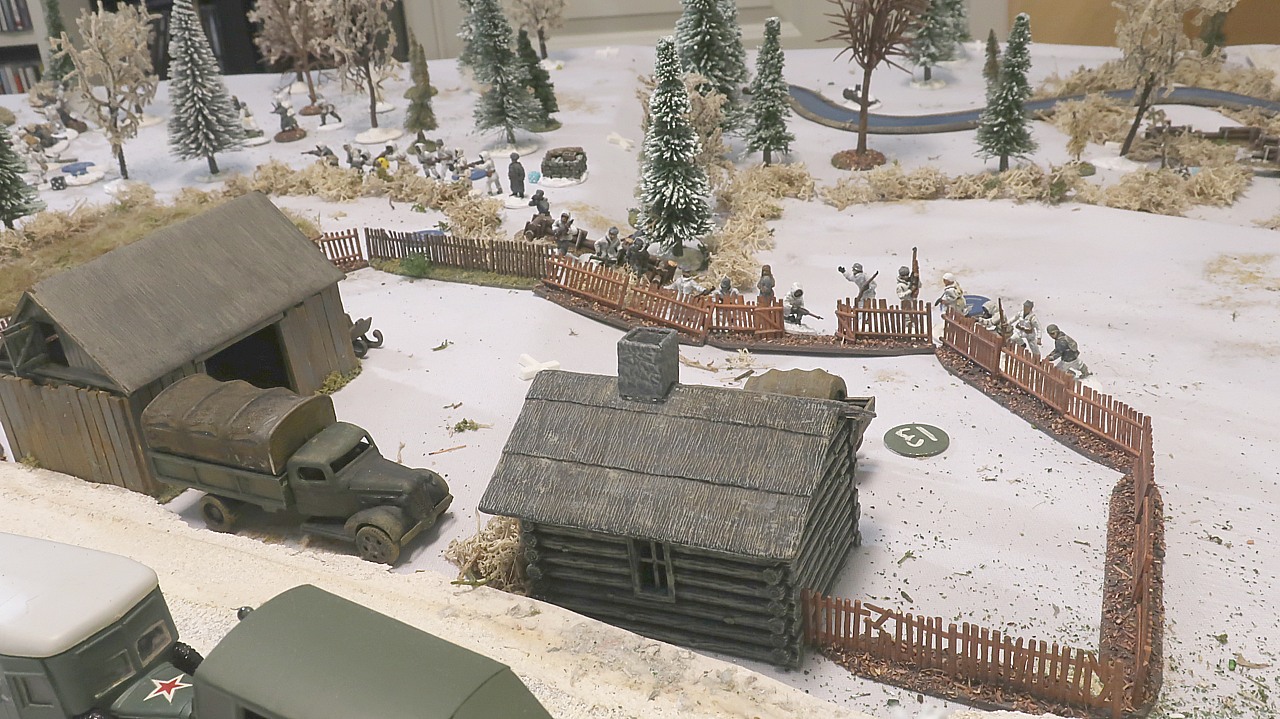
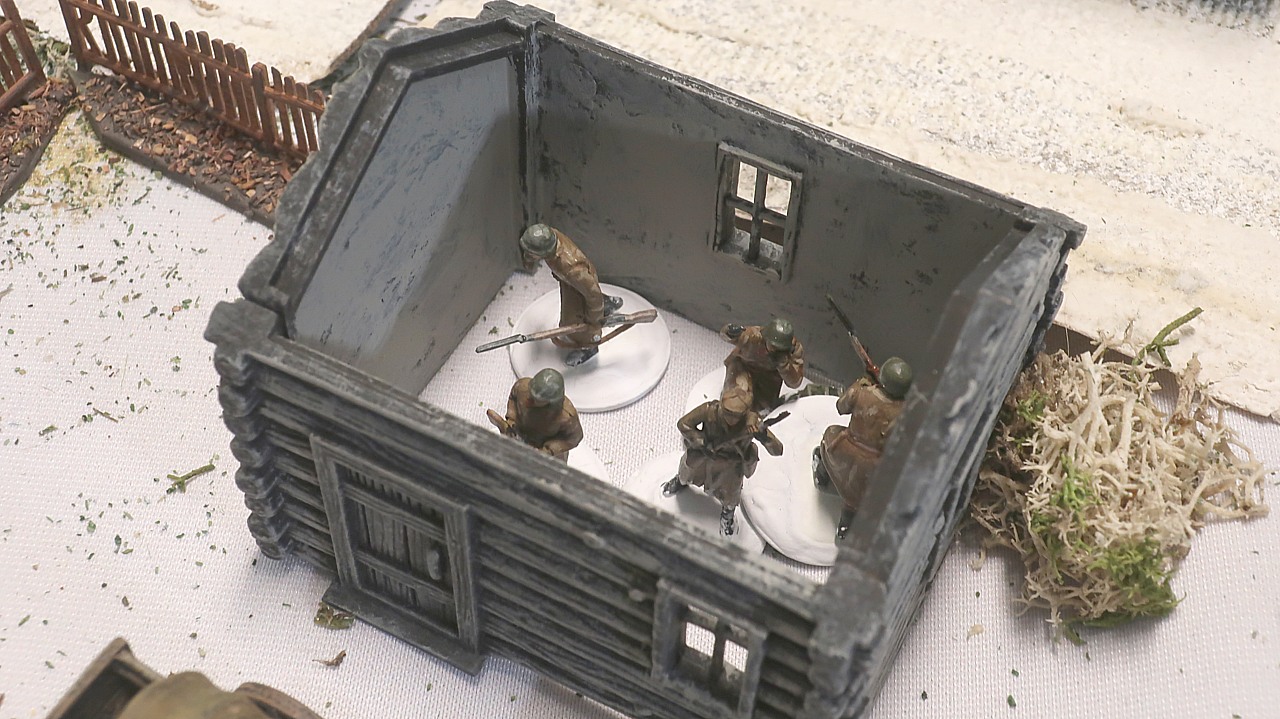
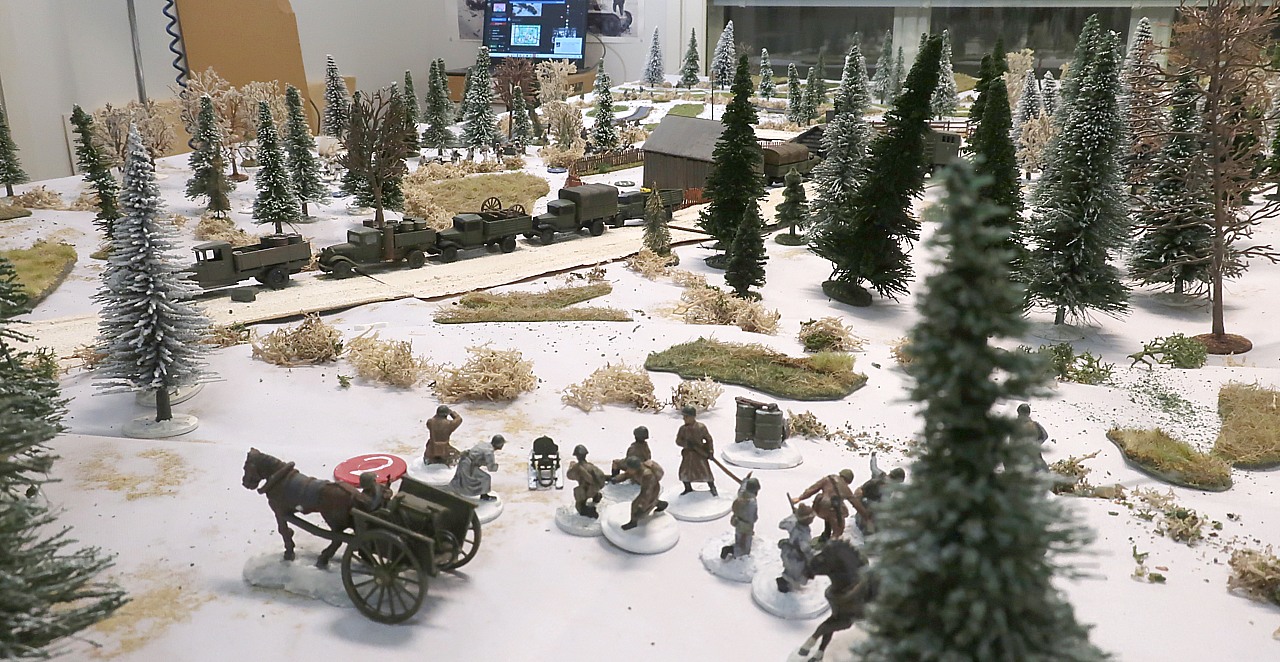
In the farm house, one of the telephone men shouts!
The Tsuhna are here! They're coming! Take cover!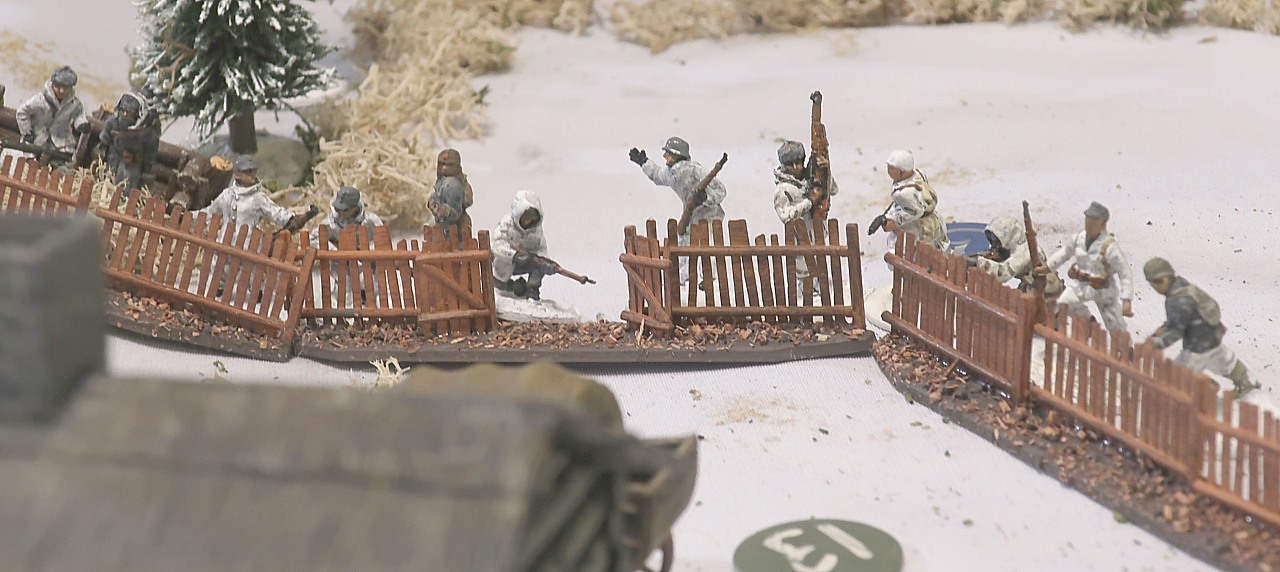
Meanwhile, in the east, John needs to deploy still more troops... but as his men are Green and have a 4” deploy zone, there is literally no room to site yet one more section so that they could fire at the Finns without blocking the two MMGs.
The deploying section is the MMG Company's Command Group, led by the Company's deputy commander. The Group consists of a company elder (junior leader) plus three scouts / forward observers (responsible for reconnaissance and directing indirect machinegun fire), and five signals telephone men.
John then moves the Boys from Niva closer to the edge of the woods...
John moves his support section, rifle section #11 deeper into the woods...

Despite the intervening trucks, John's MMGs are able to target Mikko's platoon...


