I’ve spent a fair part of this year finishing my British and German infantry forces for “Through the Mud and the Blood”. Until about a fortnight ago, however, I had done nothing regarding building up a force from the Royal Tank Corps despite having both the models and figures buried deep in the “Projects Pending” cupboard for almost a year.
About two weeks ago I somehow remembered this, and felt that September was a good time to take this part of my Great War project in hand. I also thought it might be fun to post the work-in-progress on LAF. I’ve not done a huge amount of AFV modelling before, and thought you guys can tell me where I’m going wrong.

So, here’s where I have got to so far with modelling a section of four tanks from “B” Battalion of the Royal Tank Corps as they might have appeared during the Third Battle of Ypres in the second half of 1917.
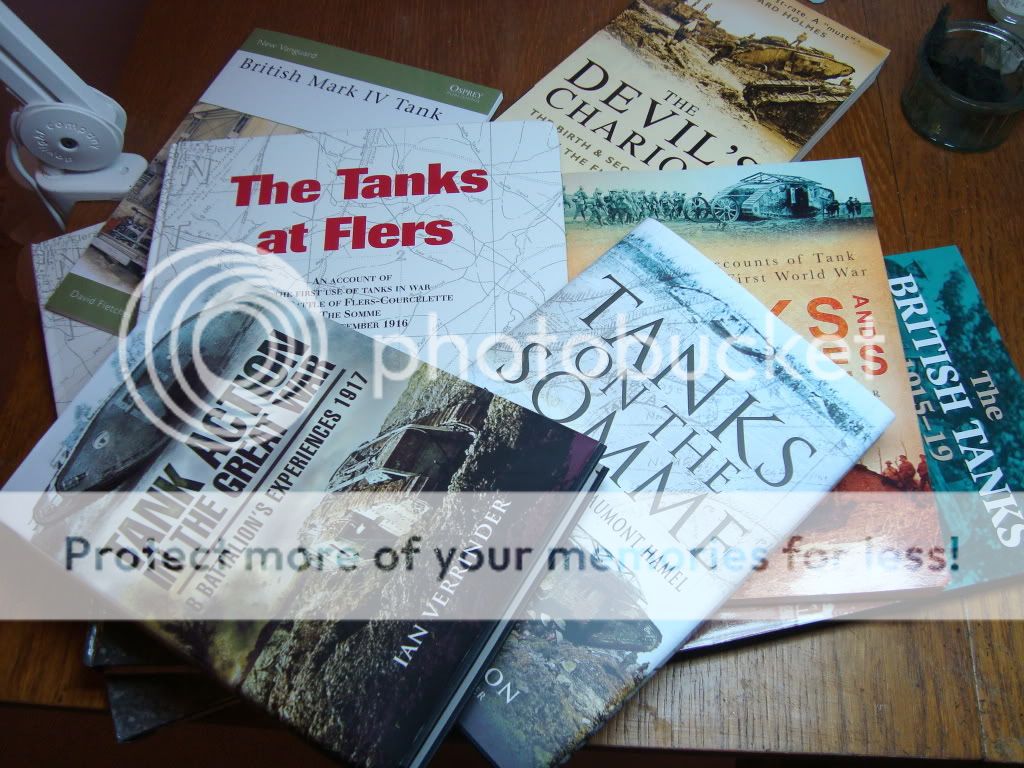
Why four tanks, why “B” Battalion and why Passchendaele? Well, I chose this unit because of the really excellent recent account of “B” Battalion in Ian Verrinder’s book “Tank Action in the Great War” (Pen & Sword, 2009). I can thoroughly recommend the book as a well-written and interesting read, with new photographs of the tanks and a very moving piece of Ian’s family history wrapped into the text. I chose the Third Battle of Ypres, Passchendaele, simply because it gave me the chance to field a section of four tanks (three male and one female) section instead of a section of three tanks which seems to have been used a little later in November 1917 at Cambrai.
I thought I would start with a couple of shots of the inspiration for the project. First, the historical books which I’ve been reading over the past year on the Royal tank Corps....
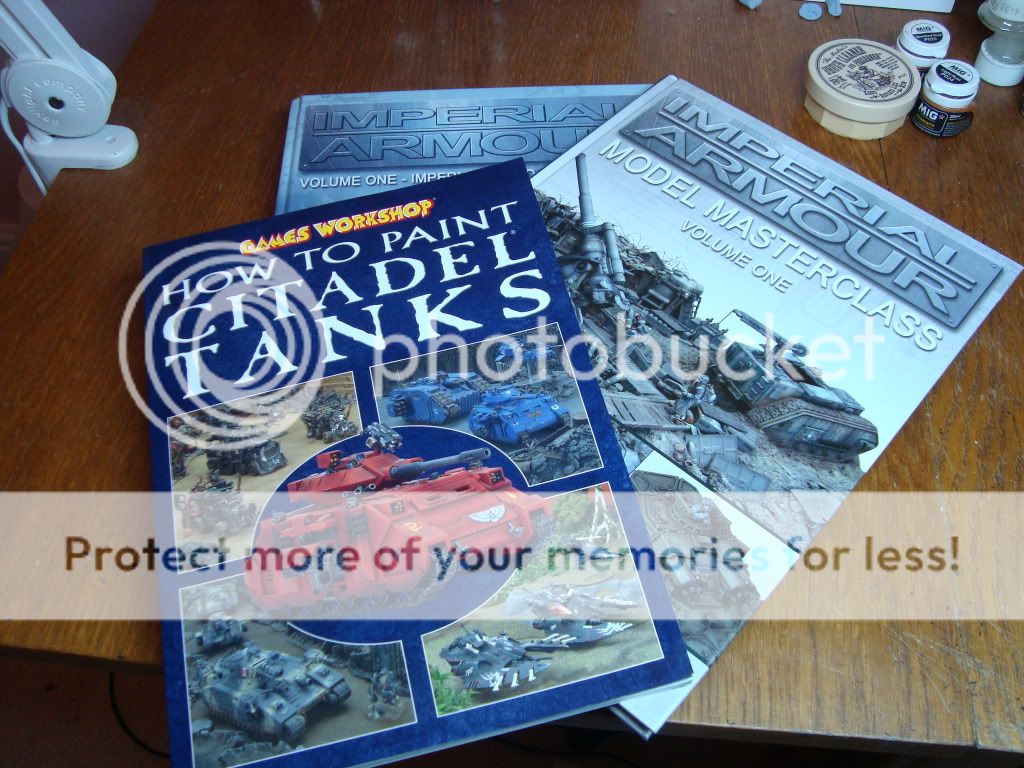
....and then some more modern inspiration for the tank modelling, slightly betraying my other interests !! .....
There were eight crewmen in each of the Mark IV tanks. While I don’t envisage all 32 crewmen being out on the table at the same time (heaven forbid all the tanks “ditch” at once), I wanted to make sure that I had sufficient figures to cover at least a couple of the tanks breaking down and the crews leaving the tanks to return to their own lines, or forming ad-hoc Lewis gun parties. The figures are Great War Miniatures, with Litko bases (with hexagonal bases denoting "Big Men" in the "Through the Mud and the Blood" rules). As a lot of people have posted, the Great War Miniatures figures to need a little time to clean and prepare, but I feel they repay the attention. You’ll also spot I’ve added a company commander and a battalion officer, as well as a motorcycle despatch rider. Like the Prince Henry Vauxhall staff car which comes later in this post, they are really for “fluff”, but there may be a scenario I can use them in somewhere. They’re lovely figures, anyway. Here’s the shots of the undercoated figures (and yes, that is a stray german anti-tank rifleman in the background).....
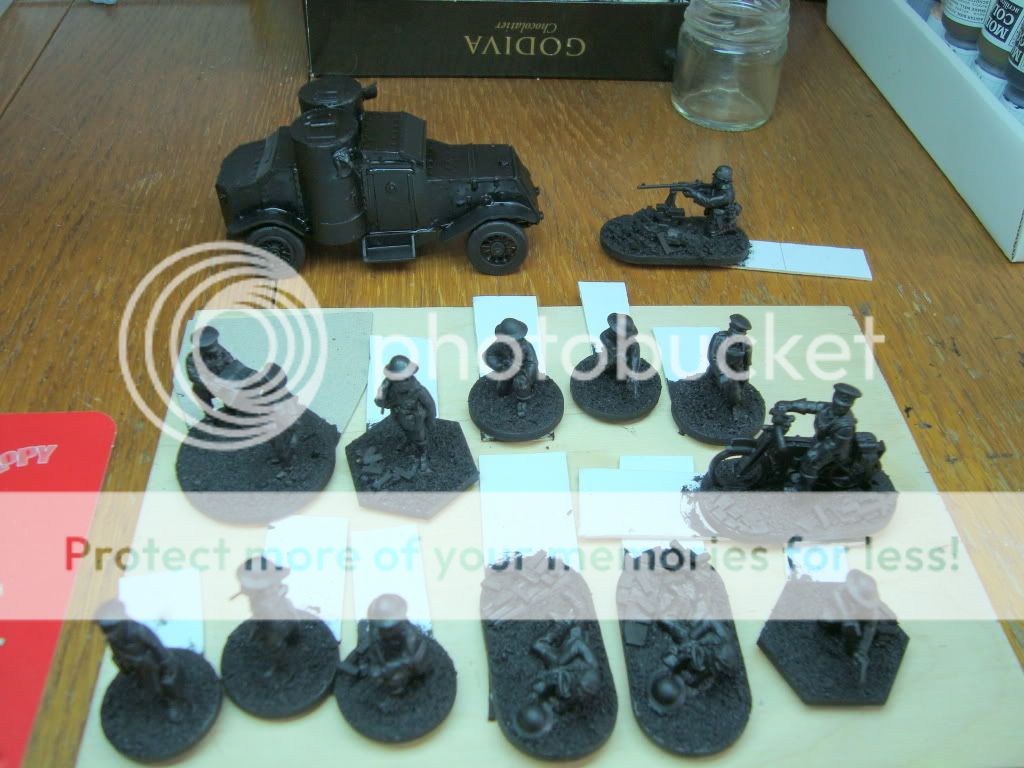
.......and then with their faces done and base coats of some uniforms. I wanted to paint a mixture of overalls and uniforms on the tank crew, both being evident in quite a few photos in the books. Christy Campbell's "Band of Brigands", another good book on the Royal Tank Corps, makes reference to the overalls being black to hide the oil smears......

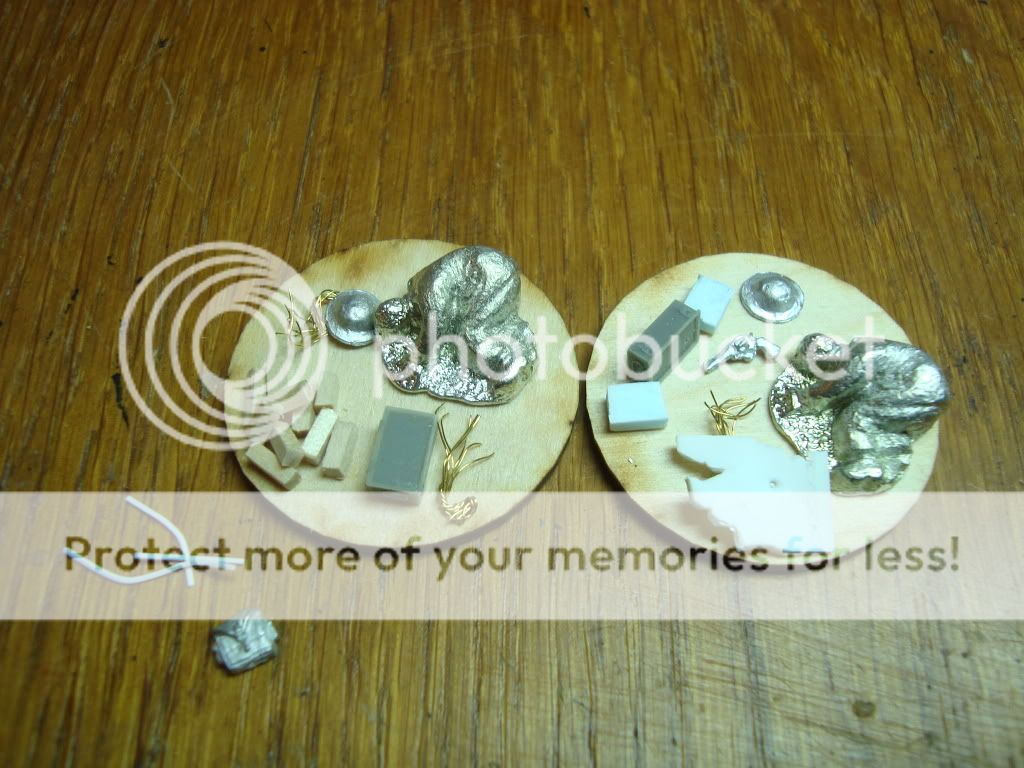
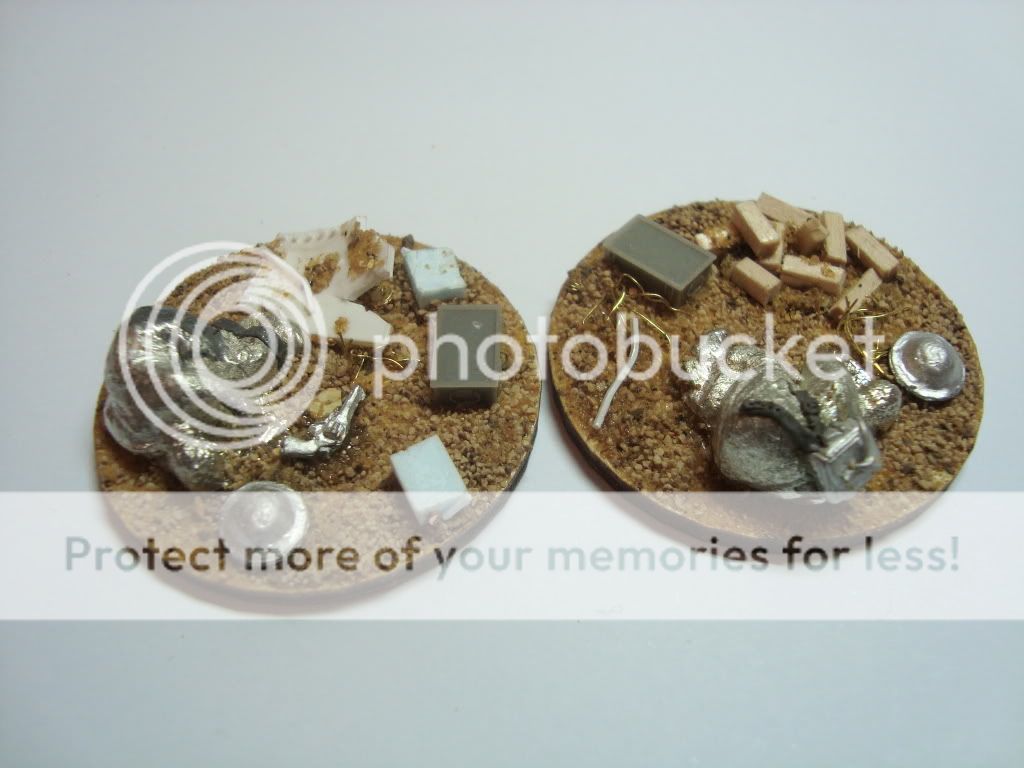
I also wanted to add a couple of casualty bases to place besides the tank crews to signify “shock” being inflicted on the crews if they are unfortunate enough to be outside the tanks. There are some very disturbing images of dead tank crews in contemporary photographs, particularly of badly burnt crewmen. I would never want to model such grim material, but didn’t want to leave out a reminder of the horrific casualties the early tank crews suffered. So, here’s some of Steve’s generic casualty figures, with some suitably “tank focused” bits of battlefield debris manufactured from plasticard, plastic trip, bricks (more matchsticks cut up), picture wire, Styrofoam (petrol cans) and a selection of resin and metal bits (revolver, ammunition box).
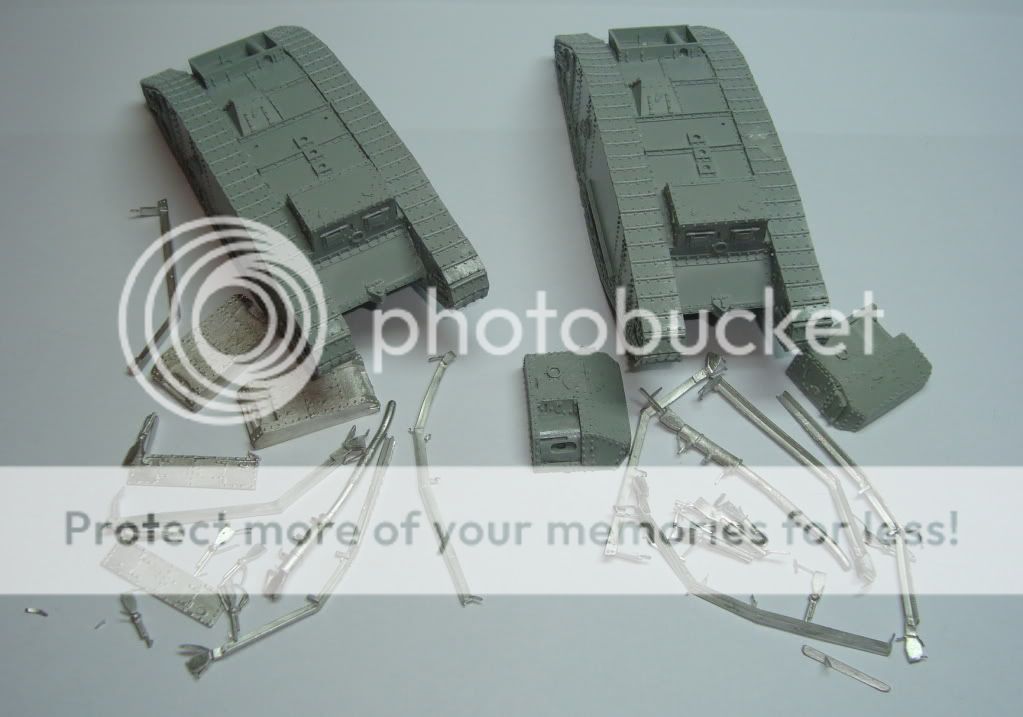
Now on to the four tanks themselves, which you can see I have not even started. I've put two in the picture, a Mark IV female on the left and a male Mark IV on the right. They’re both resin models from Great War Miniatures, being well detailed and finely cast.
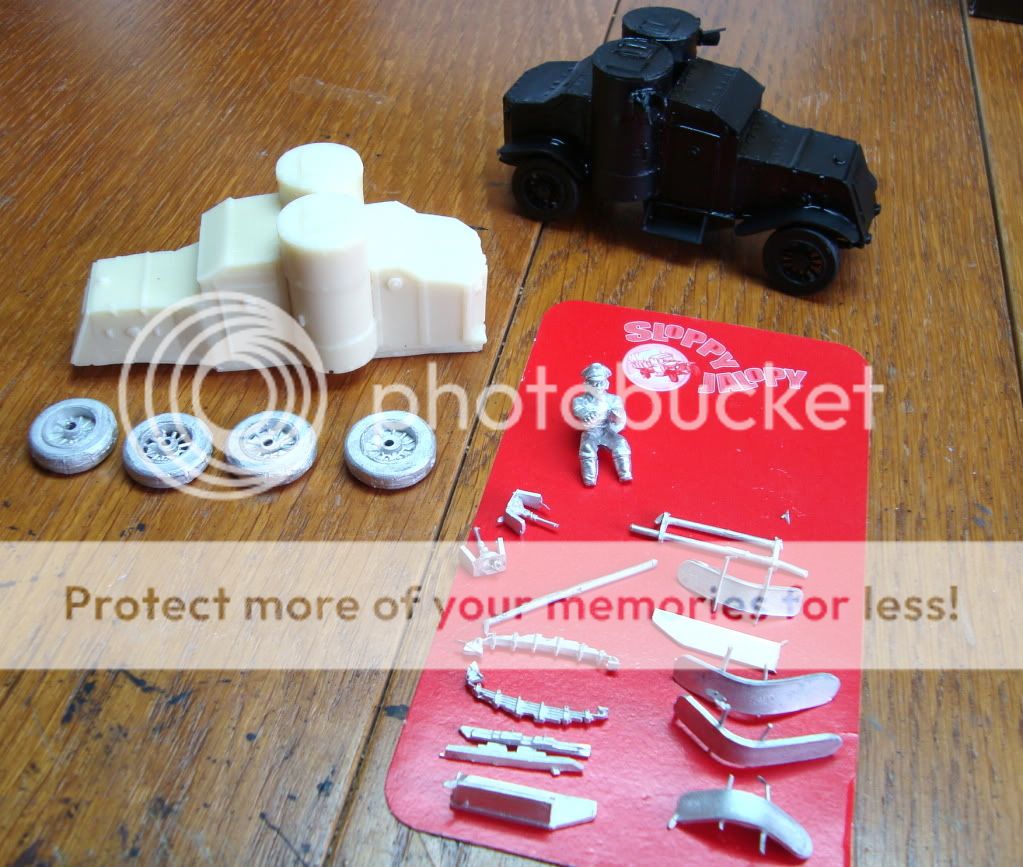
I also wanted to paint a couple of Austin armoured cars at the same time, so I have added these to the thread. Both are from Sloppy Jalopy. I managed to assemble both in about a couple of hours, the second one being quicker than the first.
I found the suspension on the Austins a little tricky at first to glue on, having to balance the model carefully upside down.
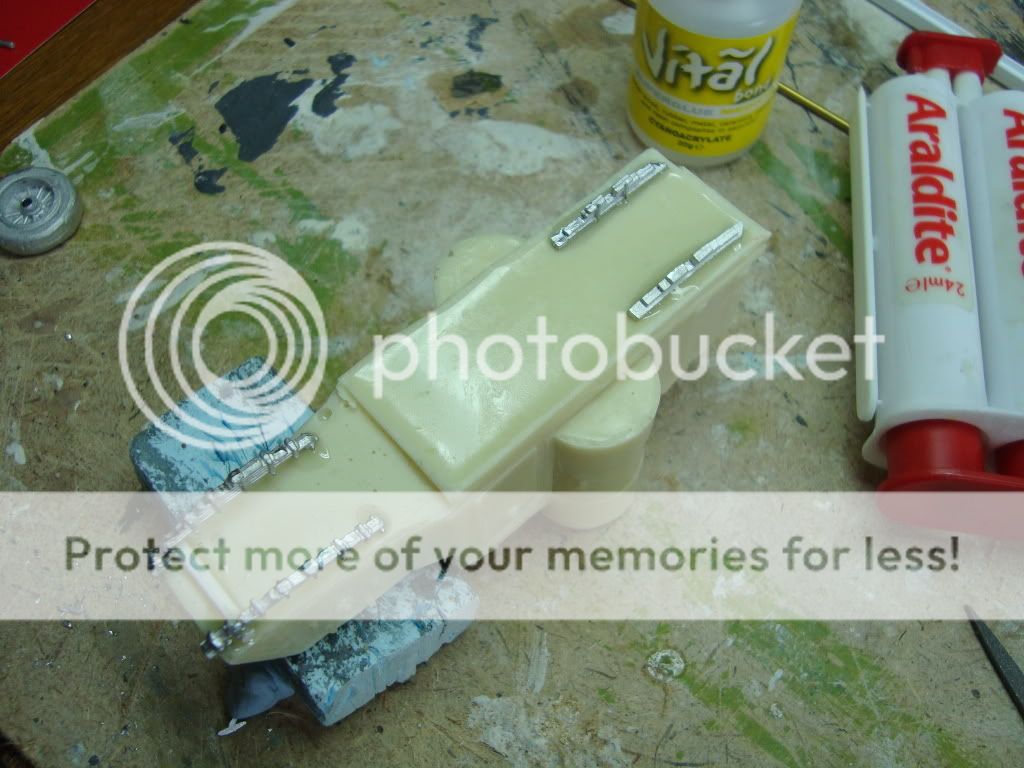
Once the model is stable, however, the suspension, the axle and the wheels glue on pretty easily.

I tend to use an epoxy resin for modelling resin/metal kits. Perhaps this is force of habit, but it also seems to me to give a better, slightly less brittle join than superglue. I’d be interested if you also find that, or indeed whether you abandoned epoxy resin in the 1980s.
The door-shelf on the Austin glues on quite well, as does the plate below the door on the other side of the car. However, I wanted to ensure that the shelf and plat stayed in place and I supported both with a wadge of green-stuff as well as gluing both the metal shelf and plate to the resin car.


All in all, I thought that the Sloppy Jalopy Austin armoured car kit was great value for money and went together pretty well. I also got great service from Richard at Sloppy Jalopy, and I think that always sets you in a good frame of mind to make a model.
I also added a 1914 Prince Henry Vauxhall to the force, this really being a little “fluff” for the back rank of the wargames table. My idea was to possibly use this in a scenario to signify a company headquarters, especially with the two battalion officers and the motorcycle despatch rider. The model was “Y-02-3” in the Matchbox Models of Yesteryear range, picked up on Ebay.

The bases of the cars are all marine plywood, and then textured using fine gravel and cardboard. The random bricks dotted around all the bases are cut matchsticks. I like the idea of a more “industrial” feel to my Great War terrain, and have been adding a few ruined factories and commercial buildings over the past few months for a contrast to the more open terrain boards I built last year. I painted the bases completely before pinning and gluing the primed and undercoated vehicles to the bases.
Well, that’s the work-in-progress thread started. I’ll post again, hopefully this weekend once I’ve moved things along a little further.


