We got to play the third map in the Bazooka Town campaign yesterday at Jamie’s.
I’m two nil down, so the stakes are high.
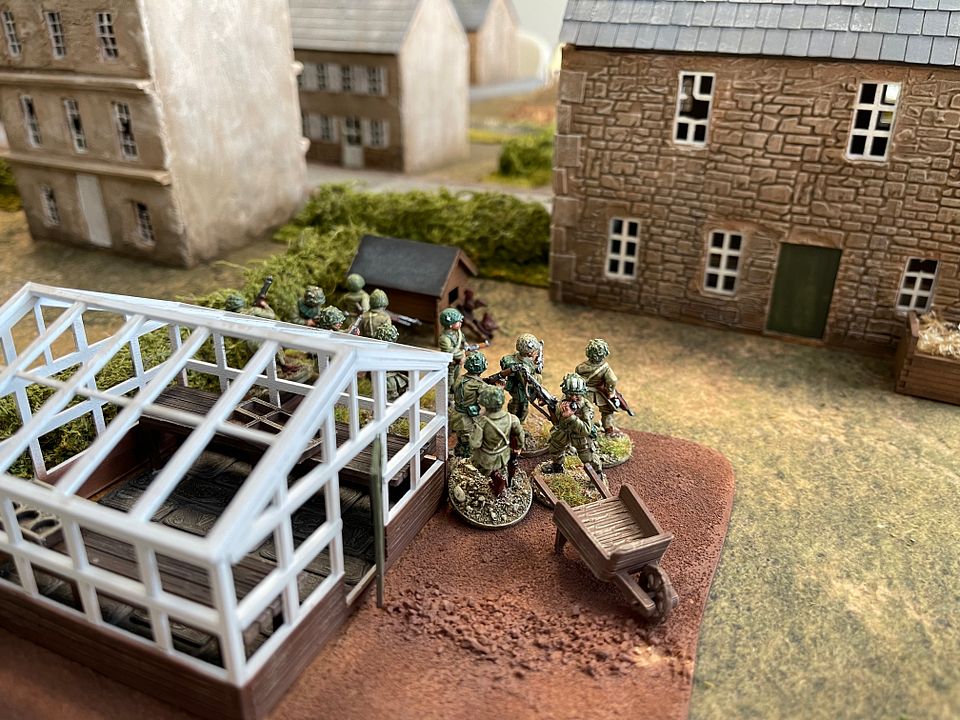
Jamie has been working on dressing his mdf houses and the results are very slick indeed. A real pleasure to sit down to a game when they look this good!
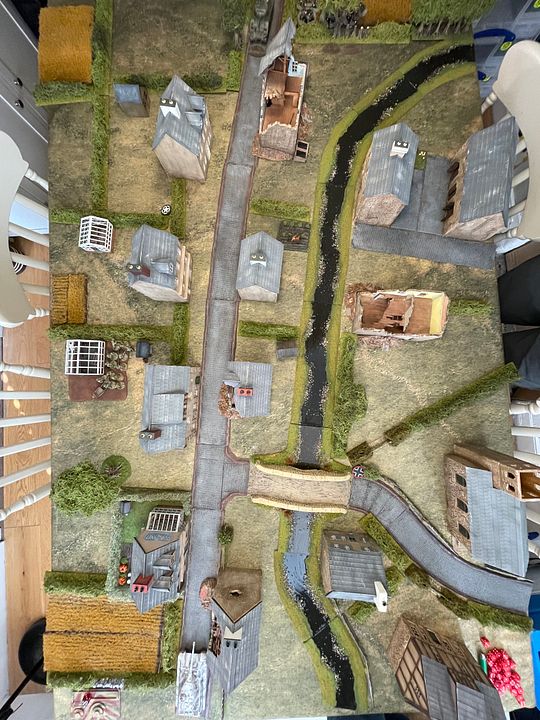
Anyway, map three, take and hold the church or force the opposition from the table.
Rolling for starting morale, I roll a pretty pathetic “one” and to cap it off, Jamie rolls a six to determine how many pre moves he gets in the patrol phase, resulting in four extra moves. Not a great start!
The net result being my jump off points are all crowded into the church corner of the table…not ideal tbh.
Jamie then starts deploying a fire base at the top of th3 table, with a mortar team and a pair of tripod .30 cal MMG’s with jnr leader. He also then deploys a Sherman tank sitting in an overwatch position at the head of the road.
In response, I only manage to deploy a sniper who takes up position in a house by the bridge.
He then gets a section, .50 cal and senior leader deployed midway down the left hand edge as you see the table……aggressively pushing on the church…..safe in the knowledge his pre-game barrage will stop me effectively deploying enough to blunt him.
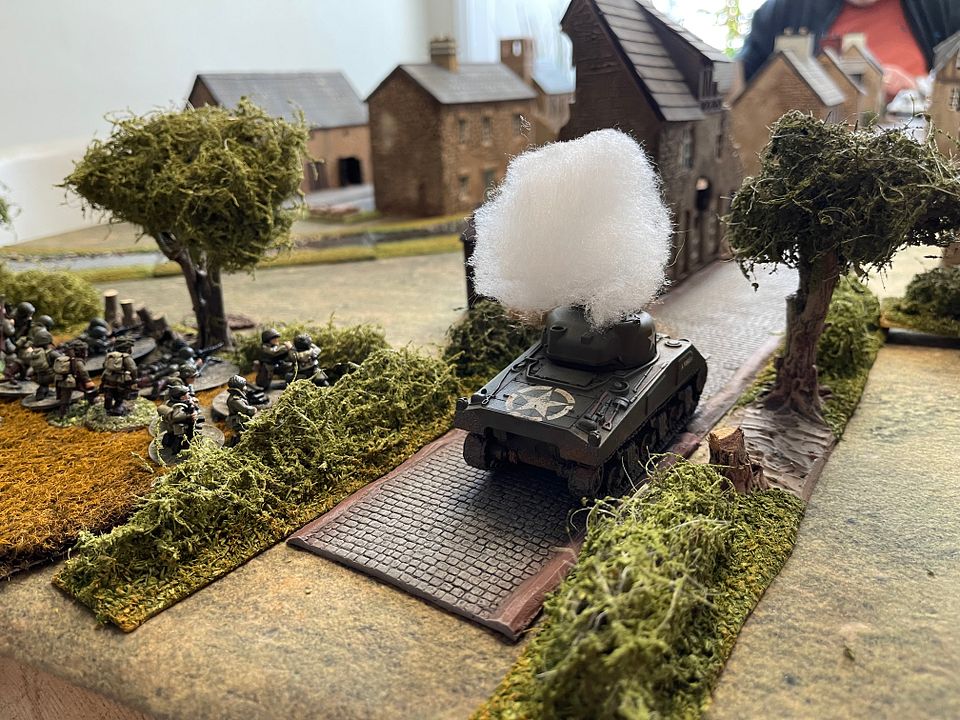
Finally, I manage to deploy my first …….tank!
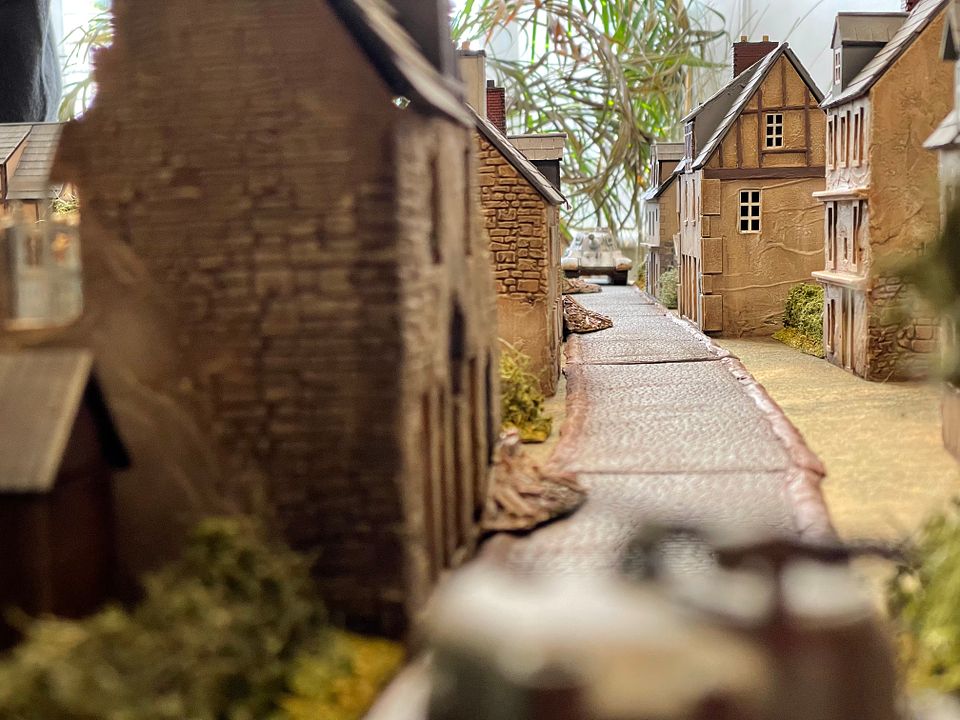
Yes, I had decided upon seeing the open firing channels running the length of the road and following the course of the river, to play my wild card!
I think this took Jamie a little by surprise….the congested cluster of buildings maybe not being ideal for tanks, with the next map really being the more open. As such he hadn’t taken much at all to deal with the massive armour values that a pair of Tiger Twos carry!
I really need a win here to give myself a fighting chance of denying him the campaign, so I had decided to church a spanner into the works…..hopefully.
Anyway, announcing its arrival, the Tiger with one shot, knocks out the Sherman…..first blood and a point off the American morale.