*
Welcome, Guest. Please login or register.
April 28, 2024, 03:03:40 PM

Login with username, password and session length

Donate

We Appreciate Your Support

Members
Stats
  • Total Posts: 1690985
  • Total Topics: 118362
  • Online Today: 742
  • Online Ever: 2235
  • (October 29, 2023, 01:32:45 AM)
Users Online

Recent

Author Topic: Mega Block Attack Action Warship Conversion to 28mm / Heroscape - Updated  (Read 18450 times)

Offline Rocktroll

  • Assistant
  • Posts: 32
I bought 14....

Fiance is going to kill me......

Do you have any idea how many cannons thats going to be??? 

:) 

My birthday was last month and I asked my family just to buy me some ships off ebay. I am not allowed to buy anything else other than gas and food for the next 3 months.

I am trying to find where you found that undead skeleton wheel from. Going have to go back and re-read the threads.

Offline Sinewgrab

  • Scatterbrained Genius
  • Posts: 2907
  • All to all, by my mustard!
http://moonlightmini.com/Moonlight28s.htm

About 2/3rds of the way down the page, under "Ship's Wheel".

I'm a helper.  ;)
"There is no known cure for the wargaming virus, only treatments with ever increasing doses of metal."

Offline Rocktroll

  • Assistant
  • Posts: 32
hmm Im really tempted they only have one left, and its $9 ( $3 + $6 shipping)

Cant find anything else like it online so might buy it.

Offline Rocktroll

  • Assistant
  • Posts: 32
Next the Longship Figurehead-
 
Durring a trade with online recently I aquired a ton of mega bloks dragons


From all of them this was the one I liked best, but I didnt want to ruin the dragon by leaving it headless so I decided to make a copy using the Aluminite plastic casting kit from Auggies online gaming store ( $30 the kit )


Took me 2 tries with the instant mold, the first cast came out hollow, also while its still white I cant see the imperfections so I sprayed it brown and then fixed what was missing with greenstuff.


I carved out the front post a little bit then fixed the head in place with pins ( chopped up paperclips) and also fixed the upper jaw to the lower jaw to give it stability)


Once the head was fixed in place, I filled in the gaps with greenstuff and sculped it to look like scales to try and make it a little more seamless. I plan on painting it with shades of blue in the same way the toy was painted as it looked cool as it was.


Any one have suggestions for this viking ship? I was thinking Jandar's Spear or Odins spear, or the norse word for Spear but it sounded really hard to say.
 
Any suggestions?

Offline Rocktroll

  • Assistant
  • Posts: 32
I recently ordered some decals for the shields, I think its Flagship games, they look amazing and are already weathered and stained. Easy to use and very durable. You need to base the shields white first for the colors to stand out. Although they where worth every penny ( british pound?) They where expensive.
 
I paid 11 pounds plus shipping for a total of about $19 for these decals. Next time I will paint the shields some simple designs instead, the decals alone cost the same as the original ship cost me. Wasn't a smart purchase. They are pretty though.. I keep telling my self that...


Offline Rocktroll

  • Assistant
  • Posts: 32

Last night I spent around 3 hours tying knots. Good thing I still remembed what I learned in camping merrit badge! :)

First thing was to find a new thread to replace the twine as a friend recommended over at heroscapers.com

Found this one at Walmart and decided to give it a shot.


Not crazy about the color but looked a lot more detailed and defined than the twine.


I liked the twine's color more.

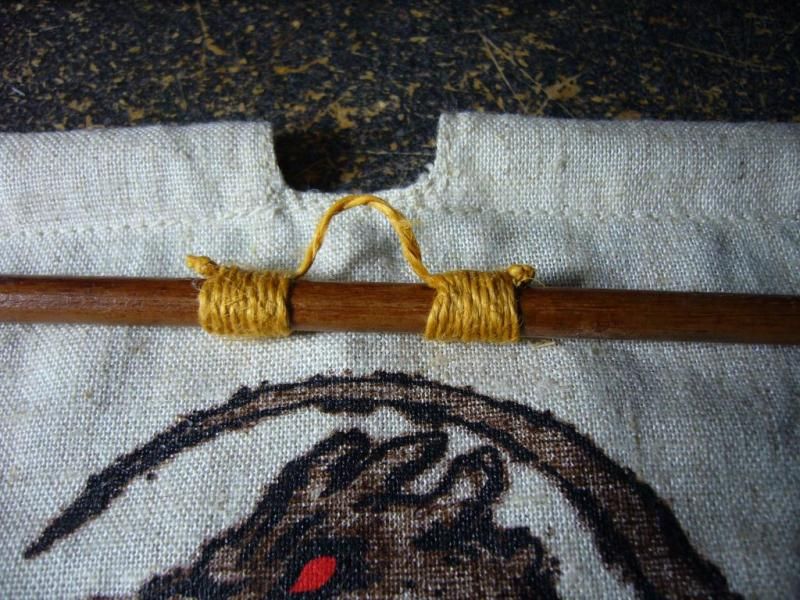
I tried not to use glue as it would change the color of the thread, plus since I was doing rigging I wanted to have some fun and use as many knots as I could remember to give it a nice detailed effect. I cant remember the name of this knot but its used to keep ropes from fraying in the end. I used it on the main mast several times.


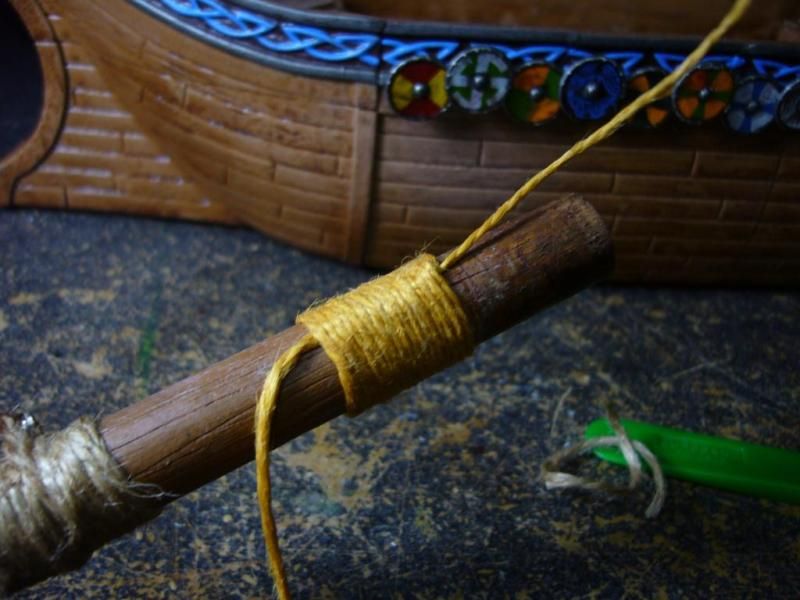
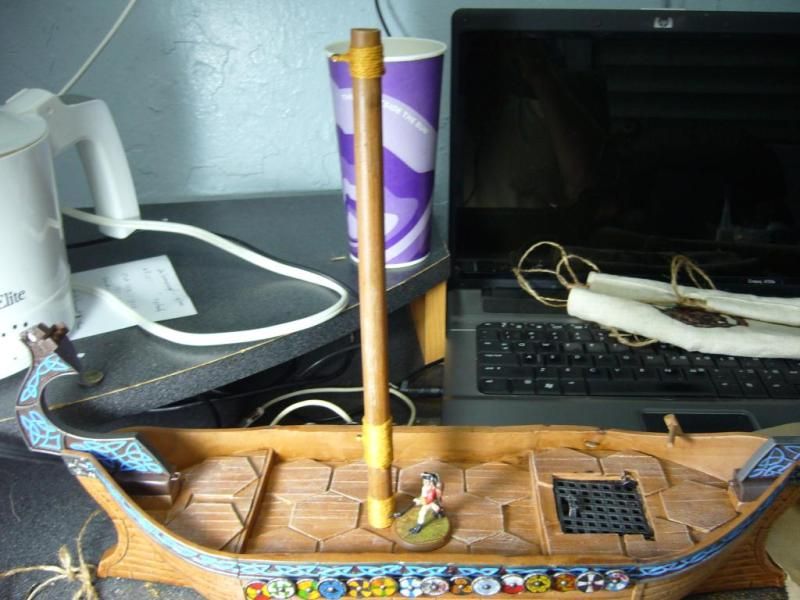
I was able to give this dowel a nice wooden grain by rubbing a hack saw blade up and down it a few times trying to get deep gauges, then used sandpaper to get rid of the little strips of wood that stood out. One base color, a dark brown wash and a very light tan drybrush.


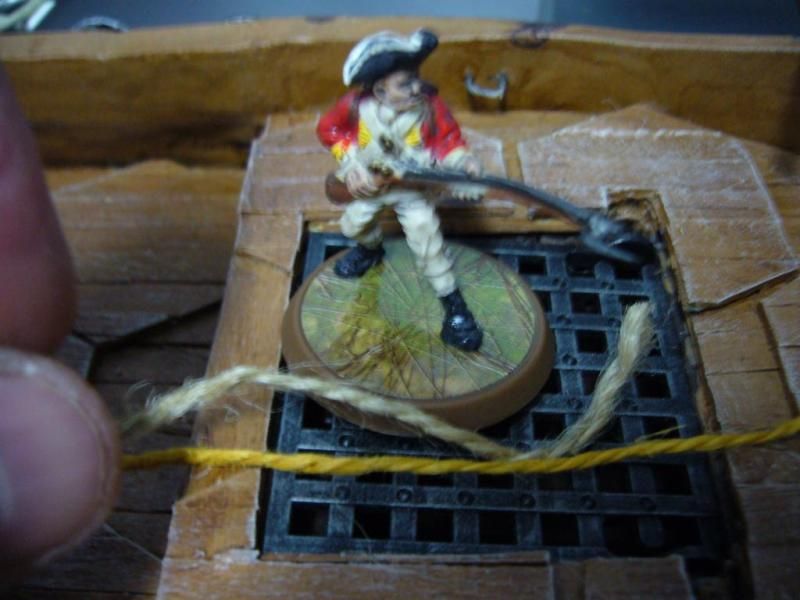
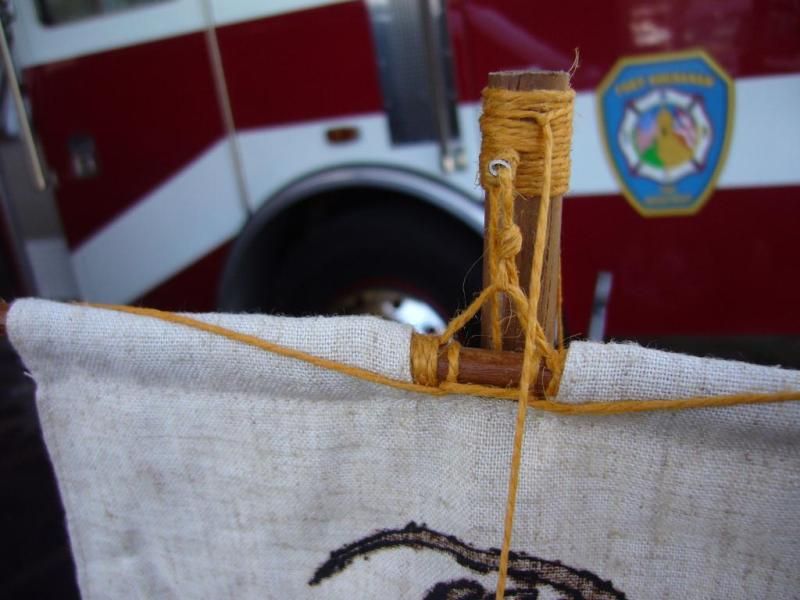
And I used the little circle thats found on the end of guitar strings as part of my rigging.

Its starting to come together. Still not crazy about the color.


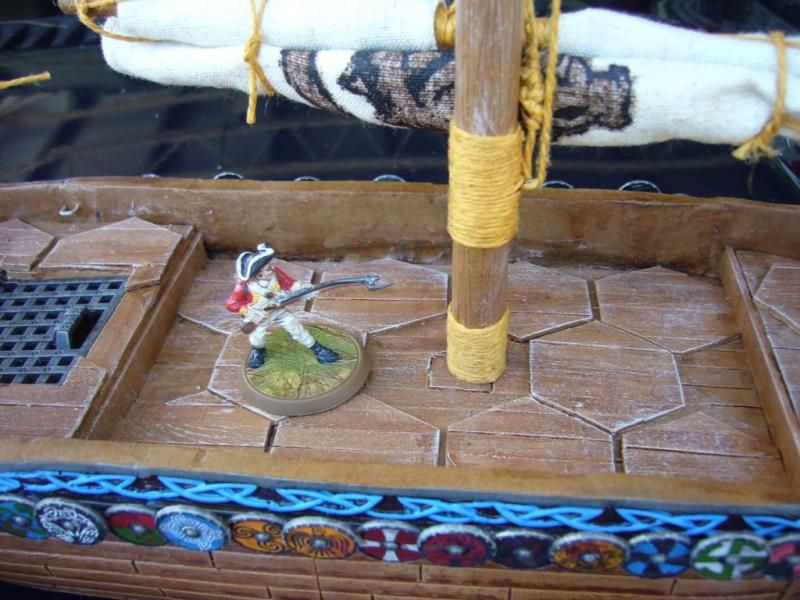
Also a few decorations on the top yard.


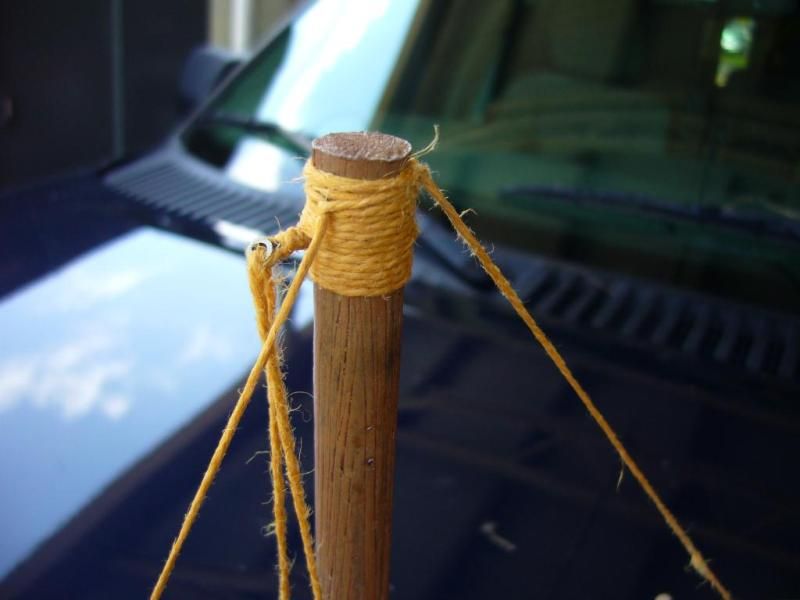
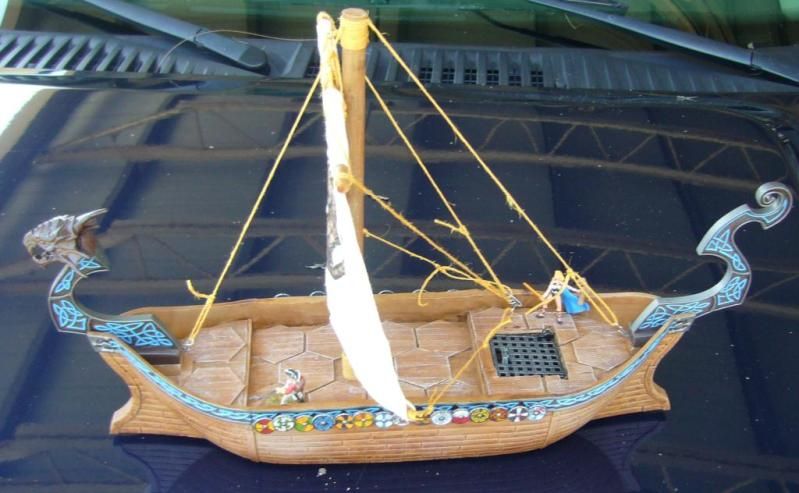
The top of the main mast I kind of went overboard with the " rigging"  I included a Forestay and a back stay ( a rope going from the top of the mast to the front of the ship and one to the back to hold the mast in place) Its just for looks as it is not really needed as the main mast is very stable.


Again a little top heavy on the rigging but I was having some fun with it.


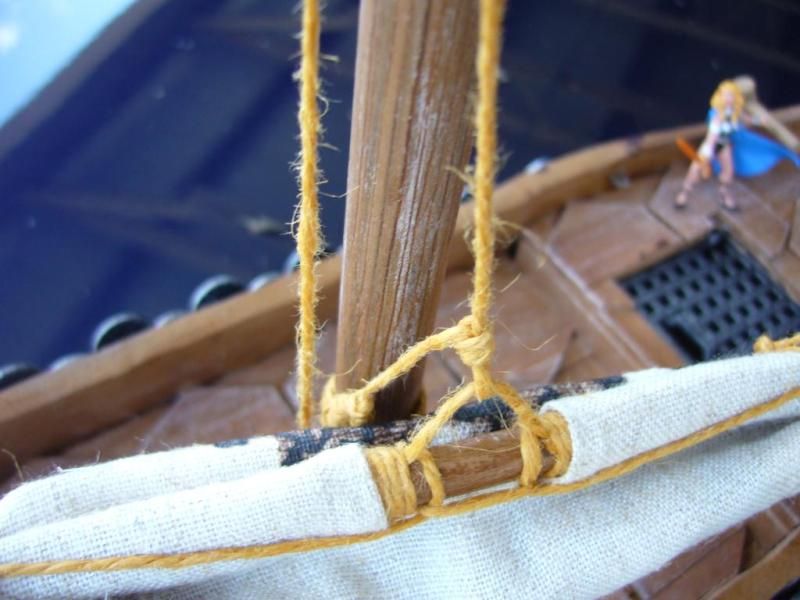
Its rigged in such a way that I can raise or lower the sail as needed. I can remove the mast and the rigging if it gets in the way of gameplay.


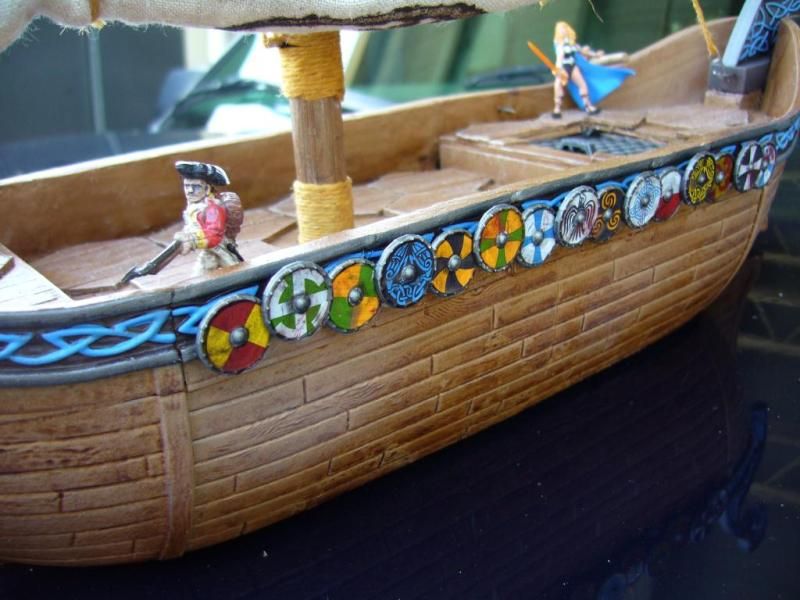
This is how the longship is starting to look with out the rigging in place


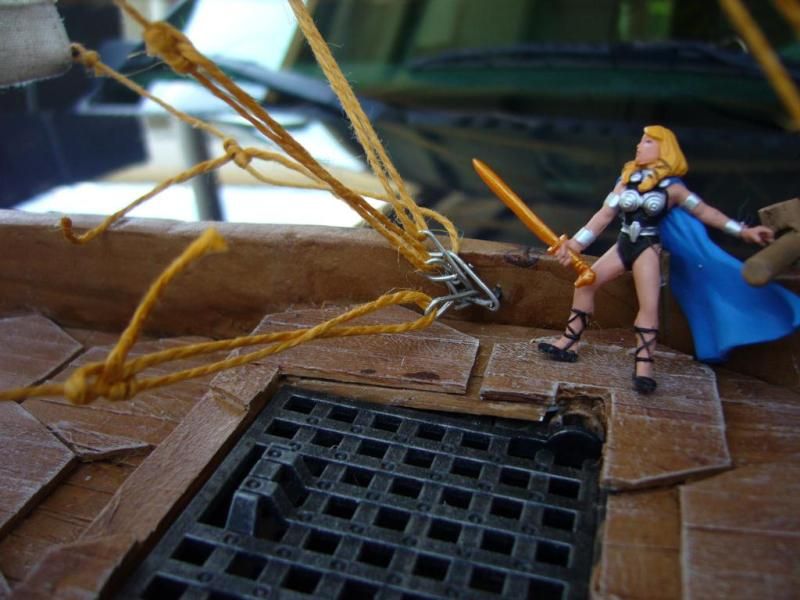
This is just a test, I will make new clips ( hooks) and stream line the taught line hitch knots ( a sliding knot to tighten the ropes) or I might just make smaller knots and much smaller hooks.


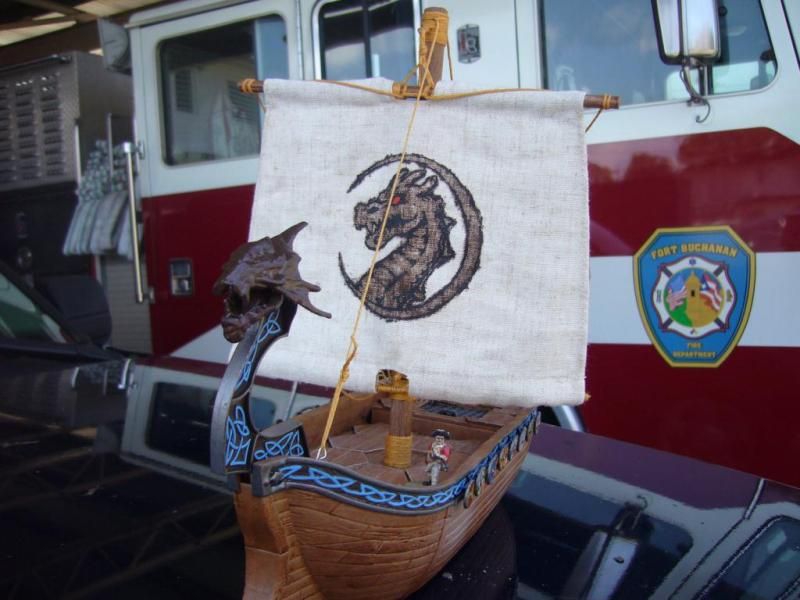
I like how the color of the figurehead matches the sail but I will paint it blue like the decorations.
 
Also added another line across the top of the sail to make it look like it is holding the sail in place.


It seems like a lot of rigging and it might get in the way of gameplay but this was more for fun then actual functionality, plus it takes seconds to remove the rigging and mast if they get in the way.


I also have it set up so I can lower the sails and roll up the lines inside the sails they are not in the way. Break out the oars!!!


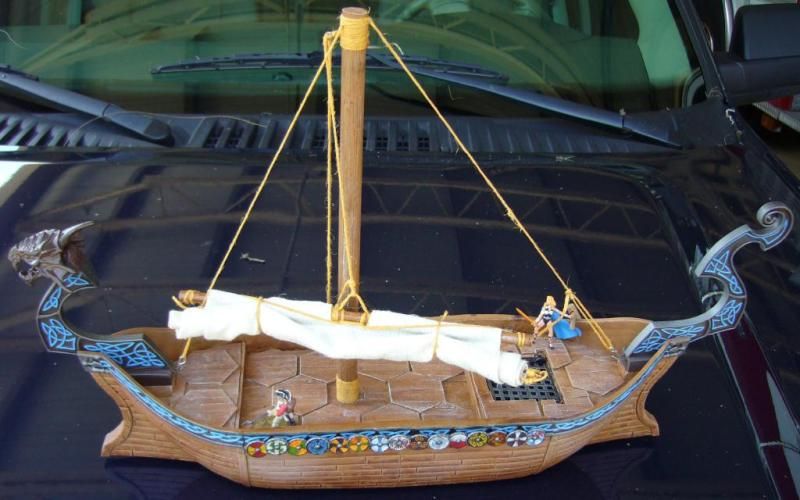
The shields are way to small, so this just doesnt look right but I kept them since I had already made them plus they cover up the imperfections of the sides I casted to fill in the gaps.

( And I already used the decals on them....)


Offline Dave Knight

  • Mad Scientist
  • Posts: 507
    • Lead Warrior
Looks as if you are having a lot of fun with this project :)

Offline Rocktroll

  • Assistant
  • Posts: 32
I am !

I have taken apart the rigging on this ship well over 3 times already. This viking ship could have been finished a long time ago but I keep testing new things on it, its my learning curve before I hit 1 Dread eye's phanton, 1 flying dutchman, 2 stormstalkers, 3 black pearls, 1 man o war, and several row boats from mega bloks and a set of small boats from Weapons and Warriors pirate game.

I have recently learned over at modelshipworld.com that instead of burning the twine or cotton thread , model ship builders rub a tiny coat of beeswax over it. Also another reason I started taking apart my rigging was that it was already starting to sag, because I didnt know I was supposed to pre-stretch the threads before rigging.

Now I took it apart again to try and make a custom sail for it :)


Related Topics

  Subject / Started by Replies Last post
24 Replies
18984 Views
Last post February 12, 2011, 08:33:44 AM
by uti long smile
23 Replies
12915 Views
Last post January 29, 2012, 04:18:03 PM
by savall21
11 Replies
4814 Views
Last post May 22, 2011, 04:03:42 PM
by janner
10 Replies
4167 Views
Last post April 15, 2013, 02:09:22 PM
by von Lucky
0 Replies
974 Views
Last post January 21, 2015, 02:30:40 PM
by BattlewagonBruce