With the understanding that I plan to do an 'Arthur Rackham' style tutorial in the future, I temporarily digress to something slightly related...
Gnarly Old Tree Tutorial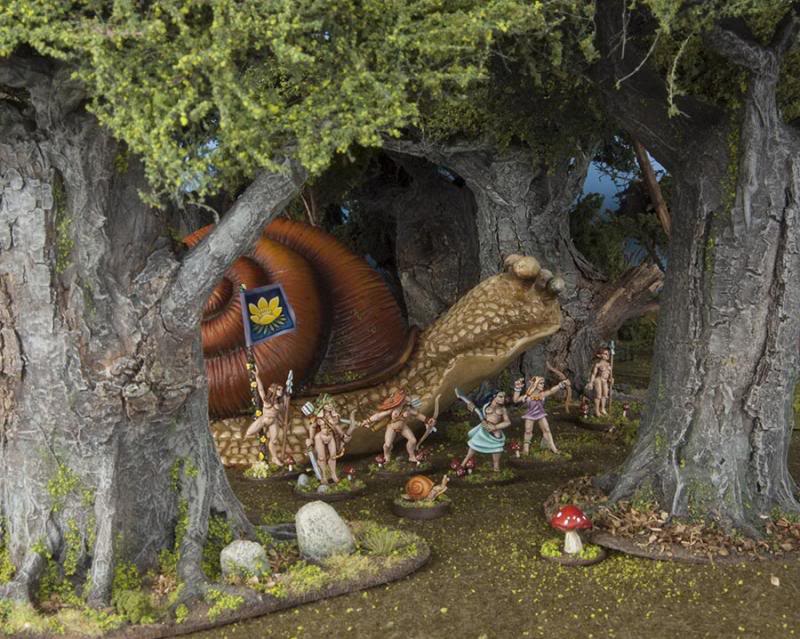
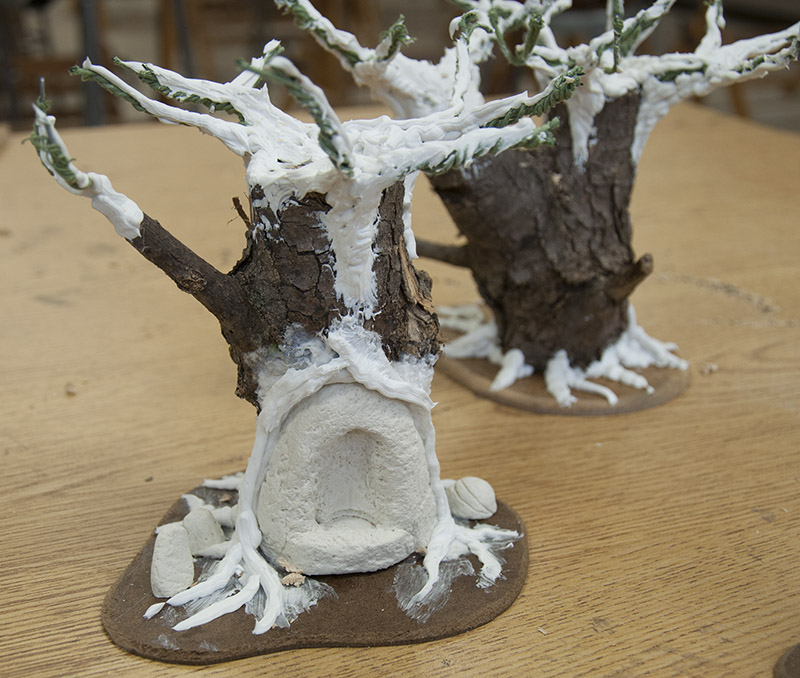
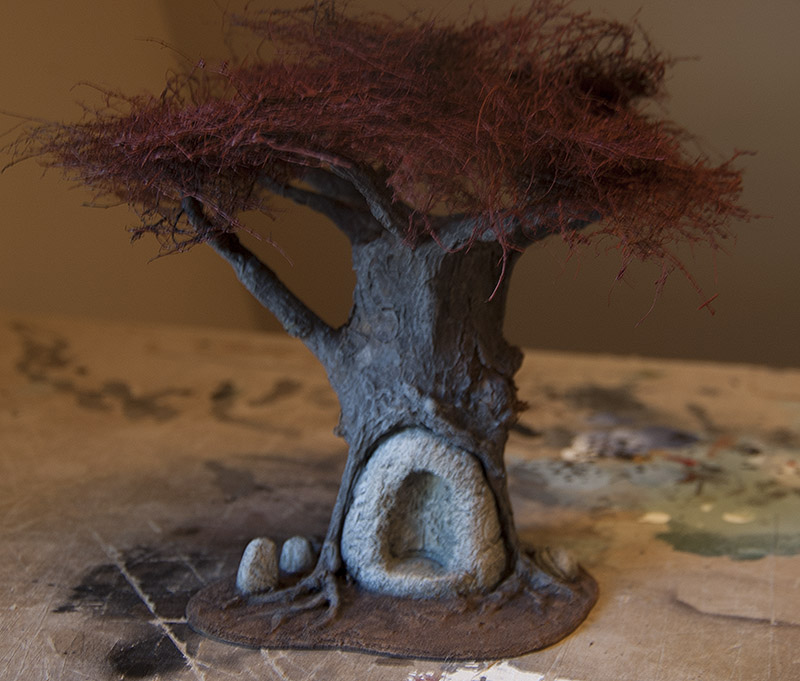
I wanted a couple more hulking trees for my sylvan setting, and needed a tree that was overgrowing a stone niche for my 'Usagi' entry in the LPL, so I built a few and took pics.
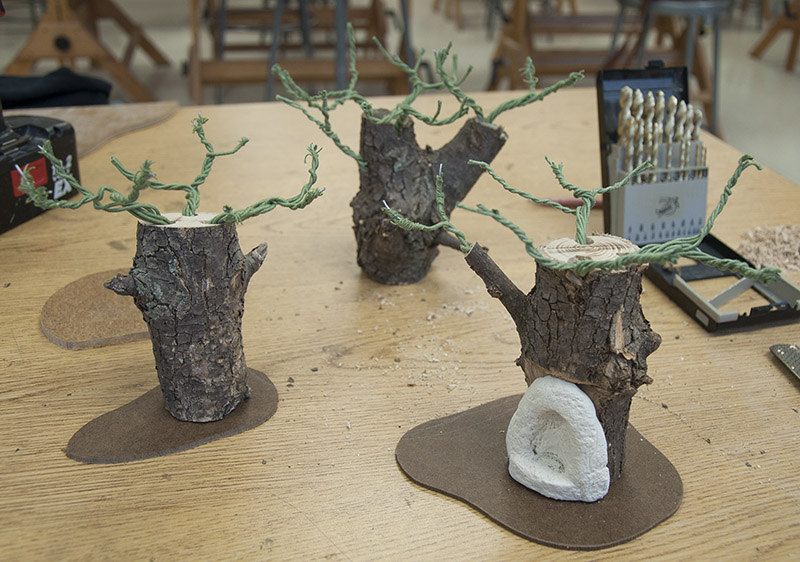
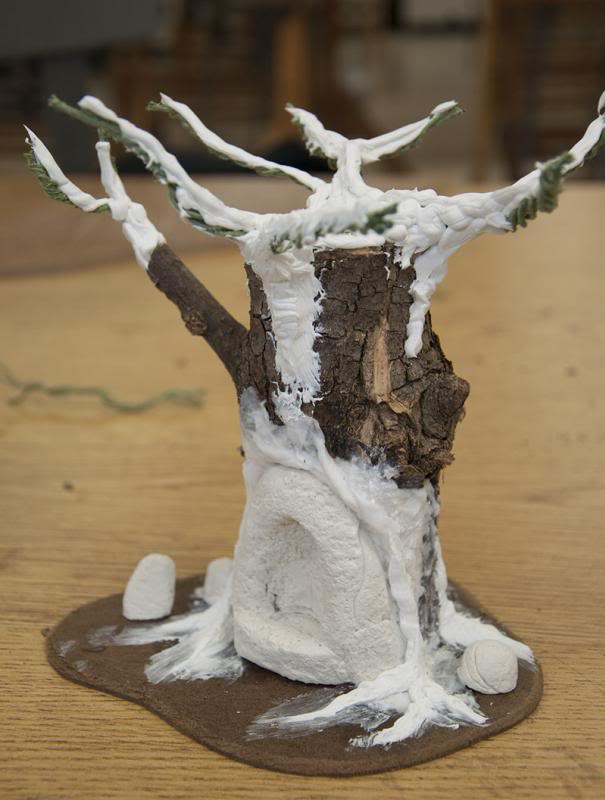
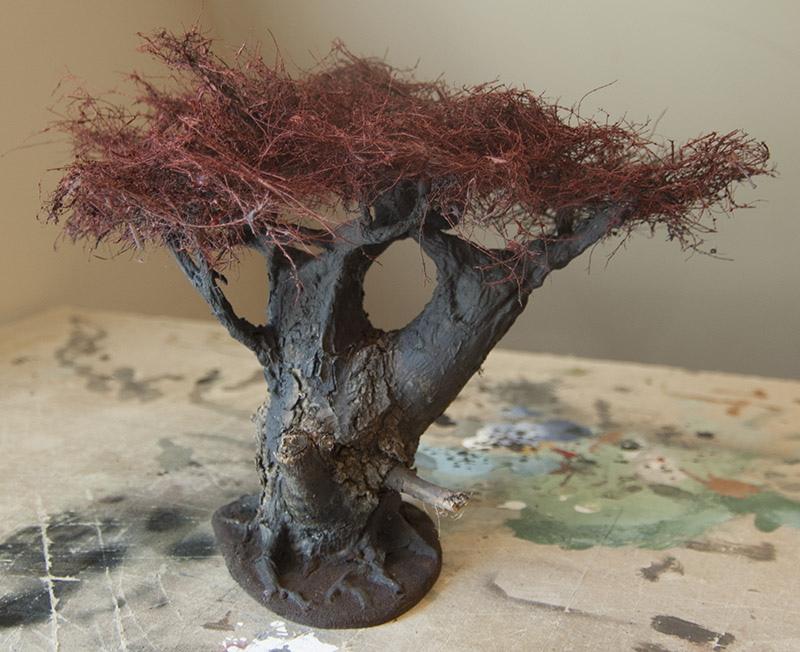
I started these by cutting several pieces off a large branch that dropped off a massive maple tree in my yard. I used a large amount of high-temp hot glue to adhere them to my bases, in this case some Masonite hardboard. I used a drill to bore some holes into the 'trunks' and used the twisted wire method I described earlier in this thread. Hot glue holds the wires in place. These ones have a goofy baobab proportion, which was okay since I wanted a massive thick trunk without the tree being too high off the table. I added a few rocks made from Sculpey, and the large 'stone' being enveloped over time.
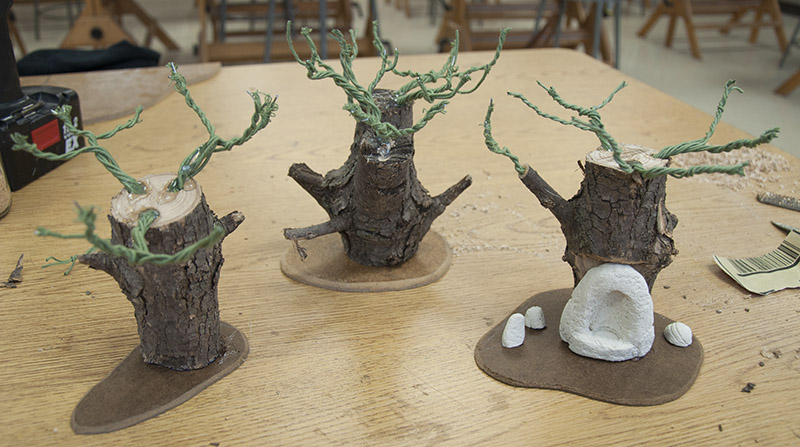
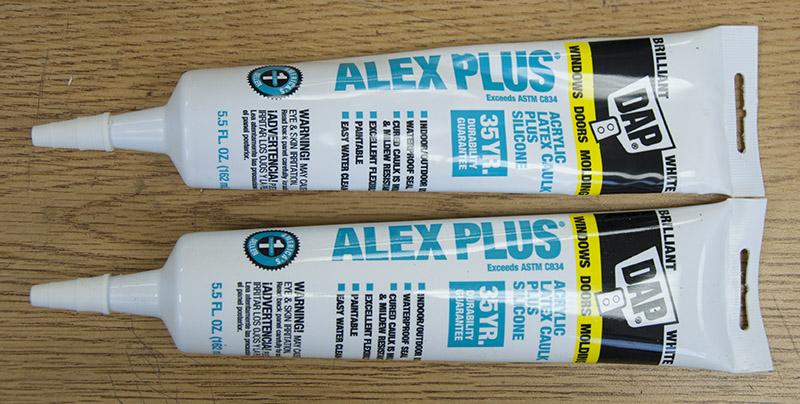
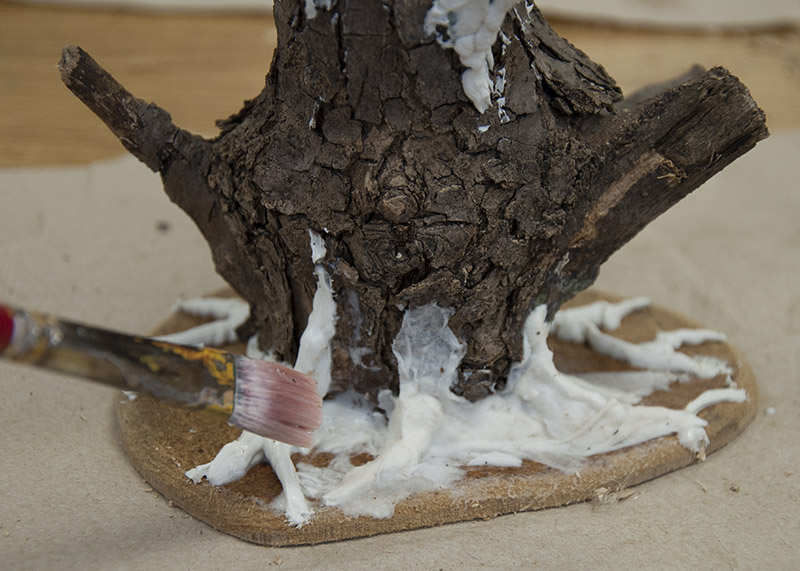
My next step is to use a paintable caulk to make roots and smooth the transition from trunk to branches.

While it is still wet and gooey you can use an old brush to smooth out the roots where they transition into the ground, or whatever else you might want to do to manipulate the caulking. Pretty fugly at this stage, don't worry

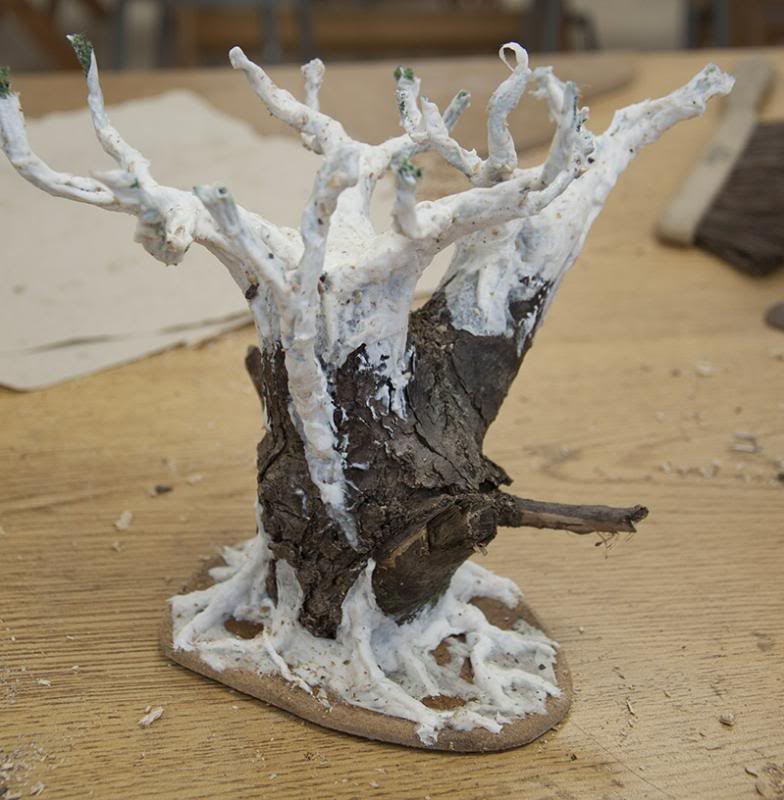
After this has dried overnight, you can use the tissue technique to create a bark like texture. Bathroom tissue, a brush, and some thinned white glue or acrylic polymer medium. If you're careful with your brushwork technique you can mimic the cracks and texture of the bark on the real branch- leave some of the original bark exposed if you can, in order to carry the illusion and help you match color later when you paint.
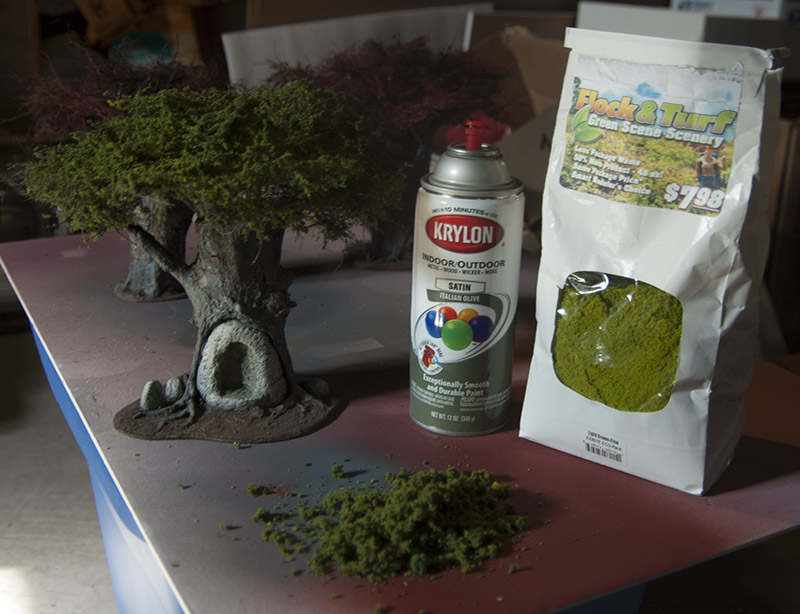
The memory card on my camera has been acting up and a few pics didn't record properly- if you read the Cherry Tree tutorial, you already know I use furnace filters for the foliage. I tore and snipped off some irregular sections and hot glued them onto the wire branches. Then I spray the foliage with a heavy coat of rust colored spray paint. After that, I base coated the tree and base, mixing a gray-brown to match the real color of the tree. It's kind of fun examining the bark and spattering it with all the various greens, blues, and yellows that appear in reality as lichens, mosses, and weathering. Drybrush highlights on with a lighter color, add basing materials, whatever you want to do. If you're doing some brown on the base, brush a little of that into the tree bark while you're at it... variety is great for that natural look.
Save the final highlight and drybrush until AFTER you've attached the foliage.
To apply foliage, I spray a very heavy coat of olive spray paint from underneath, and then from above. Don't worry if you overspray the trunk- if anything the green will convey a more natural look. Dump flocking material liberally over the still wet paint. The foliage should adhere to the paint. Because there could be a lot of overspray, I follow this step with a final light drybrush over the entire tree. If you've mixed your paint well it should be quite hard to discern what parts are real bark, and which parts are artificial. Study trees
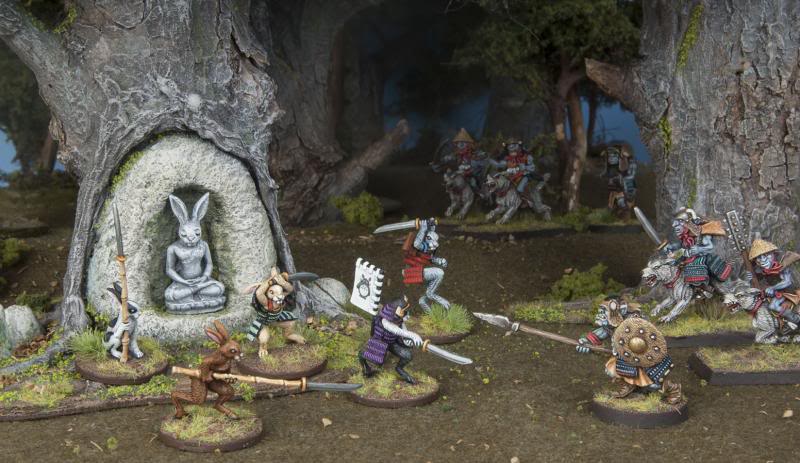
My favorite part is gluing on moss, dabbing greens over the trunk, and attaching grass and fallen leaves in the recesses of the roots. This is where the effort pays off and these things start to look great.
Last, I spray the entire tree with clear 'Plasti-Dip' to seal the whole thing up, protect it, and keep the foliage adhered.
Good luck!


