I had quite a productive weekend with this, so here's an update
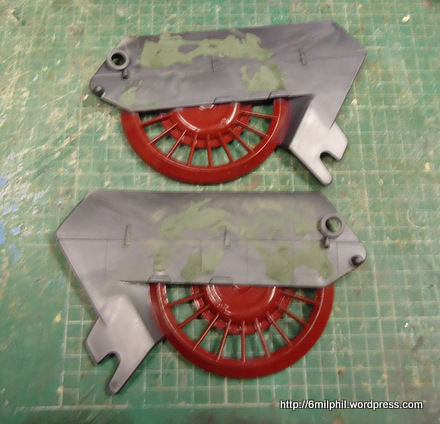
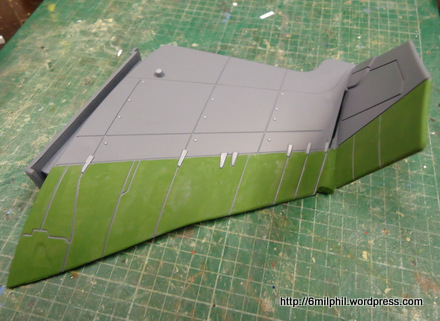
These are part of the wings, with the green stuff sanded down to cover the mould pull.
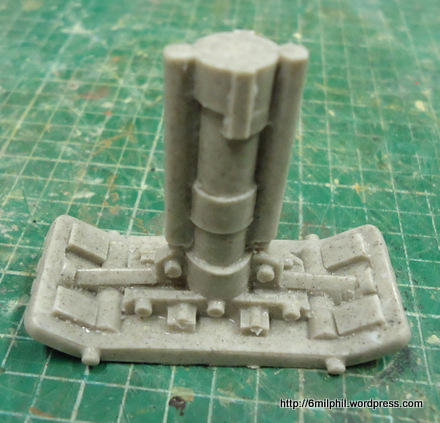
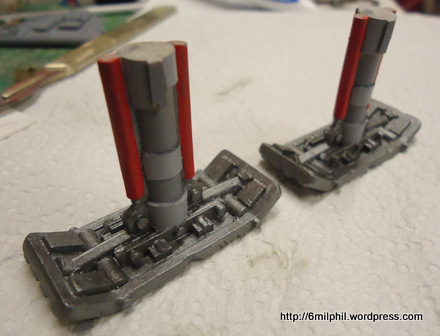
First cast of the new landing legs, quite acceptable.
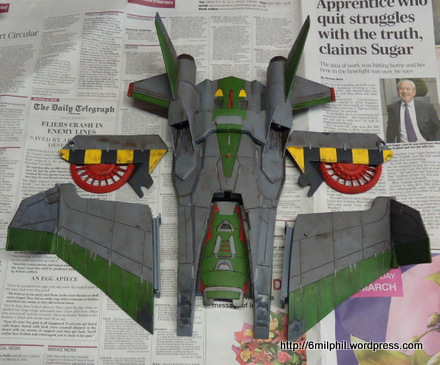
Next was fixing the wings, there's three options: up, down and kind of straight. To limit the footprint and to allow figure movement under the wings I went for up.
They were superglued in place and the gaps around the hinges filled.

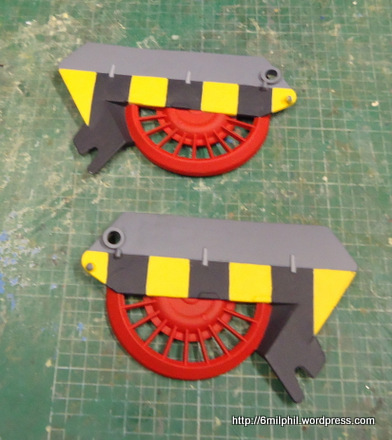
Next onto the paint on the rear wing sections, sadly Vallejo bright colours are a real struggle to get a constant colour the red needed three coats, while the yellow needed six. To get the lines straight I cut very gentle grooves into the wing, which really helped.
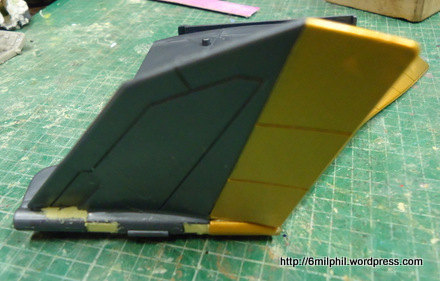
Next some paint onto the main wing section.
Getting enthusiastic I stopped taking photos for a while, mainly due to the mindless enthusiasm you get when you reach top speed. Here's one with several of the pieces painted and washed. I was looking through my inks, uming and ahing and found an unopened pot of Devlan Mud by some outfit called Games Workshop, so I thought I'd give that a try.
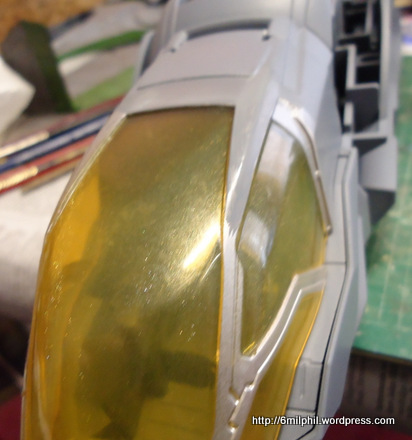
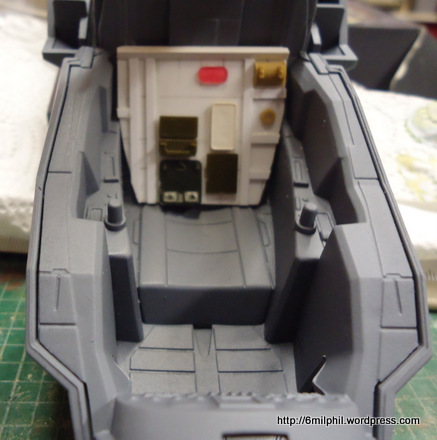
Next was a tricky bit, the canopy around the windows. This is one piece you can't dismantle which is a pain both for the canopy and the cockpit detail.
Next the cockpit, which has this huge seat in it. There's a similar one in the rear interior. I want to disguise both, the rear one was easiest because you can't really see it, so a simple piece of plasticard was glued in.
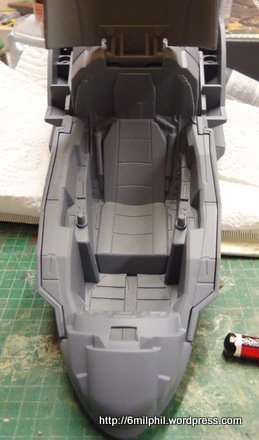
I found the shape for the interior by fitting a small piece of paper into the cockpit and gradually trimming it until I had a reasonable fit. I then used this to cut a piece of plasticard, which I then detailed.
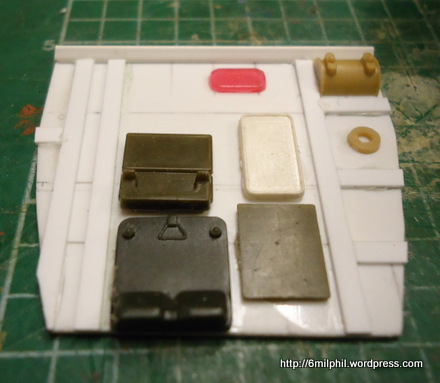
It's not a perfect fit, but it will work once painted. I've leaving the seat of the chair as it won't be visible once a pilot is in there.
Got the basic paint on a pair of the landing legs.
 Do You Want To Know More?


