@Miniman. Good timing with your questions as I was just prepping a mini tutorial as I was making a few tiles.
The structure is made mostly of 1/8 and 1/4 inch hardboard as well as coffee stir and wide craft sticks for the structure. Plus cereal card, mounting board and bamboo sticks for detailing and extras. I use two glues for 95% of the tasks: Aleenes Tacky Glue (thick pva) and Lepage Pro Superglue (and sometimes carpenter's glue). The results are fairly bulletproof having dropped a few bases on a wood floor to no ill effect . There are pros and cons to each material but for cost, availability and ease of use I opted for these materials instead of styrene or casting.
Here is the tutorial which is still in progress
(Part 1)
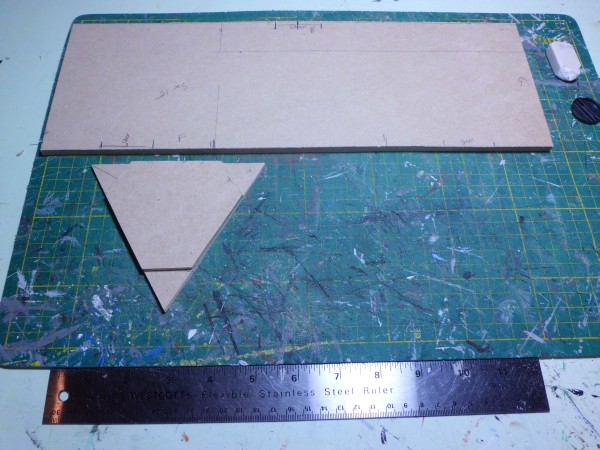
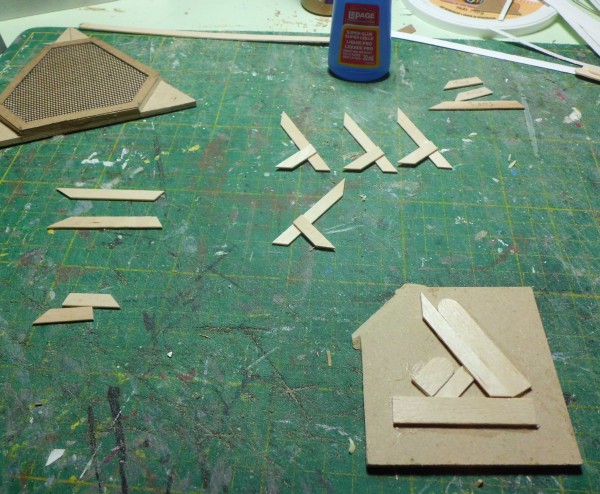
Here are the bases for the two tiles I am working on: a 5x15 inch long room and a triangle corridor junction I wanted for variety. The 5x15 tile is 1/4 inch thick hardboard while the corridor tile is two 1/8 thick pieces glued together to get to the standard height of 1/4 inch for the corridor deck. This gives a lower section for grebbles and piping to be placed. The sides are my standard 5 inches long so will join with all my existing tiles.
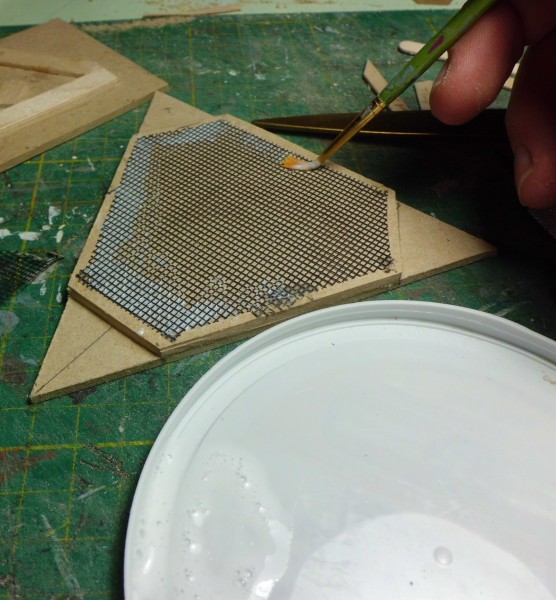
The corridor deck is made with cereal card and mosquito mesh for windows. Here I tack down the edges using superglue to keep it from moving in the next step.

Trim the excess mesh using a sharp craft knife leaving a few mm bear all around. Then paint on a 50/50 mix of water and PVA(tacky glue) all over to stick it down. Let dry.
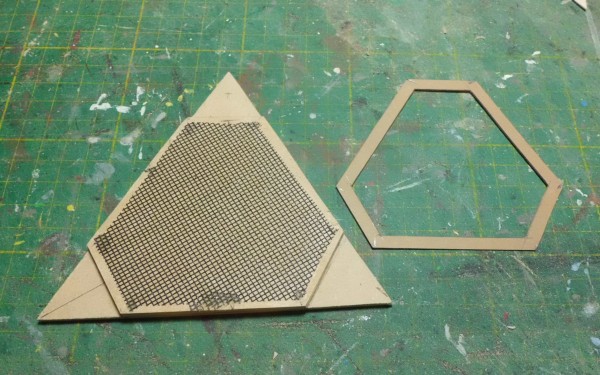
Here is the dry piece. Next I cut out the corridor deck edges, bars and cross bars using a steel rule and a sharp knife.. For this piece I opted for just edges although you could have whatever pattern you wish. The trick is to be regular throughout where possible so the pieces look as part of a whole. Here I could only use the standard width of 5mm for the edging due to the irregular shape. No fancy geometry or measuring to get the dimensions right, I just used the deck piece itself to get the measurement.
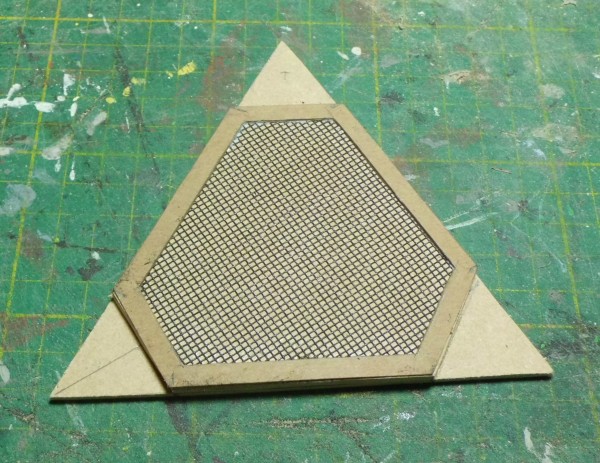
Glue the piece down with tacky glue and voila. Just pressing down with your fingers for a few seconds for the glue to catch seems to do trick although you may wish to press it down under a weight.
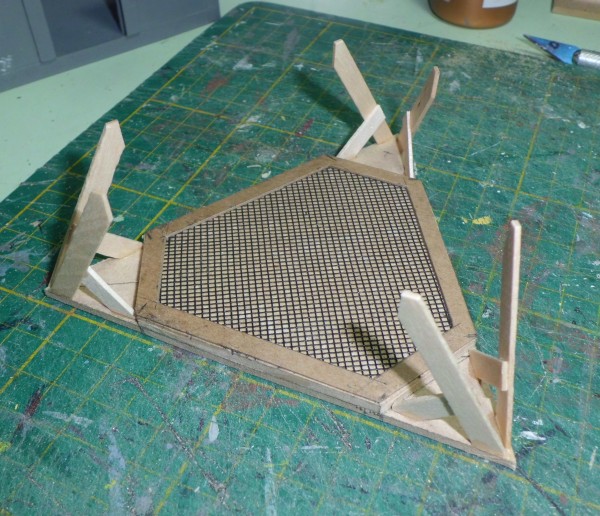
Next the wall supports. The pieces are cut from a coffee stir stick using a standard template piece and by just pushing down with a craft knife. The supports are the same throughout my build so I use a jig I built (bottom right). One dab of superglue and press the pieces together a few seconds. I need 6 pieces with a single leg, three glued on one side, three glued on the other.
Glued in place using superglue.
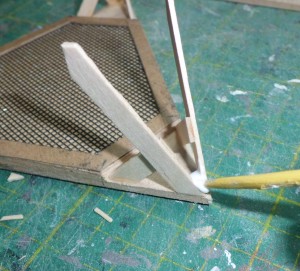
Then all the joints are glued again using tacky glue. This combination gives a really strong bond that can accept abuse. This is only done in the recesses where they can't really be seen easily.
Next I made a template for the wall panel (in case I decide to reproduce it later)and cut out the panels out of mounting board. Again glued in place using superglue initially and then tacky glue.
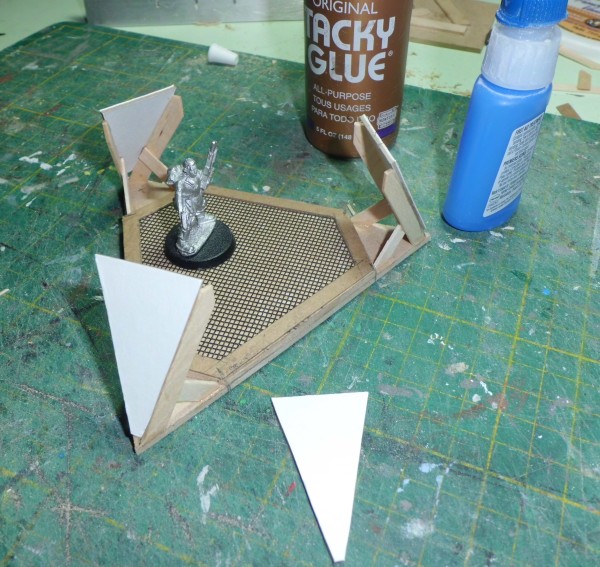
The piece is drying right now before the last few steps are done prior to painting. Need to add the corridor shelf and piping.


